Installation Instructions
STEP 3 LEVEL
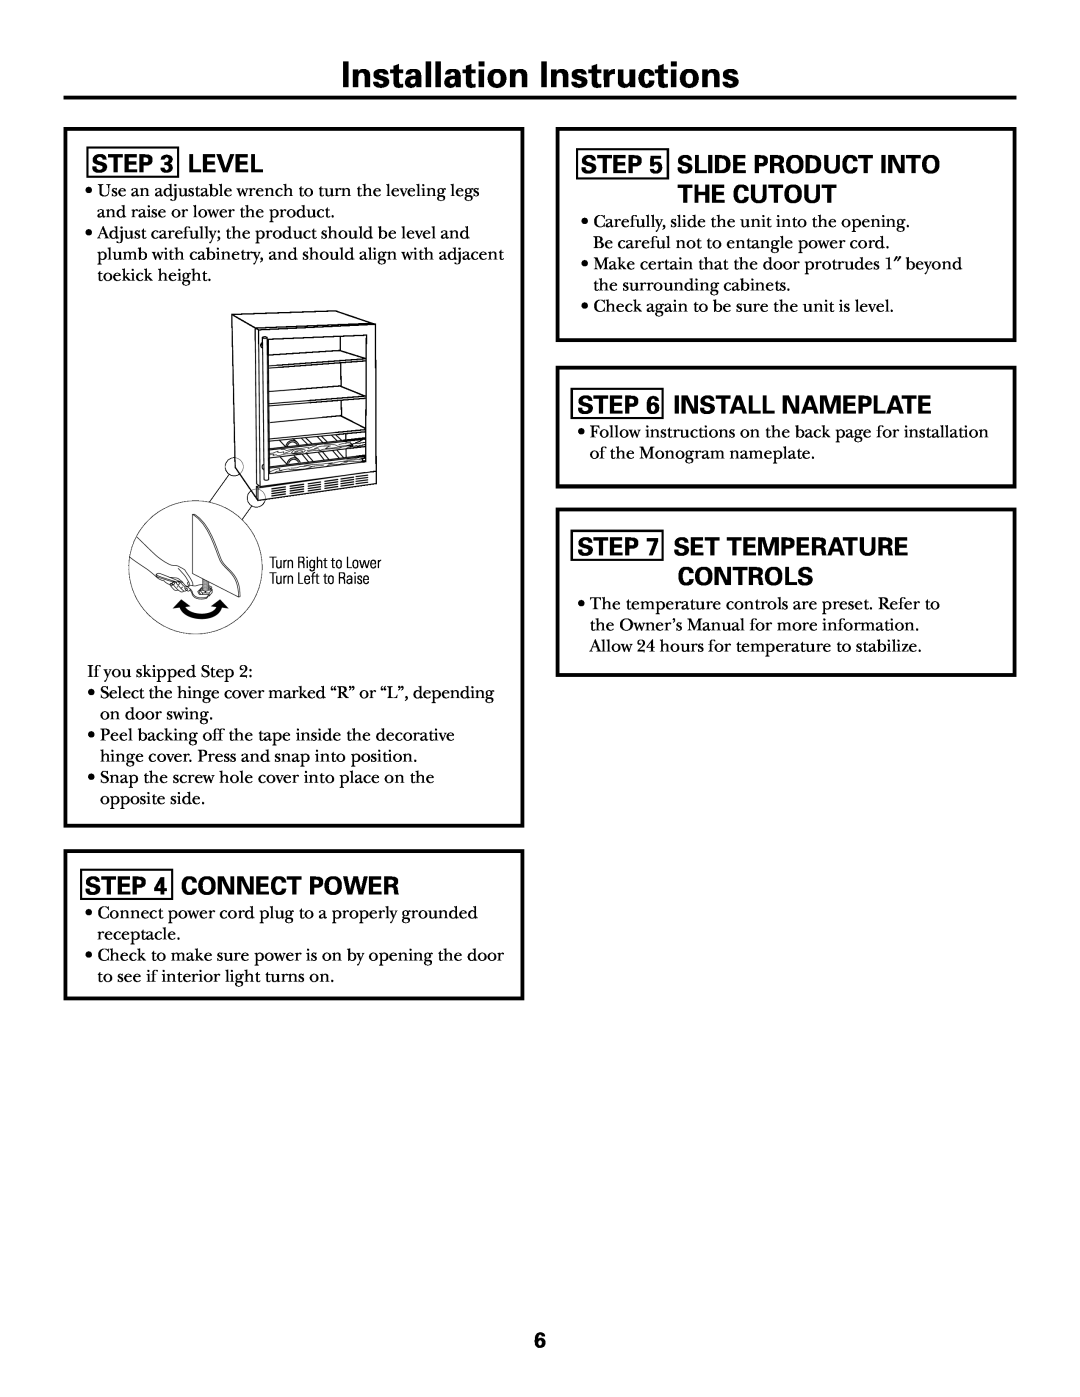
•Use an adjustable wrench to turn the leveling legs and raise or lower the product.
•Adjust carefully; the product should be level and plumb with cabinetry, and should align with adjacent toekick height.
Turn Right to Lower
Turn Left to Raise
If you skipped Step 2:
•Select the hinge cover marked “R” or “L”, depending on door swing.
•Peel backing off the tape inside the decorative hinge cover. Press and snap into position.
•Snap the screw hole cover into place on the opposite side.
STEP 4 CONNECT POWER
•Connect power cord plug to a properly grounded receptacle.
•Check to make sure power is on by opening the door to see if interior light turns on.
STEP 5 SLIDE PRODUCT INTO
THE CUTOUT
•Carefully, slide the unit into the opening. Be careful not to entangle power cord.
•Make certain that the door protrudes 1″ beyond the surrounding cabinets.
•Check again to be sure the unit is level.
STEP 6 INSTALL NAMEPLATE
•Follow instructions on the back page for installation of the Monogram nameplate.
STEP 7 SET TEMPERATURE
CONTROLS
•The temperature controls are preset. Refer to the Owner’s Manual for more information. Allow 24 hours for temperature to stabilize.
6