Stainless Steel Range
Before a clean cycle
NOTE: When the 27″ oven is set for self- cleaning, only the surface burners may be used. The 12″ oven, the griddle and/or the grill cannot be used.
For the first
Remove the broiler pan, broiler grid, all cookware, probe and any aluminum foil from the
NOTE: Your oven is equipped with gray
Soil outside the gasket on the front frame of the range and on the door will need to be cleaned by hand. Clean these areas with hot water,
Do not clean the gasket. The fiberglass material of the oven door gasket cannot withstand abrasion. It is essential for the gasket to remain intact. If you notice it becoming worn or frayed, replace it.
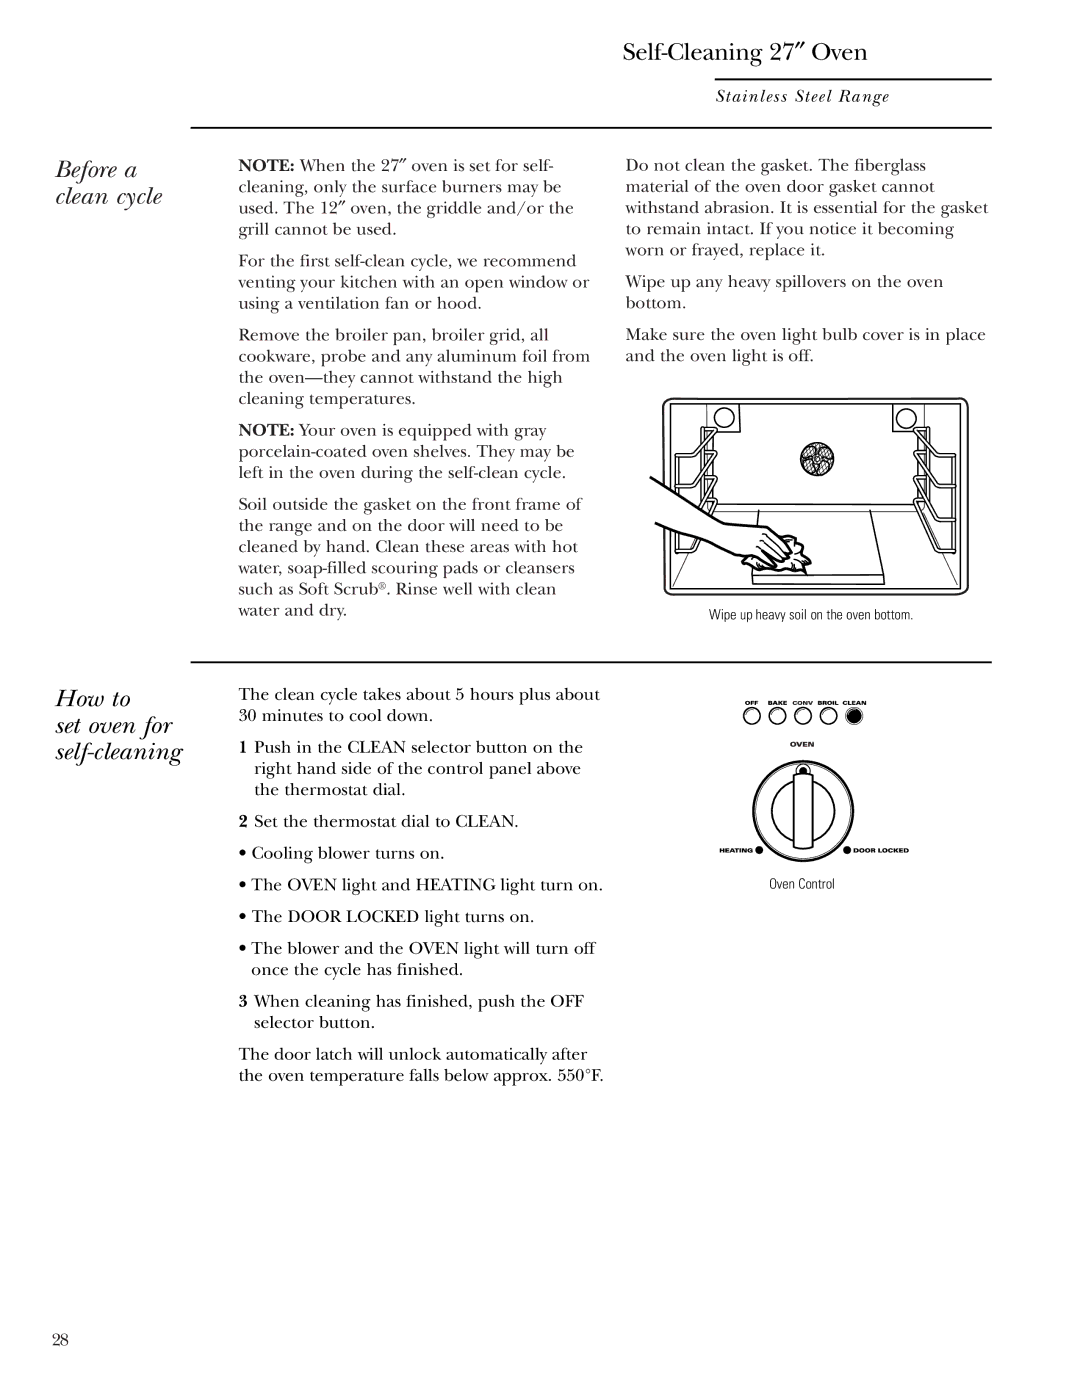
Wipe up any heavy spillovers on the oven bottom.
Make sure the oven light bulb cover is in place and the oven light is off.
Wipe up heavy soil on the oven bottom.
How to
set oven for self-cleaning
The clean cycle takes about 5 hours plus about 30 minutes to cool down.
1 Push in the CLEAN selector button on the right hand side of the control panel above the thermostat dial.
2Set the thermostat dial to CLEAN.
• Cooling blower turns on.
• The OVEN light and HEATING light turn on. | Oven Control |
•The DOOR LOCKED light turns on.
•The blower and the OVEN light will turn off once the cycle has finished.
3When cleaning has finished, push the OFF selector button.
The door latch will unlock automatically after the oven temperature falls below approx. 550°F.
28
