
ZEK735 specifications
The GE Monogram ZEK735 is a high-end electric range that merges cutting-edge technology with elegant design, ideal for both professional chefs and home cooking enthusiasts. This appliance stands out with its impressive blend of performance, features, and aesthetics, making it a focal point in any modern kitchen.One of the main features of the GE Monogram ZEK735 is its induction cooking technology. Induction cooking uses electromagnetic energy to heat pots and pans directly, which provides precise and immediate temperature control. This not only leads to faster cooking times but also makes the appliance extremely energy-efficient. The smooth, glass surface is easy to clean and adds a sleek look to the kitchen.
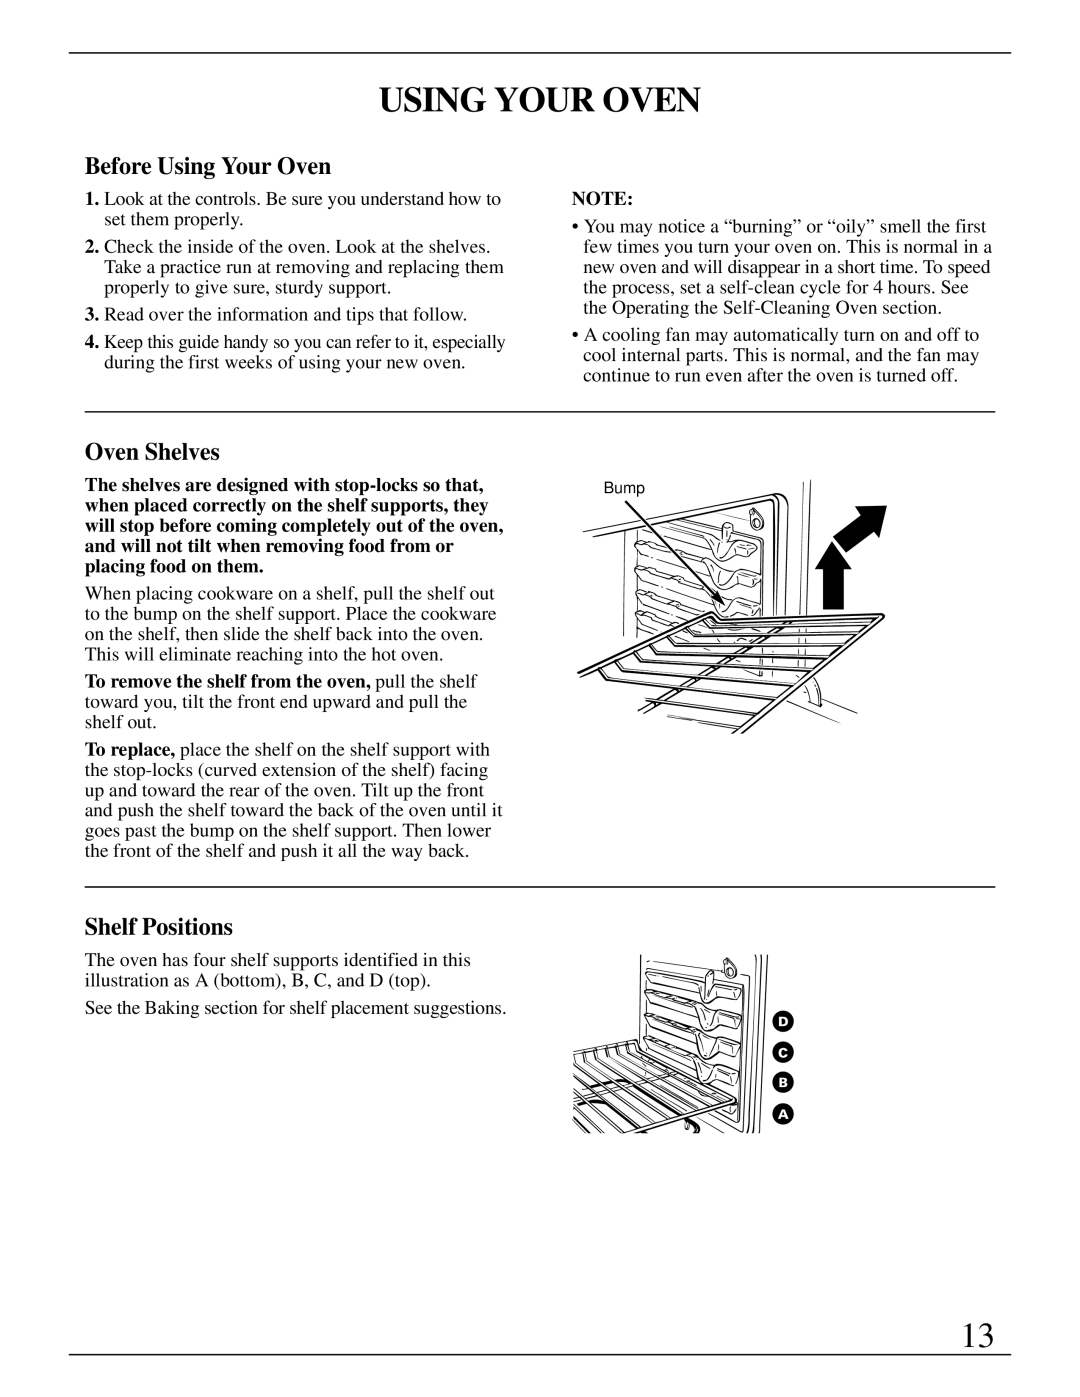
In addition to its induction capabilities, the ZEK735 hosts an innovative convection oven. The oven employs a fan and a third heating element to ensure even baking results. This technology means you can enjoy perfectly risen soufflés and crispy roasted meats with minimal effort. The oven's spacious interior allows for cooking multiple dishes at once, catering to larger gatherings or holiday meals.
Another standout characteristic of the GE Monogram ZEK735 is its built-in Wi-Fi connectivity. Users can connect the appliance to their smart home systems, allowing for remote monitoring and control via smartphone apps. This feature enables users to preheat the oven on their way home or adjust cooking settings from anywhere, adding convenience to the cooking process.
The appliance offers a variety of cooking modes, including a self-cleaning option for effortless maintenance. With precise temperature controls and various settings for baking, broiling, and roasting, it accommodates a wide range of culinary techniques.
Design-wise, the GE Monogram ZEK735 features a sophisticated stainless-steel finish that speaks to modern elegance, complete with professional-grade knobs and a sleek control panel. The unit's overall construction emphasizes durability and reliability, ensuring it can withstand the rigors of daily use.
In conclusion, the GE Monogram ZEK735 is more than just a cooking appliance; it's a sophisticated tool for culinary excellence. With its induction cooking, convection oven, Wi-Fi capabilities, and sleek design, it is perfectly suited for those who value efficiency and style in their kitchens. Whether you're a passionate home cook or someone who enjoys entertaining, the ZEK735 is an impressive addition that promises high performance and exquisite design.