2 . I N S T A L L A T I O N A N D A D J U S T M E N T
A. Positioning Tempo™
1. Pick a Cheerful Place
It is a good idea to place your Tempo™ in a large room with plenty of sunshine, light and mirrors. Tempo™ should also be placed on a solid surface or short nap carpet so it does not “walk” or build up static electricity when being used.
2. Keep Tempo™ Level
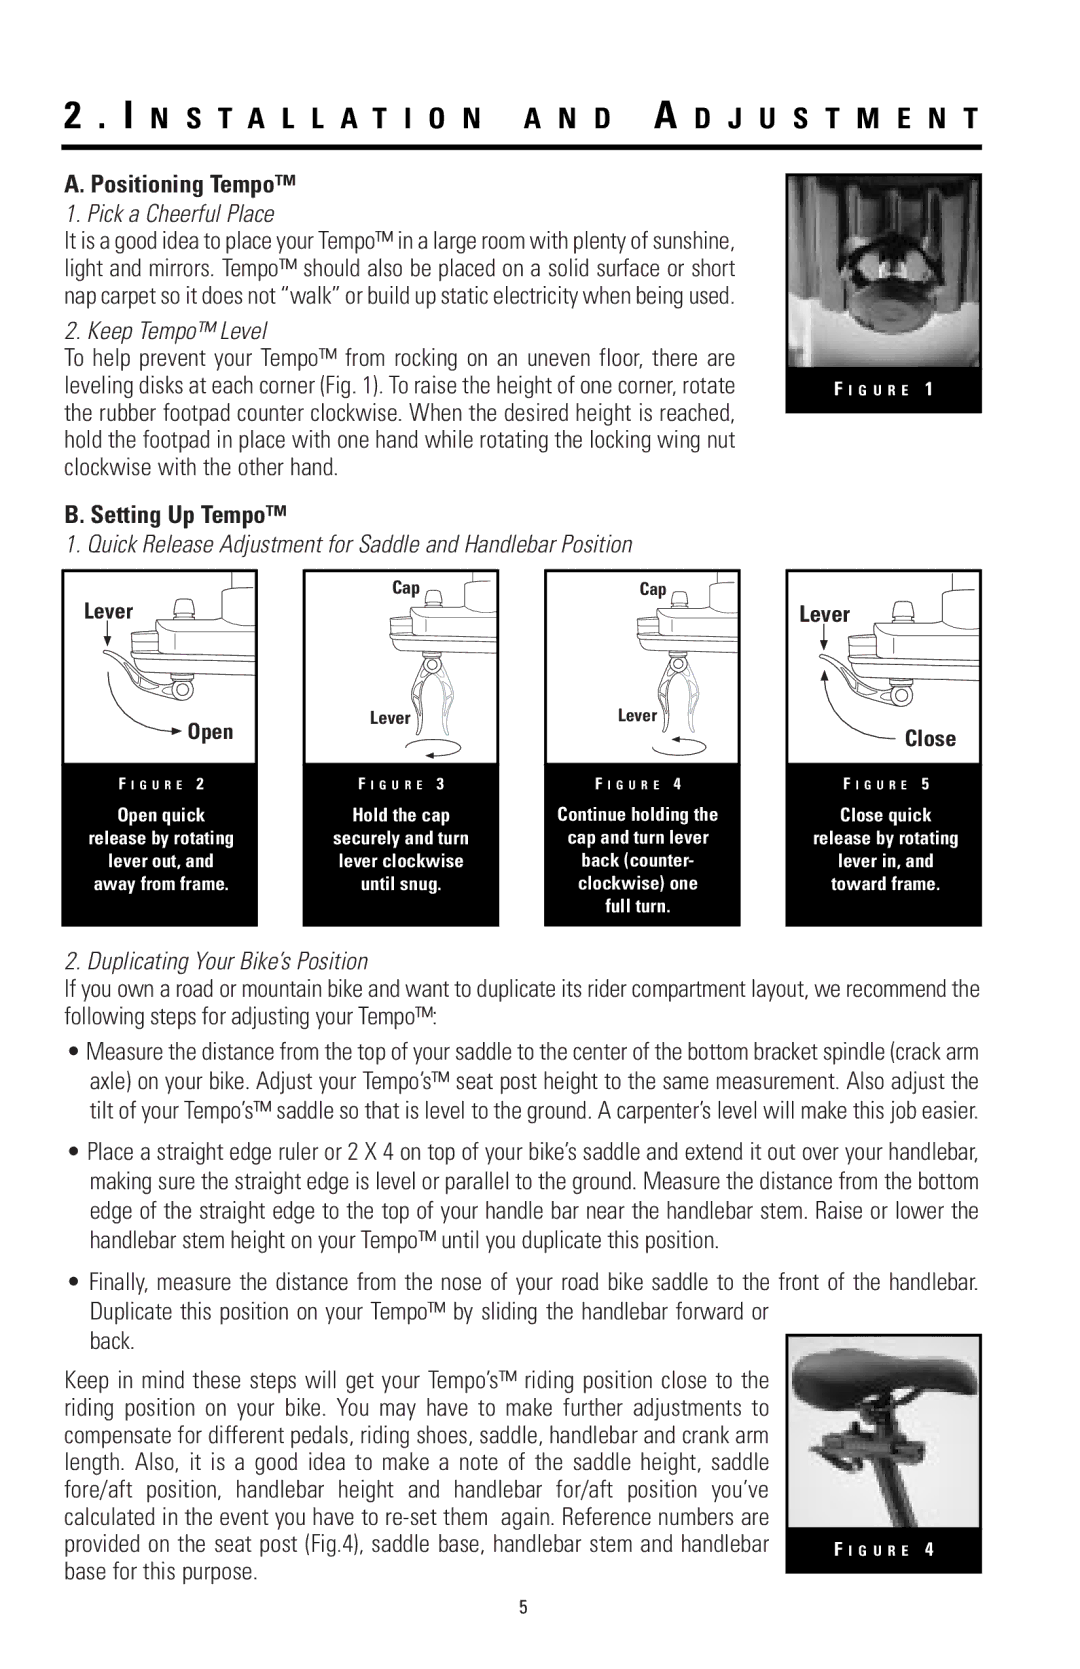
To help prevent your Tempo™ from rocking on an uneven floor, there are leveling disks at each corner (Fig. 1). To raise the height of one corner, rotate the rubber footpad counter clockwise. When the desired height is reached, hold the footpad in place with one hand while rotating the locking wing nut clockwise with the other hand.
B. Setting Up Tempo™
1. Quick Release Adjustment for Saddle and Handlebar Position
F I G U R E 1
Lever
 Open
Open
F I G U R E 2
Open quick
release by rotating
lever out, and
away from frame.
Cap
Lever
F I G U R E 3
Hold the cap
securely and turn lever clockwise until snug.
Cap
Lever
F I G U R E 4
Continue holding the
cap and turn lever
back (counter- clockwise) one full turn.
Lever
Close
F I G U R E 5
Close quick
release by rotating
lever in, and
toward frame.
2. Duplicating Your Bike’s Position
If you own a road or mountain bike and want to duplicate its rider compartment layout, we recommend the following steps for adjusting your Tempo™:
•Measure the distance from the top of your saddle to the center of the bottom bracket spindle (crack arm axle) on your bike. Adjust your Tempo’s™ seat post height to the same measurement. Also adjust the tilt of your Tempo’s™ saddle so that is level to the ground. A carpenter’s level will make this job easier.
•Place a straight edge ruler or 2 X 4 on top of your bike’s saddle and extend it out over your handlebar, making sure the straight edge is level or parallel to the ground. Measure the distance from the bottom edge of the straight edge to the top of your handle bar near the handlebar stem. Raise or lower the handlebar stem height on your Tempo™ until you duplicate this position.
•Finally, measure the distance from the nose of your road bike saddle to the front of the handlebar. Duplicate this position on your Tempo™ by sliding the handlebar forward or
back.
Keep in mind these steps will get your Tempo’s™ riding position close to the riding position on your bike. You may have to make further adjustments to compensate for different pedals, riding shoes, saddle, handlebar and crank arm length. Also, it is a good idea to make a note of the saddle height, saddle fore/aft position, handlebar height and handlebar for/aft position you’ve calculated in the event you have to
F I G U R E 4
5
