English
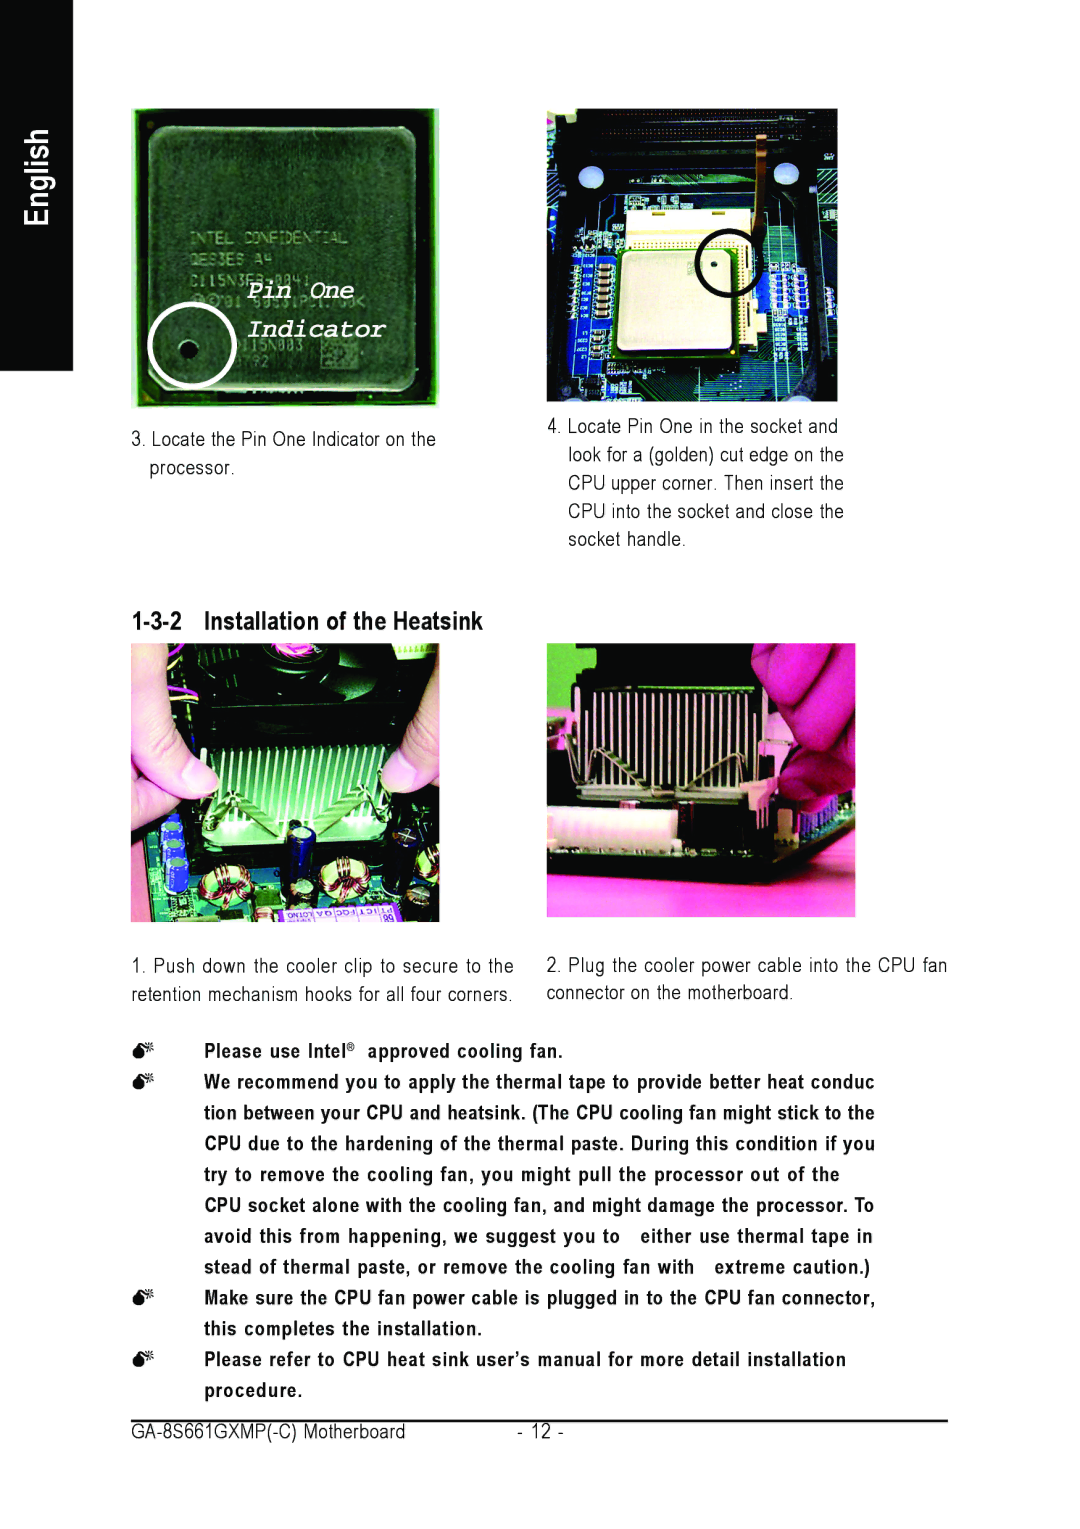
Pin One
Indicator
3.Locate the Pin One Indicator on the processor.
4.Locate Pin One in the socket and look for a (golden) cut edge on the CPU upper corner. Then insert the CPU into the socket and close the socket handle.
1-3-2 Installation of the Heatsink
1. Push down the cooler clip to secure to the | 2. Plug the cooler power cable into the CPU fan |
retention mechanism hooks for all four corners. | connector on the motherboard. |
0Please use Intel® approved cooling fan.
0We recommend you to apply the thermal tape to provide better heat conduc tion between your CPU and heatsink. (The CPU cooling fan might stick to the CPU due to the hardening of the thermal paste. During this condition if you try to remove the cooling fan, you might pull the processor out of the CPU socket alone with the cooling fan, and might damage the processor. To
avoid | this from happening, we suggest you to either use thermal tape in |
stead | of thermal paste, or remove the cooling fan with extreme caution.) |
0Make sure the CPU fan power cable is plugged in to the CPU fan connector, this completes the installation.
0Please refer to CPU heat sink user’s manual for more detail installation procedure.
- 12 - |