Setting Repetitive Redial Parameters
Repetitive Redial automatically redials a telephone number that is either busy or is not being answered. SoundPoint Pro allows you to configure the number of redial attempts, up to 15, and the duration time between attempts, up to 90 seconds, when repetitive redial is activated. (Note: Upper limits are set by telephony standards).
Enter the System Settings Directory then scroll ▼ until you see EDITRPTDIAL? Line 2 of the LCD will show the current values of attempts (TRIES) and duration between attempts (SEC). Press SELECT .
Enter the desired number of redial tries, between 2 – 15. Press SELECT .
Enter the number of seconds between redial tries, between 10 – 90. Press SELECT .
Selecting and Setting Telephone NumberAuto-Formatting
The
7 DIGITLOCAL (D7) In most areas, 7 digits are required to dial local tele- phone numbers. By entering your area code, all numbers with a matching area code will be stored and dialed in 7- digit format for Incoming and Outgoing Call History.
10 DIGITLOCAL (D10) In some areas, 10 digits will be required to dial local and long distance telephone numbers. The
11 DIGITLOCAL (D11) In some areas, 11 digits will be required to dial local and long distance telephone numbers. The
When programming
SoundPoint Pro Desktop Conference Phone Operation
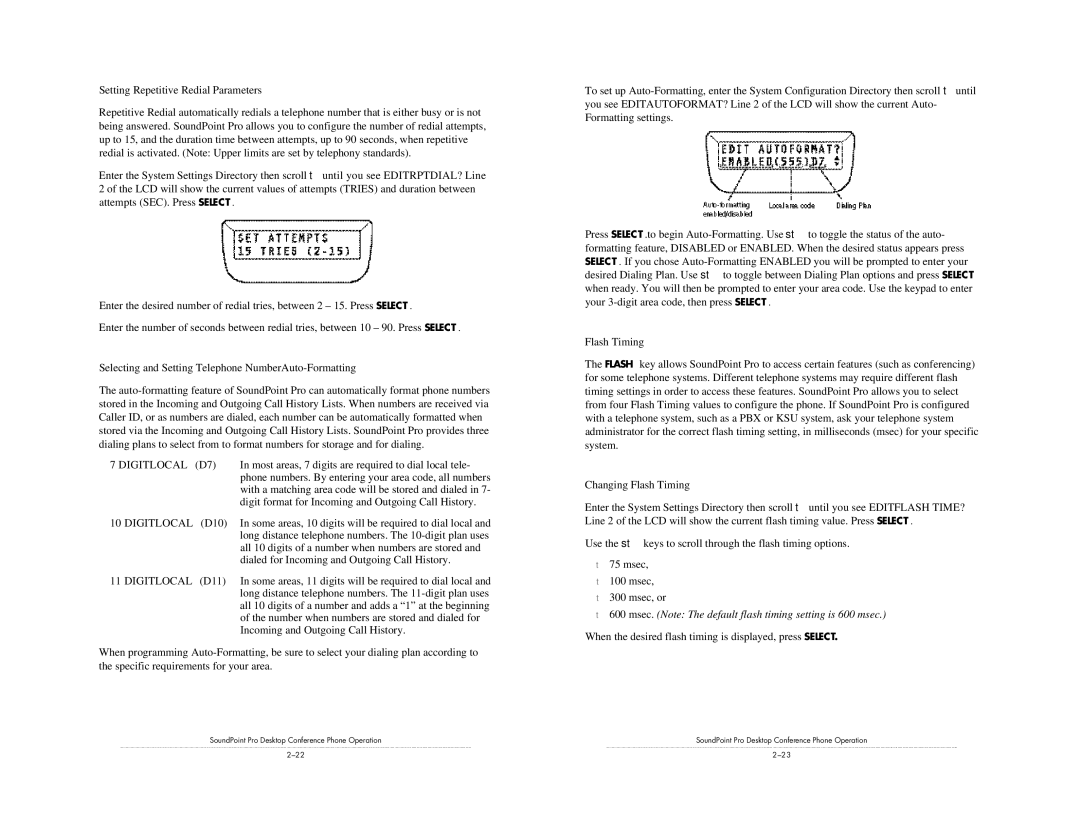
To set up
Press SELECT .to begin
Flash Timing
The FLASH key allows SoundPoint Pro to access certain features (such as conferencing) for some telephone systems. Different telephone systems may require different flash timing settings in order to access these features. SoundPoint Pro allows you to select from four Flash Timing values to configure the phone. If SoundPoint Pro is configured with a telephone system, such as a PBX or KSU system, ask your telephone system administrator for the correct flash timing setting, in milliseconds (msec) for your specific system.
Changing Flash Timing
Enter the System Settings Directory then scroll ▼ until you see EDITFLASH TIME? Line 2 of the LCD will show the current flash timing value. Press SELECT .
Use the ▲▼ keys to scroll through the flash timing options.
▼75 msec,
▼100 msec,
▼300 msec, or
▼600 msec. (Note: The default flash timing setting is 600 msec.)
When the desired flash timing is displayed, press SELECT.
SoundPoint Pro Desktop Conference Phone Operation