Viewing Incoming Call History Entries
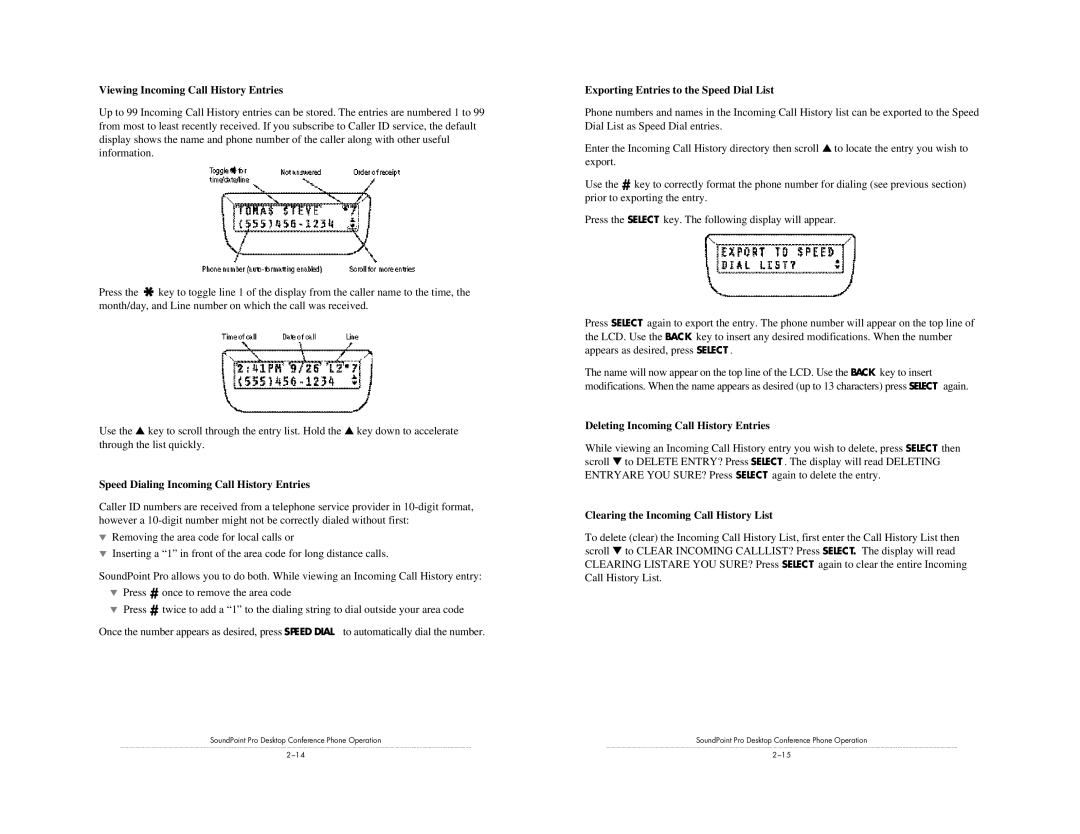
Up to 99 Incoming Call History entries can be stored. The entries are numbered 1 to 99 from most to least recently received. If you subscribe to Caller ID service, the default display shows the name and phone number of the caller along with other useful information.
Press the ![]() key to toggle line 1 of the display from the caller name to the time, the month/day, and Line number on which the call was received.
key to toggle line 1 of the display from the caller name to the time, the month/day, and Line number on which the call was received.
Use the ▲ key to scroll through the entry list. Hold the ▲ key down to accelerate through the list quickly.
Speed Dialing Incoming Call History Entries
Caller ID numbers are received from a telephone service provider in
▼Removing the area code for local calls or
▼Inserting a “1” in front of the area code for long distance calls.
SoundPoint Pro allows you to do both. While viewing an Incoming Call History entry:
▼Press # once to remove the area code
▼Press # twice to add a “1” to the dialing string to dial outside your area code
Once the number appears as desired, press SPEED DIAL to automatically dial the number.
SoundPoint Pro Desktop Conference Phone Operation
Exporting Entries to the Speed Dial List
Phone numbers and names in the Incoming Call History list can be exported to the Speed Dial List as Speed Dial entries.
Enter the Incoming Call History directory then scroll ▲ to locate the entry you wish to export.
Use the # key to correctly format the phone number for dialing (see previous section) prior to exporting the entry.
Press the SELECT key. The following display will appear.
Press SELECT again to export the entry. The phone number will appear on the top line of the LCD. Use the BACK key to insert any desired modifications. When the number appears as desired, press SELECT .
The name will now appear on the top line of the LCD. Use the BACK key to insert modifications. When the name appears as desired (up to 13 characters) press SELECT again.
Deleting Incoming Call History Entries
While viewing an Incoming Call History entry you wish to delete, press SELECT then scroll ▼ to DELETE ENTRY? Press SELECT . The display will read DELETING ENTRYARE YOU SURE? Press SELECT again to delete the entry.
Clearing the Incoming Call History List
To delete (clear) the Incoming Call History List, first enter the Call History List then scroll ▼ to CLEAR INCOMING CALLLIST? Press SELECT. The display will read CLEARING LISTARE YOU SURE? Press SELECT again to clear the entire Incoming Call History List.
SoundPoint Pro Desktop Conference Phone Operation