Installing the Phone
Setup 1
See the Quick Guide for detailed installation instructions or follow these steps.
1.Plug one end of either 7’Phone Cord into line port L1 of the Console and the other end into the wall jack for Line 1.
2.Repeat step 1 for Line 2 using the other 7’Phone Cord.
3.Connect the Power Adapter cord to the Console DC POWER and the Power Adapter into an AC Power outlet.
Setup 2
If two phone lines share one telephone wall jack, install as in Setup 1 but be sure to connect the black 7’Phone Cord provided to line port L1 on the Console. Continue with
Setup 1, Step 3.
GETTING CONNECTED
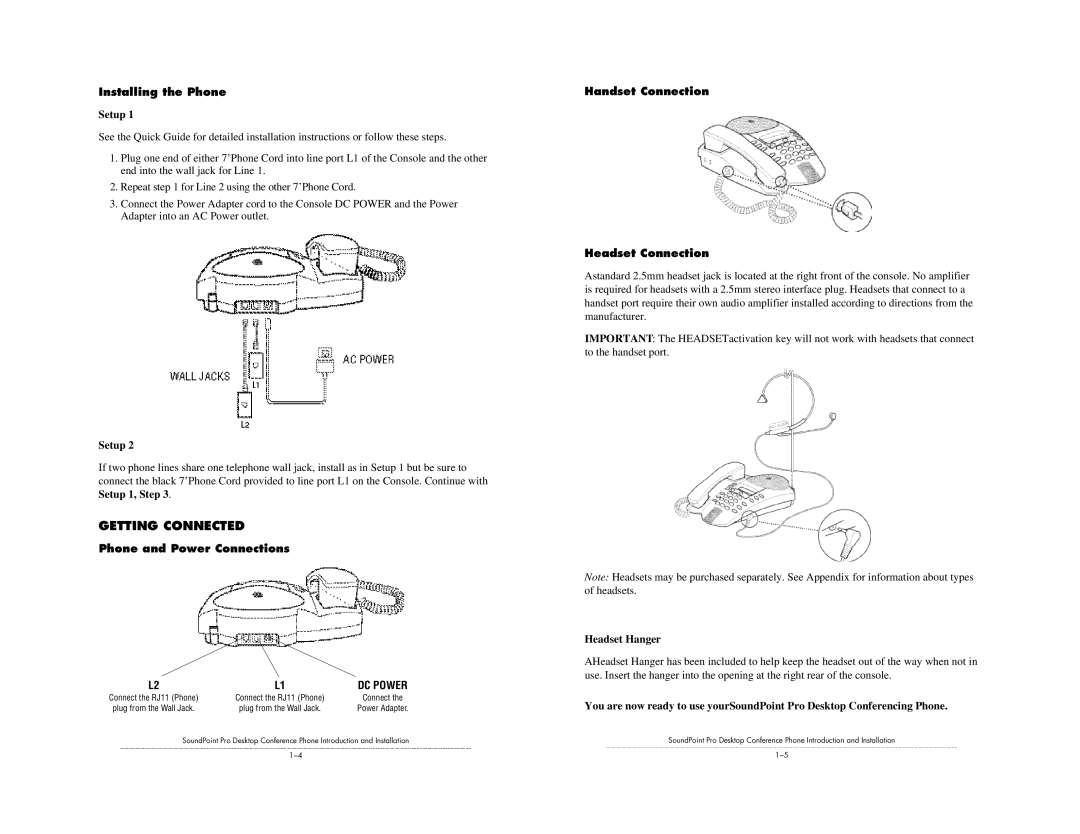
Phone and Power Connections
L2 | L1 | DC POWER |
Connect the RJ11 (Phone) | Connect the RJ11 (Phone) | Connect the |
plug from the Wall Jack. | plug from the Wall Jack. | Power Adapter. |
SoundPoint Pro Desktop Conference Phone Introduction and Installation
Handset Connection
Headset Connection
Astandard 2.5mm headset jack is located at the right front of the console. No amplifier is required for headsets with a 2.5mm stereo interface plug. Headsets that connect to a handset port require their own audio amplifier installed according to directions from the manufacturer.
IMPORTANT: The HEADSETactivation key will not work with headsets that connect to the handset port.
Note: Headsets may be purchased separately. See Appendix for information about types of headsets.
Headset Hanger
AHeadset Hanger has been included to help keep the headset out of the way when not in use. Insert the hanger into the opening at the right rear of the console.
You are now ready to use yourSoundPoint Pro Desktop Conferencing Phone.
SoundPoint Pro Desktop Conference Phone Introduction and Installation