DDV3120 specifications
The GoVideo DDV3120 is a versatile and cutting-edge digital video recorder designed to cater to the needs of both casual users and avid enthusiasts alike. This device embodies a perfect blend of functionality, simplicity, and advanced technology, making it an appealing choice for recording and playback of high-quality video.One of the standout features of the DDV3120 is its ability to support various recording modes, including standard definition and high definition. With support for resolutions up to 1080p, users can enjoy crisp and clear video playback that enhances the viewing experience. Whether for home entertainment or educational purposes, the DDV3120 ensures that captured moments are presented in their best form.
Equipped with a sizable built-in hard drive, the GoVideo DDV3120 allows for extensive storage of recorded content. With ample space, users can save numerous hours of their favorite shows, movies, and personal recordings without the need for additional storage solutions. The intuitive interface makes it easy to navigate through saved content, ensuring quick access to desired recordings.
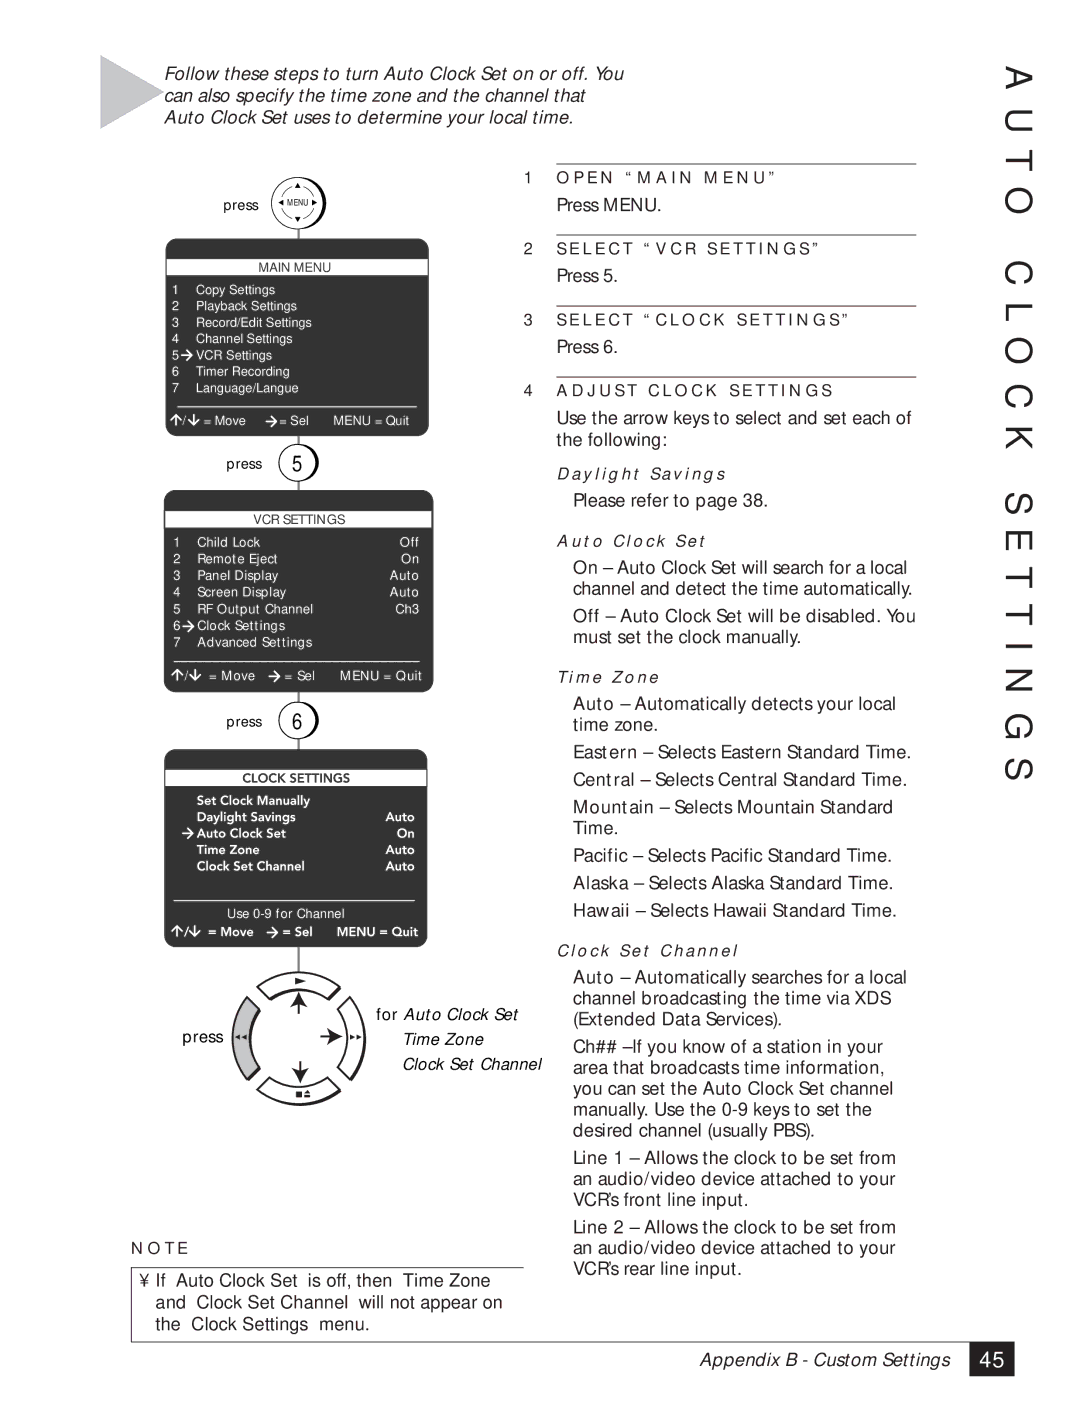
The DDV3120 also features a user-friendly remote control, designed for effortless operation. With dedicated buttons for common functions such as play, pause, record, and rewind, managing recordings is seamless. Additionally, the on-screen menu supports easy programming, allowing users to set recordings for future broadcasts with minimal fuss.
In terms of connectivity, the GoVideo DDV3120 is well-equipped, featuring HDMI, composite, and USB ports. This enables users to connect the device not only to their television but also to various media devices such as USB drives or external hard drives, further expanding its functionality. The option to connect via HDMI ensures that video and audio quality is preserved during playback.
Moreover, the built-in tuner allows for direct recording from live television, enabling users to capture their favorite shows without the need for external devices. This integration simplifies the recording process while expanding the horizons for entertainment options.
Overall, the GoVideo DDV3120 stands out in the digital video recording market, offering an excellent combination of features, ease of use, and advanced recording technologies. From its high-definition capabilities to its extensive storage and connectivity options, it is designed to meet the demands of modern viewers. Whether for recording television shows, family events, or personal projects, the DDV3120 is a reliable companion that enhances the way users interact with digital video content.

