VCR Operation (Continued)
Instant Timer Recording
Instant Timer Recording allows you to easily make a recording of a preset length without using the program- mable timer.
Preparation:
Turn on the power on both the DVD+VCR and the TV.
Be sure the TV is tuned to the DVD+VCR output channel (3 or 4). If a direct VIDEO/AUDIO connection is made between the DVD+VCR and the TV, set the TV’s source selector to VIDEO.
Insert a video cassette with the record safety
1 tab intact.
Select the desired channel with v/V or the num-
2 ber
The channel number appears on the TV screen. If you are recording from another source via the audio/video input jacks (on the Rear or Front panel), select LINE1 or LINE2.
3 Select the desired recording speed (SP or EP) with the SP/EP button.
The tape speed will appear on the TV screen.
4The “Instant Timer Record” will appear on the TV screen.
Recording will start. (The ![]() indicator will light)Press REC (z) twice.
indicator will light)Press REC (z) twice.
5ing time length.
At the end of the recording, the DVD+VCR will stop recording and shut off.
During Instant Timer Recording, you cannot change the
channel on the DVD+VCR.
You can stop the recording by pressing STOP (x).Press REC (z) repeatedly to select the record-
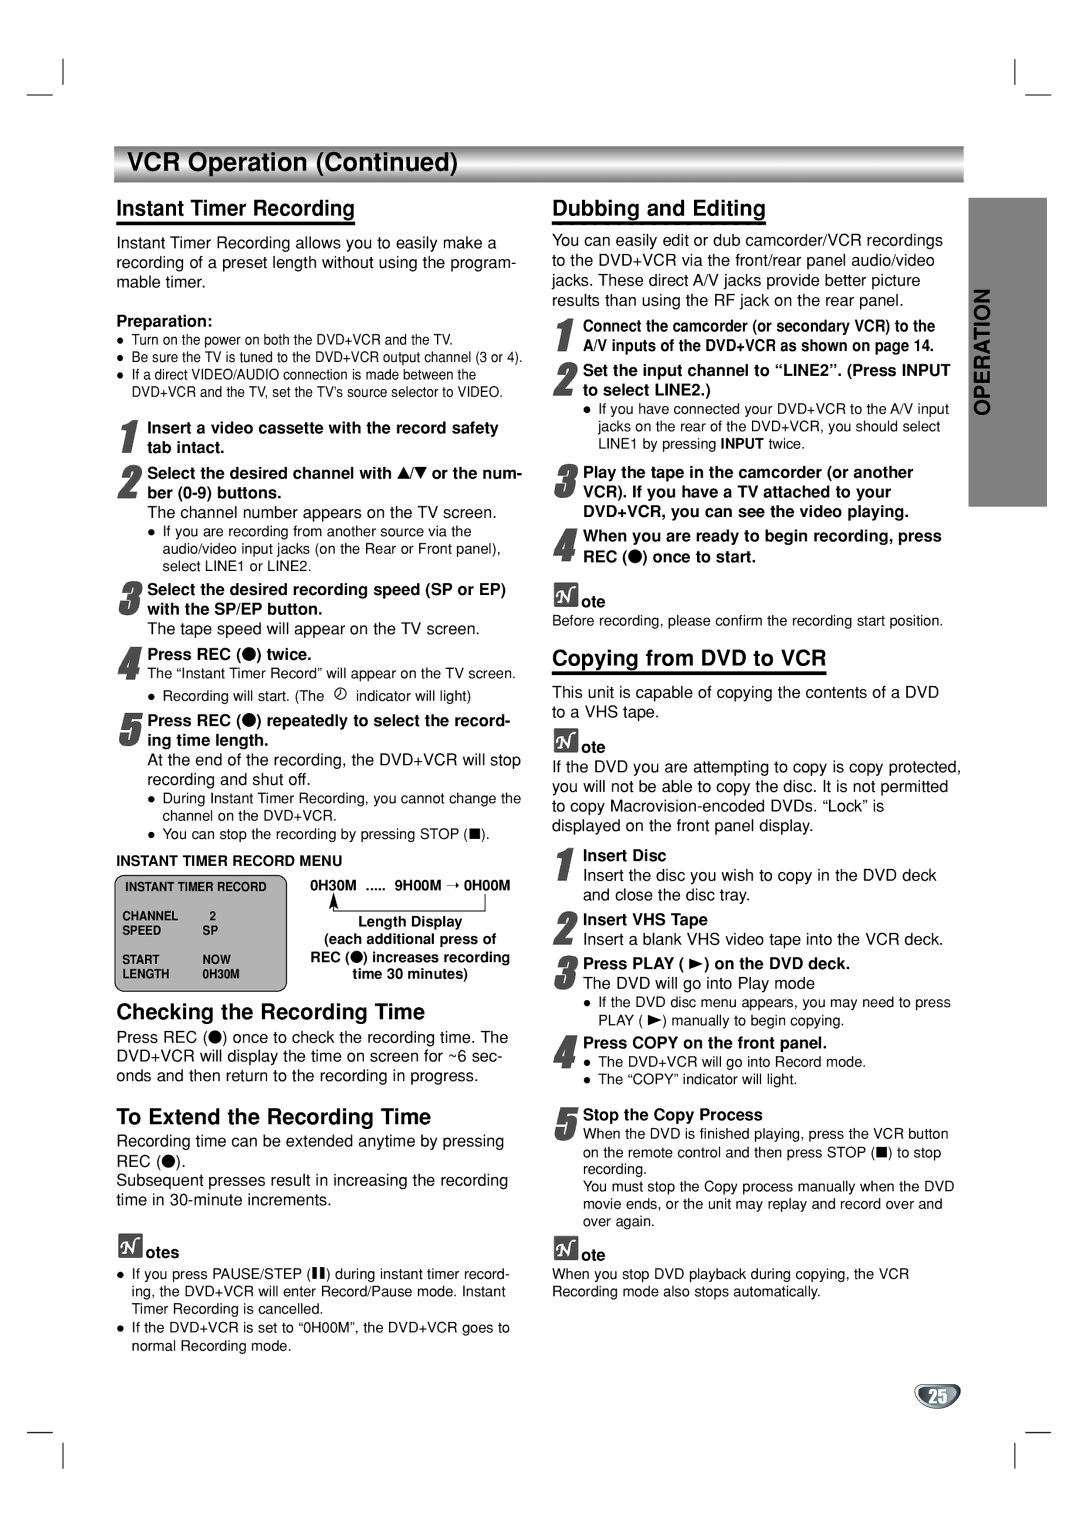
INSTANT TIMER RECORD MENU
INSTANT TIMER RECORD | 0H30M ..... 9H00M ➝ 0H00M | |||||
CHANNEL | 2 |
|
|
|
| |
|
| Length Display | ||||
SPEED | SP |
|
| |||
(each additional press of | ||||||
|
| |||||
START | NOW | REC (z) increases recording | ||||
LENGTH | 0H30M |
|
| time 30 minutes) | ||
|
|
|
|
|
| |
Checking the Recording Time
Press REC (z) once to check the recording time. The DVD+VCR will display the time on screen for ~6 sec- onds and then return to the recording in progress.
To Extend the Recording Time
Recording time can be extended anytime by pressing REC (z).
Subsequent presses result in increasing the recording time in
 otes
otes
If you press PAUSE/STEP (X) during instant timer record- ing, the DVD+VCR will enter Record/Pause mode. Instant Timer Recording is cancelled.
If the DVD+VCR is set to “0H00M”, the DVD+VCR goes to normal Recording mode.