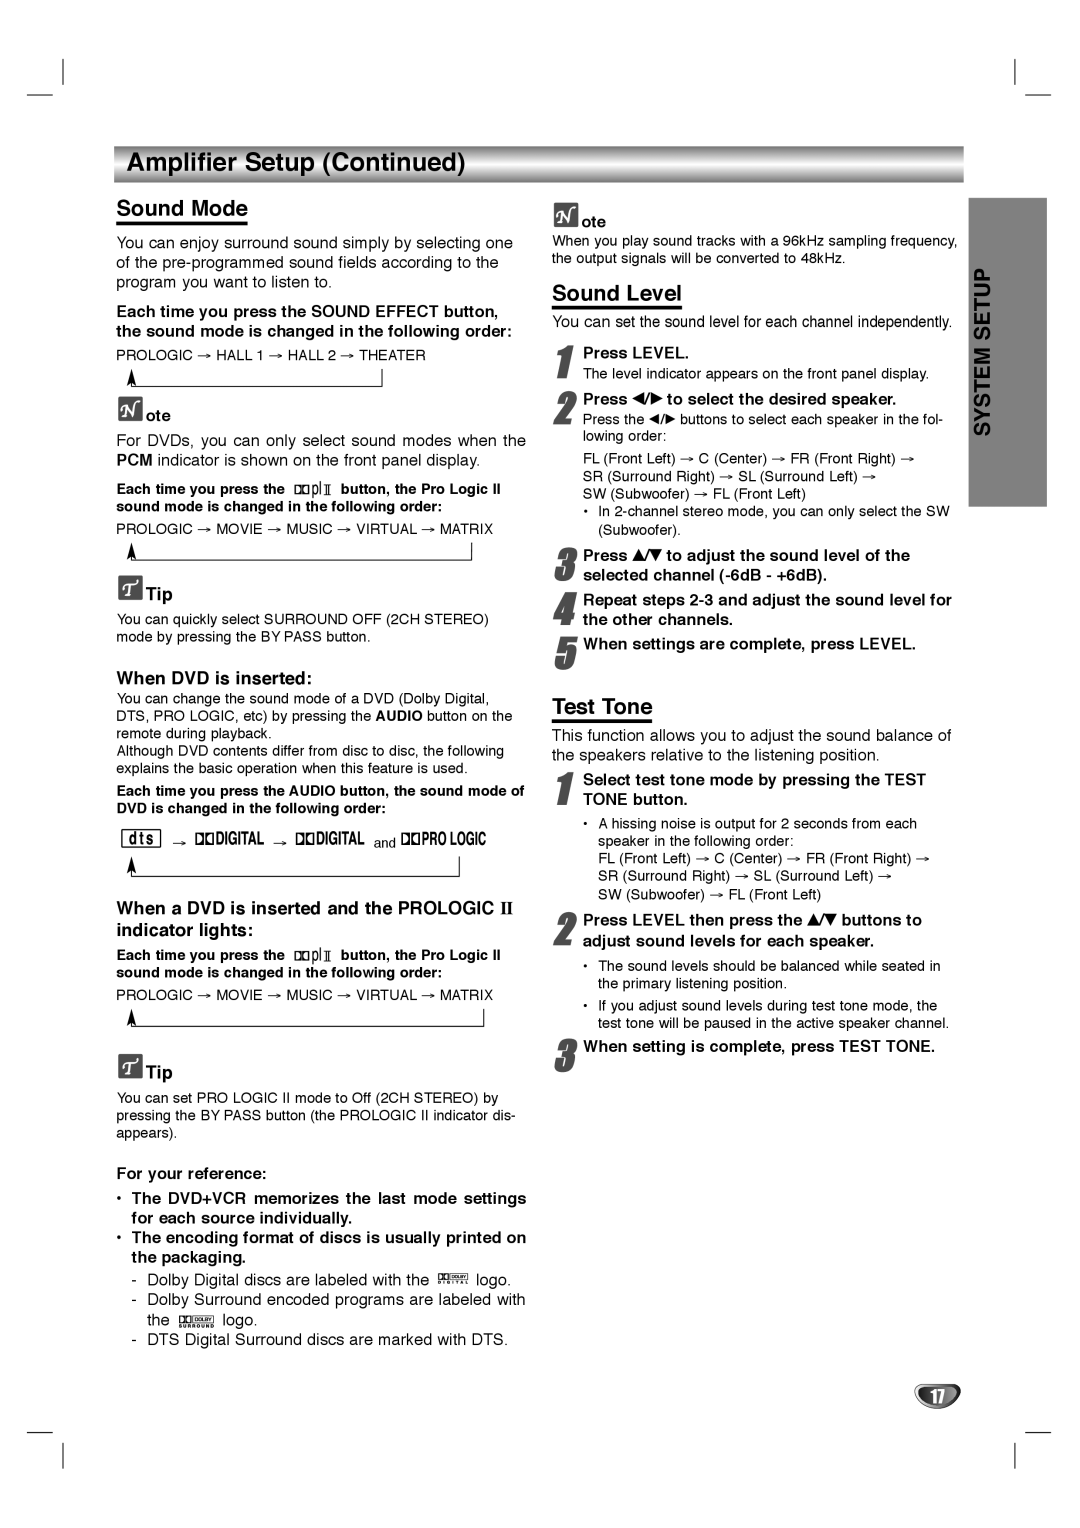
Amplifier Setup (Continued)

Sound Mode

You can enjoy surround sound simply by selecting one of the pre-programmed sound fields according to the program you want to listen to.

Each time you press the SOUND EFFECT button, the sound mode is changed in the following order:

PROLOGIC HALL 1 HALL 2 THEATER

ote

For DVDs, you can only select sound modes when the PCM indicator is shown on the front panel display.

Each time you press thebutton, the Pro Logic II sound mode is changed in the following order:

PROLOGIC MOVIE MUSIC VIRTUAL MATRIX

Tip

You can quickly select SURROUND OFF (2CH STEREO) mode by pressing the BY PASS button.

When DVD is inserted:

You can change the sound mode of a DVD (Dolby Digital, DTS, PRO LOGIC, etc) by pressing the AUDIO button on the remote during playback.

Although DVD contents differ from disc to disc, the following explains the basic operation when this feature is used.

Each time you press the AUDIO button, the sound mode of DVD is changed in the following order:

and

When a DVD is inserted and the PROLOGIC II indicator lights:

Each time you press thebutton, the Pro Logic II sound mode is changed in the following order:

PROLOGIC MOVIE MUSIC VIRTUAL MATRIX

Tip

You can set PRO LOGIC II mode to Off (2CH STEREO) by pressing the BY PASS button (the PROLOGIC II indicator dis- appears).

For your reference:

The DVD+VCR memorizes the last mode settings for each source individually.

The encoding format of discs is usually printed on the packaging.

-Dolby Digital discs are labeled with the logo.

-Dolby Surround encoded programs are labeled with

the logo.

-DTS Digital Surround discs are marked with DTS.

ote

When you play sound tracks with a 96kHz sampling frequency, the output signals will be converted to 48kHz.

Sound Level

You can set the sound level for each channel independently.

1 Press LEVEL.

The level indicator appears on the front panel display.

2 Press b/B to select the desired speaker. Press the b/B buttons to select each speaker in the fol- lowing order:

FL (Front Left) C (Center) FR (Front Right) SR (Surround Right) SL (Surround Left) SW (Subwoofer) FL (Front Left)

In 2-channel stereo mode, you can only select the SW (Subwoofer).

3 Press v/V to adjust the sound level of the selected channel (-6dB - +6dB).

4 Repeat steps 2-3 and adjust the sound level for the other channels.

5 When settings are complete, press LEVEL.

Test Tone

This function allows you to adjust the sound balance of the speakers relative to the listening position.

1

Select test tone mode by pressing the TEST

TONE button.

A hissing noise is output for 2 seconds from each speaker in the following order:

FL (Front Left) C (Center) FR (Front Right) SR (Surround Right) SL (Surround Left) SW (Subwoofer) FL (Front Left)

2 Press LEVEL then press the v/V buttons to adjust sound levels for each speaker.

The sound levels should be balanced while seated in the primary listening position.

If you adjust sound levels during test tone mode, the test tone will be paused in the active speaker channel.

3 When setting is complete, press TEST TONE.

SYSTEM SETUP

17

Page 17
Image 17
GoVideo HT2015, HT2010 manual Sound Mode, Sound Level, Test Tone

HT2015, HT2010 specifications

The GoVideo HT2010 and HT2015 are innovative products designed to deliver high-quality video playback and recording experiences for both personal and professional use. These models cater to varied needs, featuring advanced technologies that facilitate their ease of use and expand their applicability in different contexts.

The HT2010 is a versatile device that offers impressive playback capabilities with support for multiple video formats, ensuring users can enjoy their favorite movies and shows without the hassle of converting files. It is equipped with a vibrant display that renders sharp images and vivid colors, enhancing the viewing experience. The device also incorporates surround sound technology, which allows for an immersive audio environment, making it ideal for home theaters or on-the-go entertainment.

One of the main highlights of the HT2010 is its user-friendly interface. The intuitive controls allow users to navigate through menus effortlessly and access various features with ease. Additionally, the device supports USB connectivity, making it simple to transfer files or connect to external storage devices. This feature is particularly useful for users who wish to play content directly from their USB drives without the need for additional equipment.

On the other hand, the GoVideo HT2015 builds upon the strengths of the HT2010, introducing several upgraded features. Notably, it supports 4K Ultra HD resolution, providing stunning visuals that bring media content to life with higher clarity and detail. This model also incorporates a sleek design, making it an aesthetically pleasing addition to any entertainment setup.

The HT2015 further enhances usability with its built-in streaming capabilities. Users can access popular streaming services directly, eliminating the need for additional devices. The improved processing power ensures smooth playback even when streaming content in high definition.

Both models emphasize connectivity, featuring Wi-Fi and Bluetooth options that facilitate easy pairing with other devices. This makes it simple to share content wirelessly or connect to speakers for an upgraded audio experience.

In summary, the GoVideo HT2010 and HT2015 stand out for their impressive features, cutting-edge technology, and user-friendly design. While the HT2010 serves as a reliable option for standard video playback needs, the HT2015 takes it a step further with 4K capabilities and integrated streaming, making both products excellent choices for avid video enthusiasts.