Graco 3A0732J Disassemble the Pump, Reassemble the Pump, Reconnect the Displacement Pump

Models: 3A0732J

1 44
Download 44 pages 19.77 Kb
Page 16
Image 16

Repair

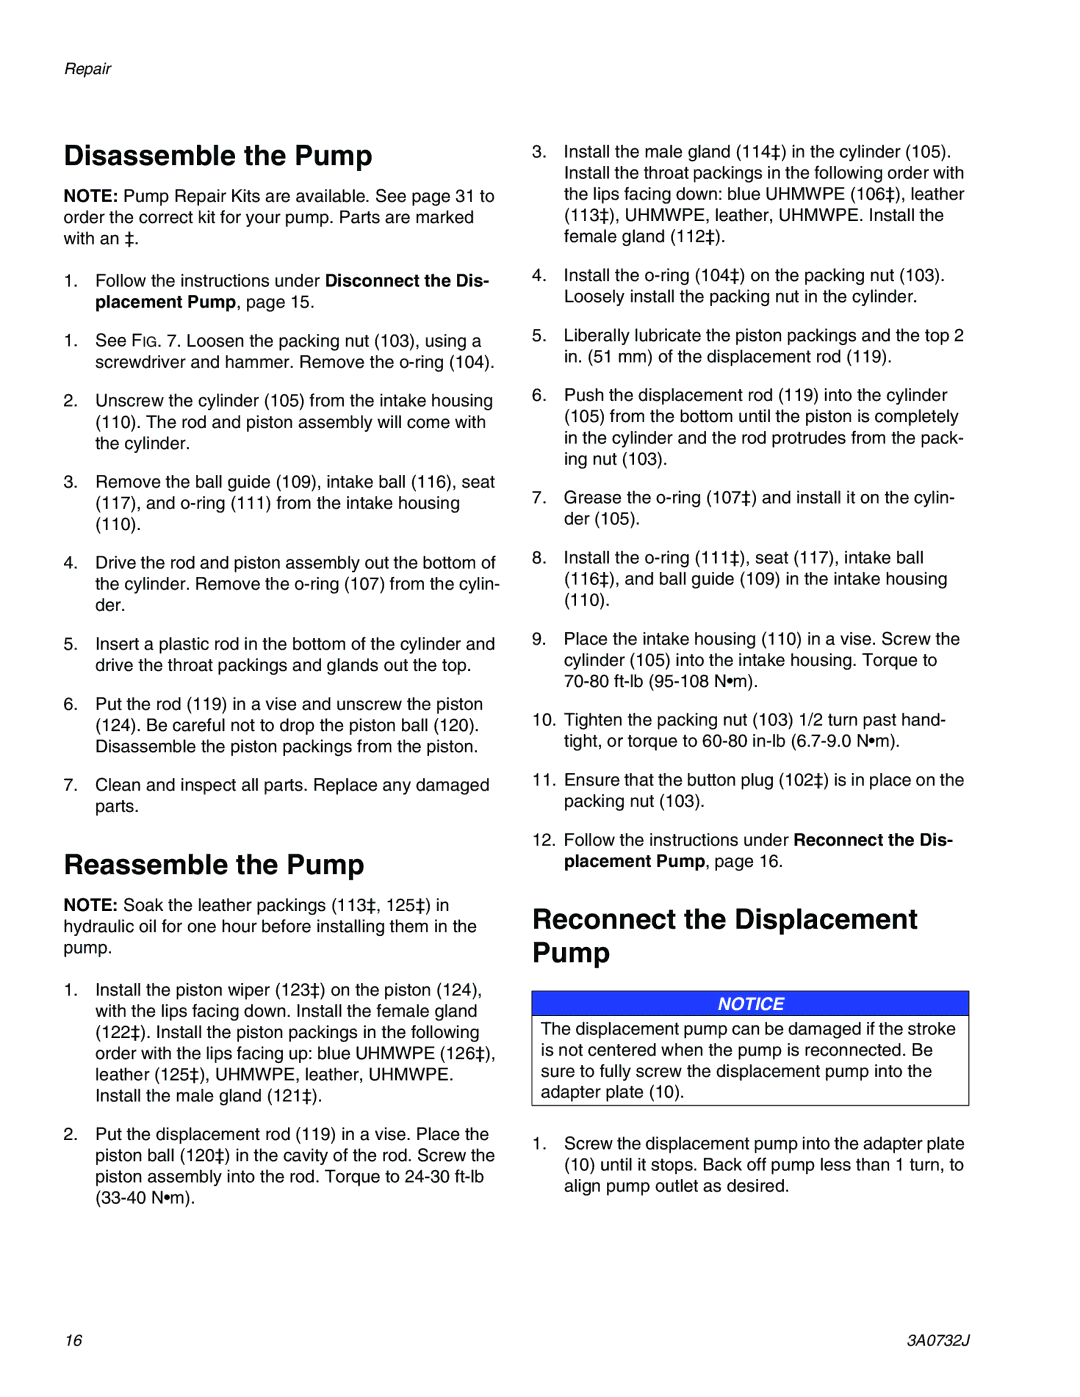
Disassemble the Pump

NOTE: Pump Repair Kits are available. See page 31 to order the correct kit for your pump. Parts are marked with an ‡.

1.Follow the instructions under Disconnect the Dis- placement Pump, page 15.

1.See FIG. 7. Loosen the packing nut (103), using a screwdriver and hammer. Remove the o-ring (104).

2.Unscrew the cylinder (105) from the intake housing (110). The rod and piston assembly will come with the cylinder.

3.Remove the ball guide (109), intake ball (116), seat (117), and o-ring (111) from the intake housing (110).

4.Drive the rod and piston assembly out the bottom of the cylinder. Remove the o-ring (107) from the cylin- der.

5.Insert a plastic rod in the bottom of the cylinder and drive the throat packings and glands out the top.

6.Put the rod (119) in a vise and unscrew the piston (124). Be careful not to drop the piston ball (120). Disassemble the piston packings from the piston.

7.Clean and inspect all parts. Replace any damaged parts.

Reassemble the Pump

NOTE: Soak the leather packings (113‡, 125‡) in hydraulic oil for one hour before installing them in the pump.

1.Install the piston wiper (123‡) on the piston (124), with the lips facing down. Install the female gland (122‡). Install the piston packings in the following order with the lips facing up: blue UHMWPE (126‡), leather (125‡), UHMWPE, leather, UHMWPE. Install the male gland (121‡).

2.Put the displacement rod (119) in a vise. Place the piston ball (120‡) in the cavity of the rod. Screw the piston assembly into the rod. Torque to 24-30 ft-lb (33-40 N•m).

3.Install the male gland (114‡) in the cylinder (105). Install the throat packings in the following order with the lips facing down: blue UHMWPE (106‡), leather (113‡), UHMWPE, leather, UHMWPE. Install the female gland (112‡).

4.Install the o-ring (104‡) on the packing nut (103). Loosely install the packing nut in the cylinder.

5.Liberally lubricate the piston packings and the top 2 in. (51 mm) of the displacement rod (119).

6.Push the displacement rod (119) into the cylinder

(105)from the bottom until the piston is completely in the cylinder and the rod protrudes from the pack- ing nut (103).

7.Grease the o-ring (107‡) and install it on the cylin- der (105).

8.Install the o-ring (111‡), seat (117), intake ball (116‡), and ball guide (109) in the intake housing

(110).

9.Place the intake housing (110) in a vise. Screw the cylinder (105) into the intake housing. Torque to 70-80 ft-lb (95-108 N•m).

10.Tighten the packing nut (103) 1/2 turn past hand- tight, or torque to 60-80 in-lb (6.7-9.0 N•m).

11.Ensure that the button plug (102‡) is in place on the packing nut (103).

12.Follow the instructions under Reconnect the Dis- placement Pump, page 16.

Reconnect the Displacement Pump

NOTICE

The displacement pump can be damaged if the stroke is not centered when the pump is reconnected. Be sure to fully screw the displacement pump into the adapter plate (10).

1.Screw the displacement pump into the adapter plate (10) until it stops. Back off pump less than 1 turn, to align pump outlet as desired.

16

3A0732J

Page 16
Image 16
Graco 3A0732J important safety instructions Disassemble the Pump, Reassemble the Pump, Reconnect the Displacement Pump

3A0732J specifications

The Graco 3A0732J is a versatile and efficient airless paint sprayer that is designed to meet the needs of both professionals and DIY enthusiasts. Known for its high performance and reliability, this model stands out in the market for its ease of use and advanced features.

One of the key features of the Graco 3A0732J is its powerful motor, which allows for the sprayer to deliver a consistent and high-output performance. With a maximum tip size of up to .017 inches, it is well-suited for a variety of applications, including interior walls, ceilings, and even exterior surfaces. This capability makes it an ideal choice for both small and large projects, providing the flexibility to handle different painting jobs with ease.

The sprayer is equipped with Graco’s exclusive ProXChange pump technology, which enables users to easily swap out the pump without any tools required. This feature not only reduces downtime but also enhances the efficiency of the painting process. Additionally, the Graco 3A0732J utilizes a reliable and durable design, ensuring that it withstands the rigors of heavy use while maintaining a high level of performance.

Another notable characteristic of this sprayer is its adjustable pressure control. Users can easily modify the pressure settings to suit the specific requirements of different projects, which helps to achieve a smooth and even finish. This adaptability makes the Graco 3A0732J suitable for various coatings, from paints and stains to sealers.

Moreover, the built-in suction hose allows for easy material pickup from any container, offering users the freedom to use their preferred paint or coating without limitation. This feature is particularly appealing for those who wish to utilize bulk materials or different paint types.

The Graco 3A0732J also emphasizes portability and convenience. It features a lightweight design and an integrated handle, making it easy to transport from one job site to another. Additionally, the sprayer's compact size ensures efficient storage when not in use.

In summary, the Graco 3A0732J is a highly functional airless paint sprayer that combines power, flexibility, and user-friendly features. Its advanced technologies, such as ProXChange pump exchange and adjustable pressure control, make it a reliable choice for anyone looking to achieve professional-grade results in their painting projects. Whether for home improvement tasks or larger commercial jobs, this sprayer stands out for its performance and durability.