Reassembly
1.Install air control valve assembly (5) with valve turned fully counterclockwise to out- ermost position. Torque to
2.Install air inlet valve assembly (27) with valve turned fully counterclockwise to out- ermost position. Torque to
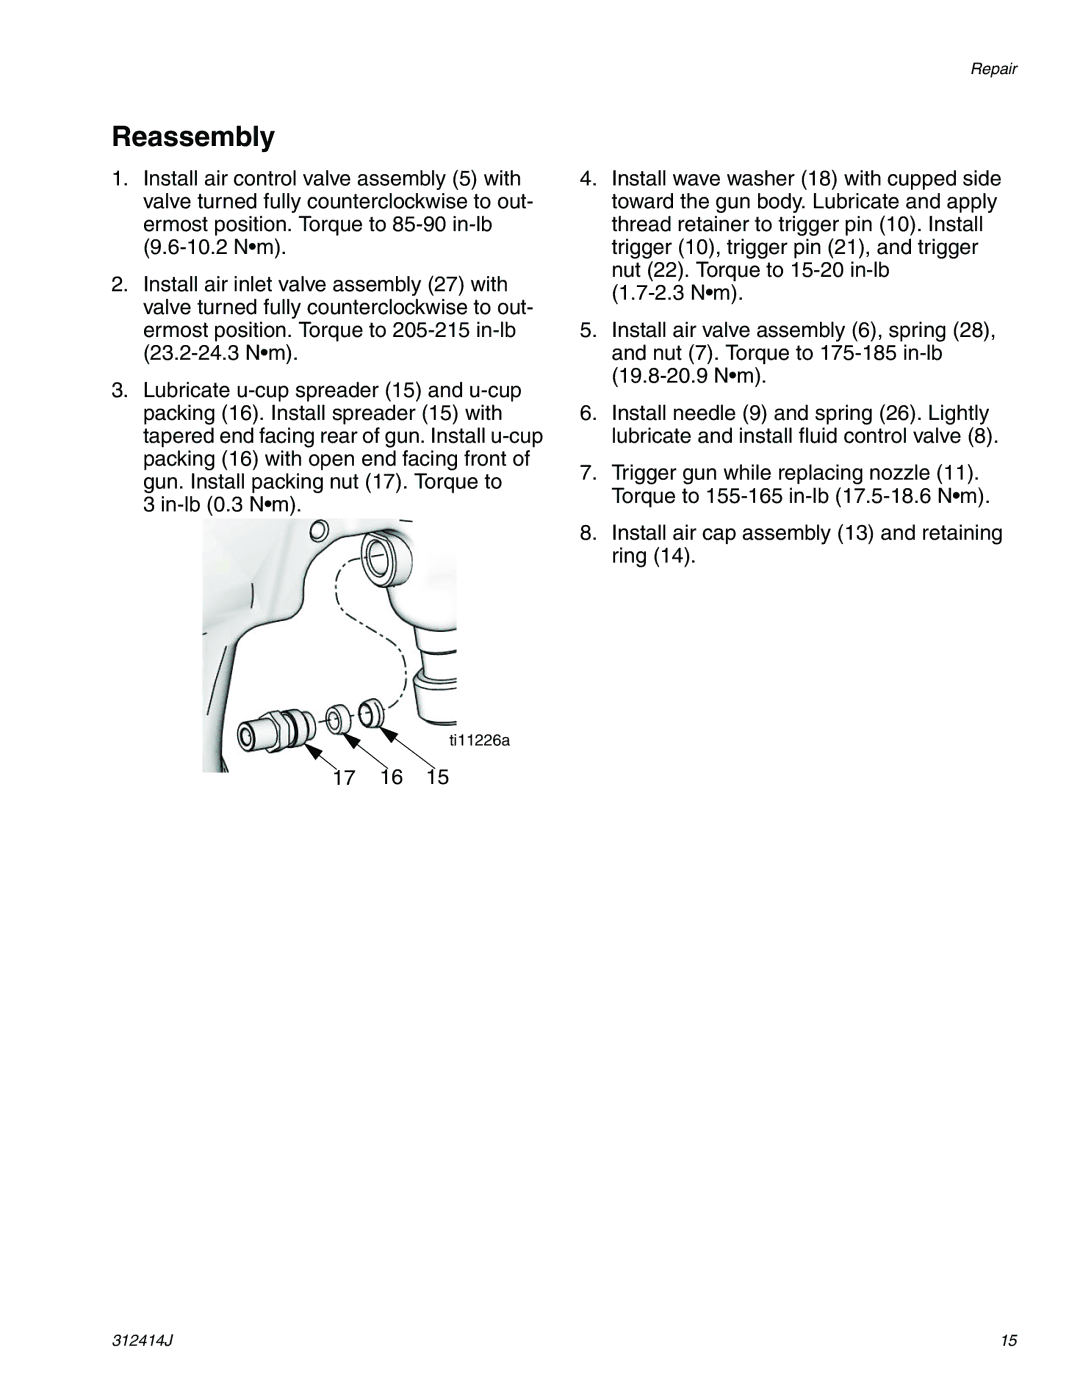
3.Lubricate
3
ti11226a
17 16 15
Repair
4.Install wave washer (18) with cupped side toward the gun body. Lubricate and apply thread retainer to trigger pin (10). Install trigger (10), trigger pin (21), and trigger nut (22). Torque to
5.Install air valve assembly (6), spring (28), and nut (7). Torque to
6.Install needle (9) and spring (26). Lightly lubricate and install fluid control valve (8).
7.Trigger gun while replacing nozzle (11). Torque to
8.Install air cap assembly (13) and retaining ring (14).
312414J | 15 |