DISCONNECTING CABLES
After removal of the cable cover, the connector area will be accessible then. Please disconnect every cable before separation of main unit and the adjustable stand assembly. When later the main unit and stand assembly are to be
Some connectors, such as the LAN connector and the cash drawer connector have to be inserted until a click is heard. It is recommended that connectors such as the external VGA connector, the LPT port connector and the COM port connectors, be screwed into place once seated. If the COM1 port must be used, the COM1 terminator that occupies the COM1 port must be removed. However, when using the COM1 port, be sure to use devices that provide proper hardware handshaking signals in order to keep the cash drawer control features. A serial mouse is one example of a device that does not support handshaking.
SEPARATING MAIN UNIT
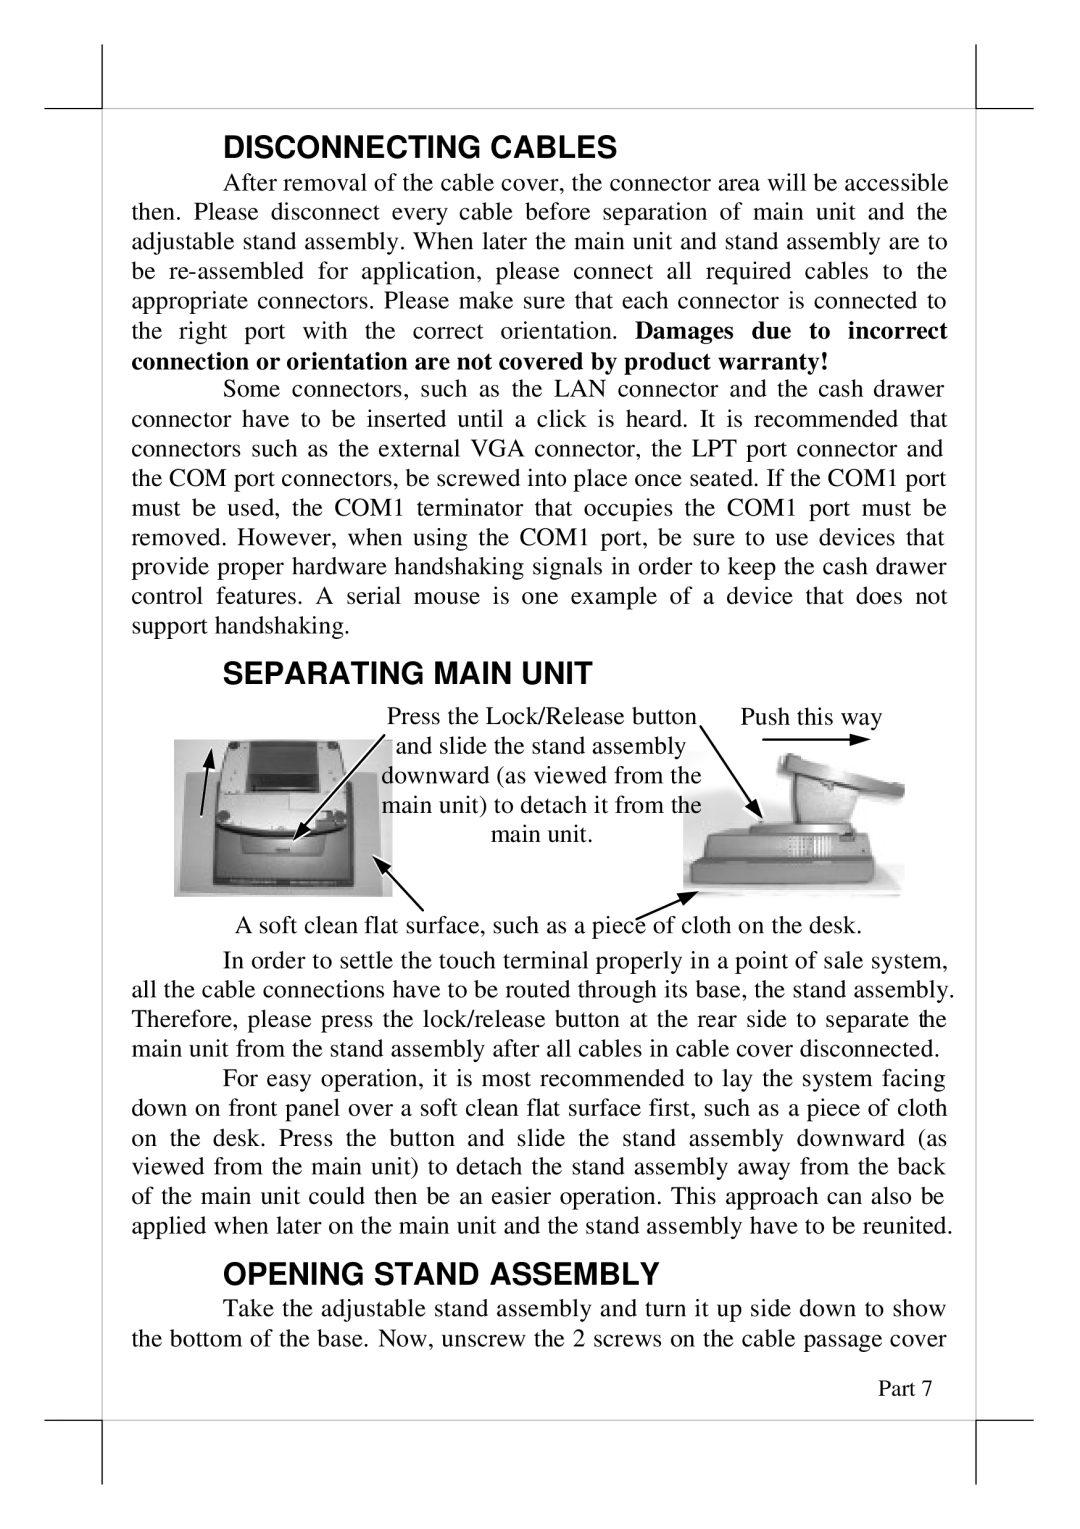
Press the Lock/Release button Push this way and slide the stand assembly ![]()
![]()
downward (as viewed from the main unit) to detach it from the main unit.
A soft clean flat surface, such as a piece of cloth on the desk.
In order to settle the touch terminal properly in a point of sale system, all the cable connections have to be routed through its base, the stand assembly. Therefore, please press the lock/release button at the rear side to separate the main unit from the stand assembly after all cables in cable cover disconnected.
For easy operation, it is most recommended to lay the system facing down on front panel over a soft clean flat surface first, such as a piece of cloth on the desk. Press the button and slide the stand assembly downward (as viewed from the main unit) to detach the stand assembly away from the back of the main unit could then be an easier operation. This approach can also be applied when later on the main unit and the stand assembly have to be reunited.
OPENING STAND ASSEMBLY
Take the adjustable stand assembly and turn it up side down to show the bottom of the base. Now, unscrew the 2 screws on the cable passage cover