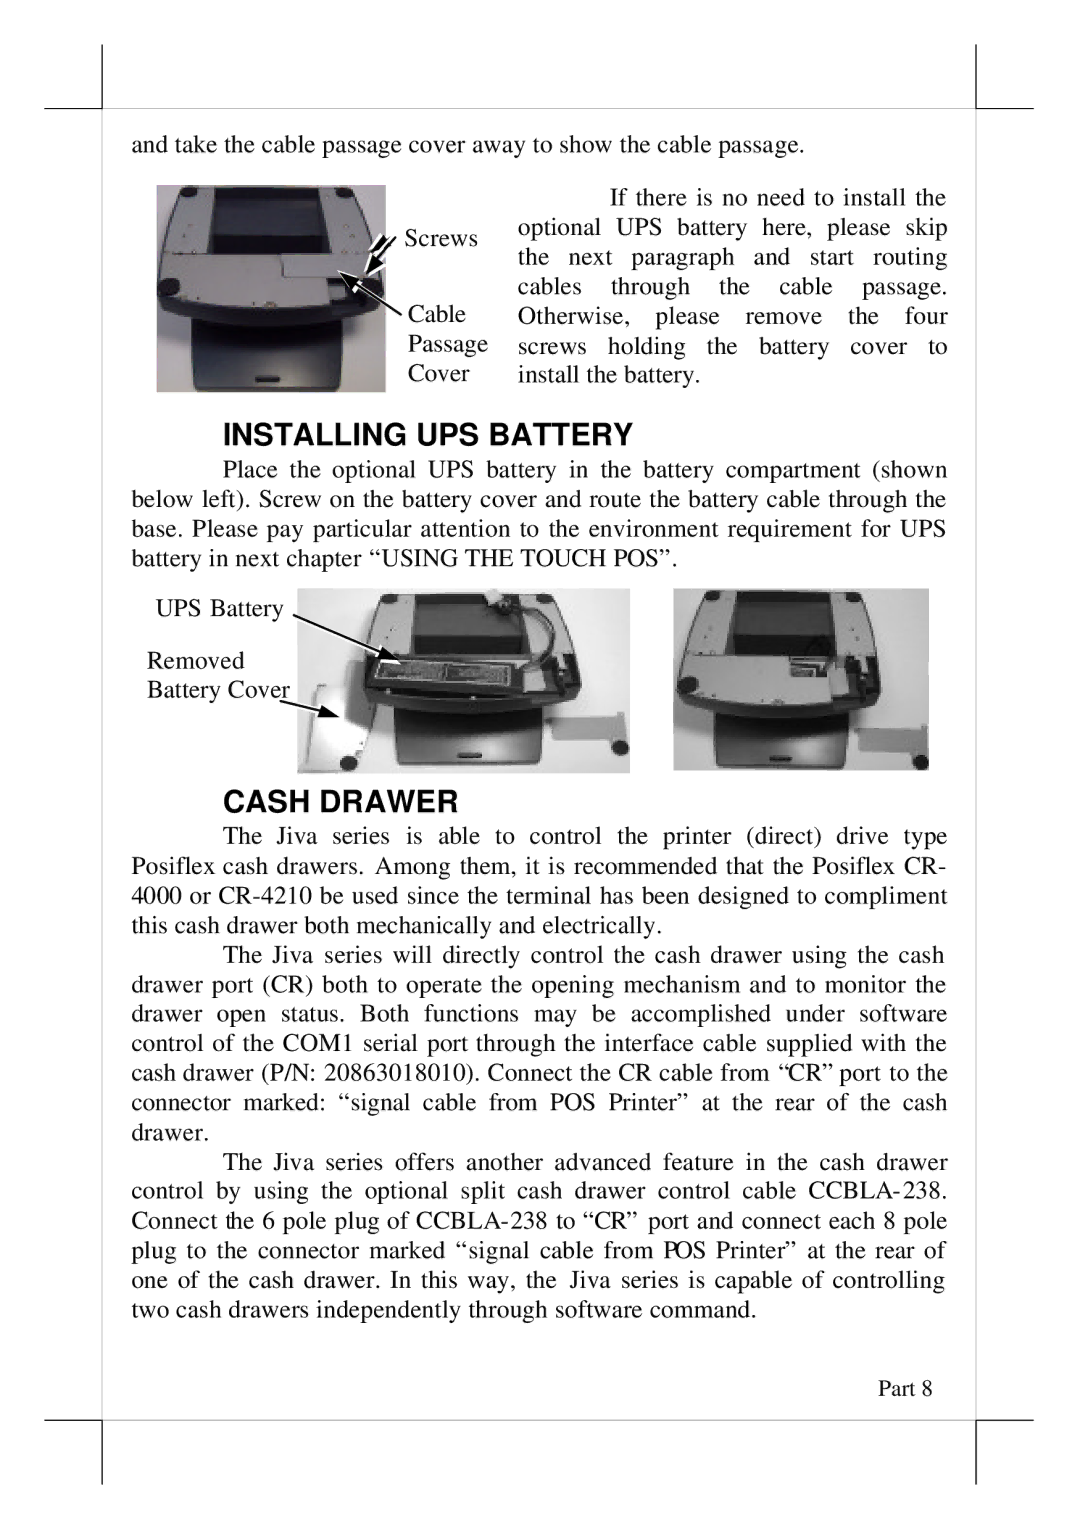
and take the cable passage cover away to show the cable passage.
![]() Screws
Screws
![]() Cable
Cable
Passage
Cover
If there is no need to install the optional UPS battery here, please skip the next paragraph and start routing cables through the cable passage. Otherwise, please remove the four screws holding the battery cover to install the battery.
INSTALLING UPS BATTERY
Place the optional UPS battery in the battery compartment (shown below left). Screw on the battery cover and route the battery cable through the base. Please pay particular attention to the environment requirement for UPS battery in next chapter “USING THE TOUCH POS”.
UPS Battery
Removed
Battery Cover
CASH DRAWER
The Jiva series is able to control the printer (direct) drive type Posiflex cash drawers. Among them, it is recommended that the Posiflex CR- 4000 or
The Jiva series will directly control the cash drawer using the cash drawer port (CR) both to operate the opening mechanism and to monitor the drawer open status. Both functions may be accomplished under software control of the COM1 serial port through the interface cable supplied with the cash drawer (P/N: 20863018010). Connect the CR cable from “CR” port to the connector marked: “signal cable from POS Printer” at the rear of the cash drawer.
The Jiva series offers another advanced feature in the cash drawer control by using the optional split cash drawer control cable