ASSEMBLY
Install Seat and Control Lever Handles
1.Install seat on platform and secure using nuts provided in small parts bag.
2.Connect seat safety switch to wiring harness.
3.Install handles on control levers and secure using sleeves, cap screws and nuts provided in small parts bag.
Activate and Charge Battery
cCAUTION: Avoid injury! Battery electrolyte contains sulfuric acid. It is poisonous and can cause serious burns:
•Wear eye protection and gloves.
•Keep skin protected.
•If electrolyte is swallowed, get medical attention immediately.
•If electrolyte is splashed into eyes, flush immediately with water for
•If electrolyte is splashed onto skin, flush immediately with water and get medical attention if necessary.
1.Park the vehicle safely. (See Parking Safely in the Safety section.)
2.Remove battery from machine and set it on a level surface.
3.Remove battery cell caps. Make sure cap vents are not plugged.
C |
A |
B |
MIF |
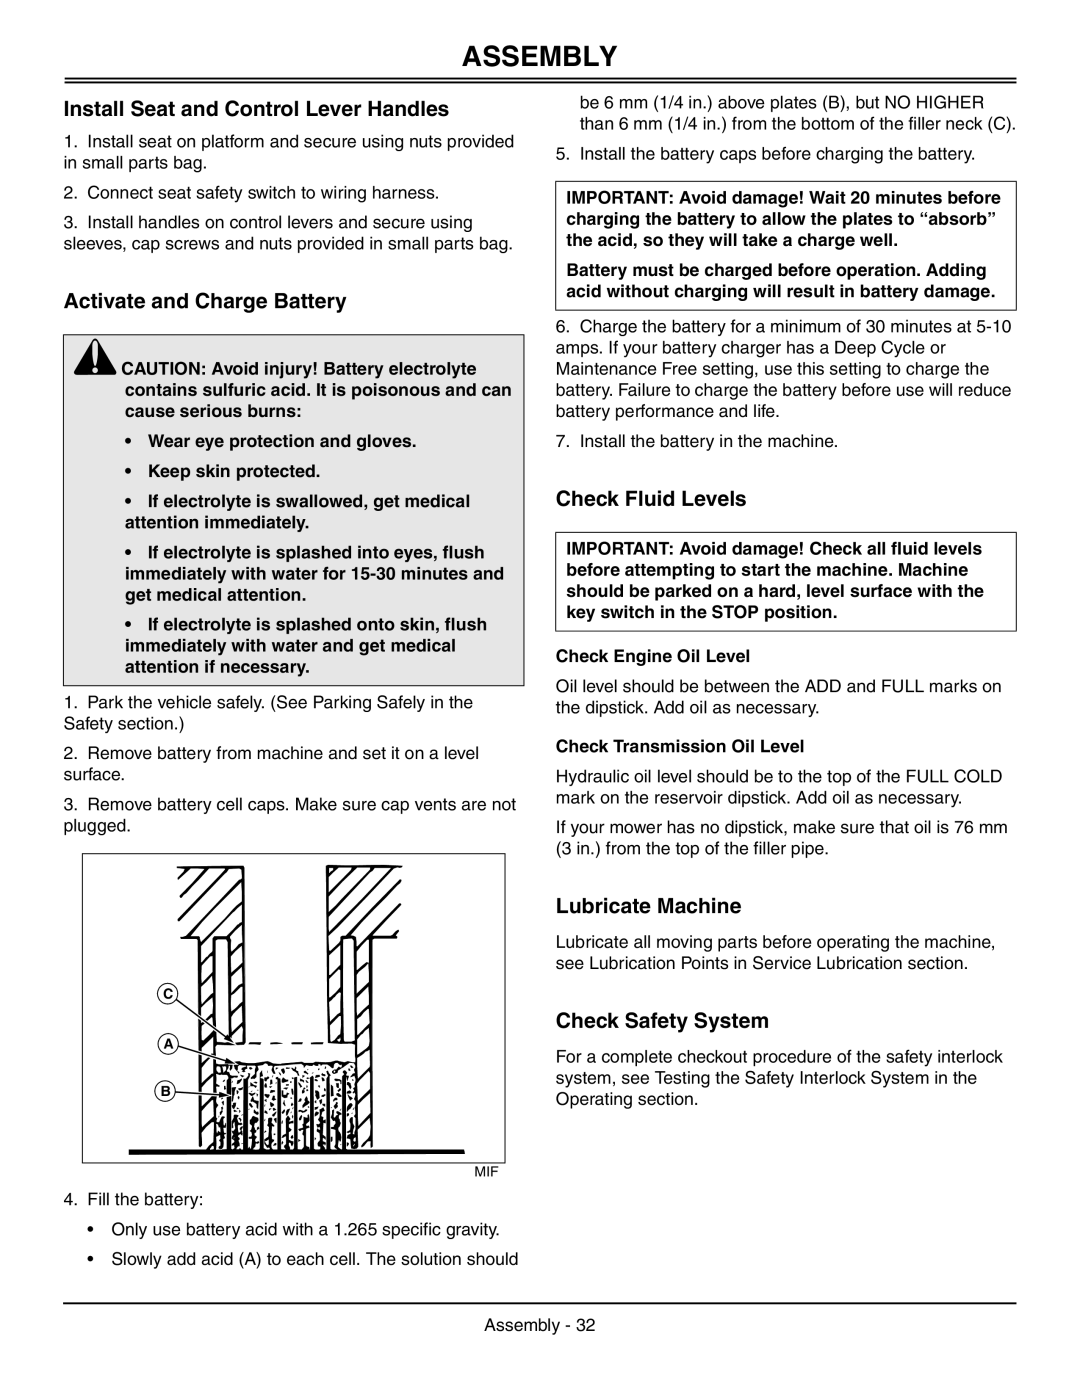
4.Fill the battery:
•Only use battery acid with a 1.265 specific gravity.
•Slowly add acid (A) to each cell. The solution should
be 6 mm (1/4 in.) above plates (B), but NO HIGHER than 6 mm (1/4 in.) from the bottom of the filler neck (C).
5. Install the battery caps before charging the battery.
IMPORTANT: Avoid damage! Wait 20 minutes before charging the battery to allow the plates to “absorb” the acid, so they will take a charge well.
Battery must be charged before operation. Adding acid without charging will result in battery damage.
6.Charge the battery for a minimum of 30 minutes at
7.Install the battery in the machine.
Check Fluid Levels
IMPORTANT: Avoid damage! Check all fluid levels before attempting to start the machine. Machine should be parked on a hard, level surface with the key switch in the STOP position.
Check Engine Oil Level
Oil level should be between the ADD and FULL marks on the dipstick. Add oil as necessary.
Check Transmission Oil Level
Hydraulic oil level should be to the top of the FULL COLD mark on the reservoir dipstick. Add oil as necessary.
If your mower has no dipstick, make sure that oil is 76 mm (3 in.) from the top of the filler pipe.
Lubricate Machine
Lubricate all moving parts before operating the machine, see Lubrication Points in Service Lubrication section.
Check Safety System
For a complete checkout procedure of the safety interlock system, see Testing the Safety Interlock System in the Operating section.
Assembly - 32