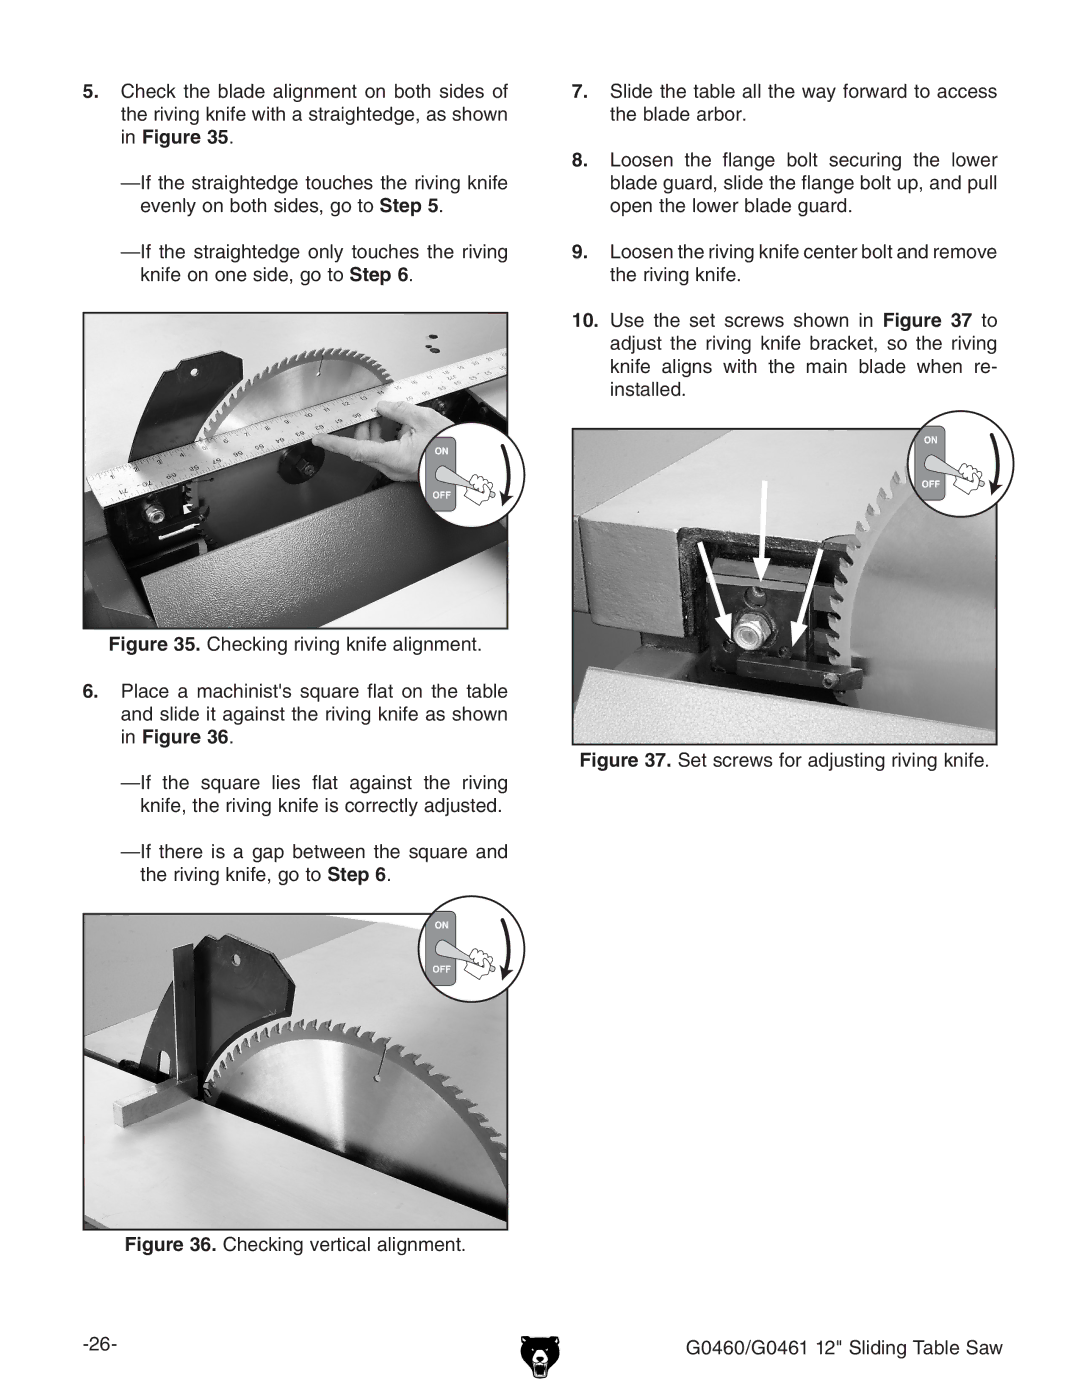
5.Check the blade alignment on both sides of the riving knife with a straightedge, as shown in Figure 35.
Figure 35. Checking riving knife alignment.
6.Place a machinist's square flat on the table and slide it against the riving knife as shown in Figure 36.
—If the square lies flat against the riving knife, the riving knife is correctly adjusted.
—If there is a gap between the square and the riving knife, go to Step 6.
7.Slide the table all the way forward to access the blade arbor.
8.Loosen the flange bolt securing the lower blade guard, slide the flange bolt up, and pull open the lower blade guard.
9.Loosen the riving knife center bolt and remove the riving knife.
10.Use the set screws shown in Figure 37 to adjust the riving knife bracket, so the riving knife aligns with the main blade when re- installed.
Figure 37. Set screws for adjusting riving knife.
Figure 36. Checking vertical alignment.
G0460/G0461 12" Sliding Table Saw |
