•When sanding workpieces with irregular widths, take very light sanding passes to pre- vent gouges. As the width of the workpiece decreases, the load on the sanding motor will reduce and the sanding drum will speed up, causing a gouge.
•DO NOT edge sand boards. This can cause boards to kickback, and may result in serious personal injury. Edge sanding boards also can cause damage to the conveyor belt and sandpaper.
•Feed the workpiece into the sander at an angle to maximize stock removal and sand- paper effectiveness, but feed the workpiece straight to reduce sandpaper grit scratches for the finish passes.
•When sanding workpieces with a bow or crown, place the high point up, which pre- vents the workpiece from rocking, and take very light passes.
DO NOT sand more than one board at a time
Sanding Belt
Oscillation Rate
To prevent sanding "streaks" in the workpiece, the sanding belt oscillates from
We recommend that one oscillation cycle (the movement of the sanding belt from one side to the other) should be
Note: You will hear a metallic "thump" when the sanding belt changes oscillation direction. This noise is normal.
G0644 15" Open-End Wide Belt Sander
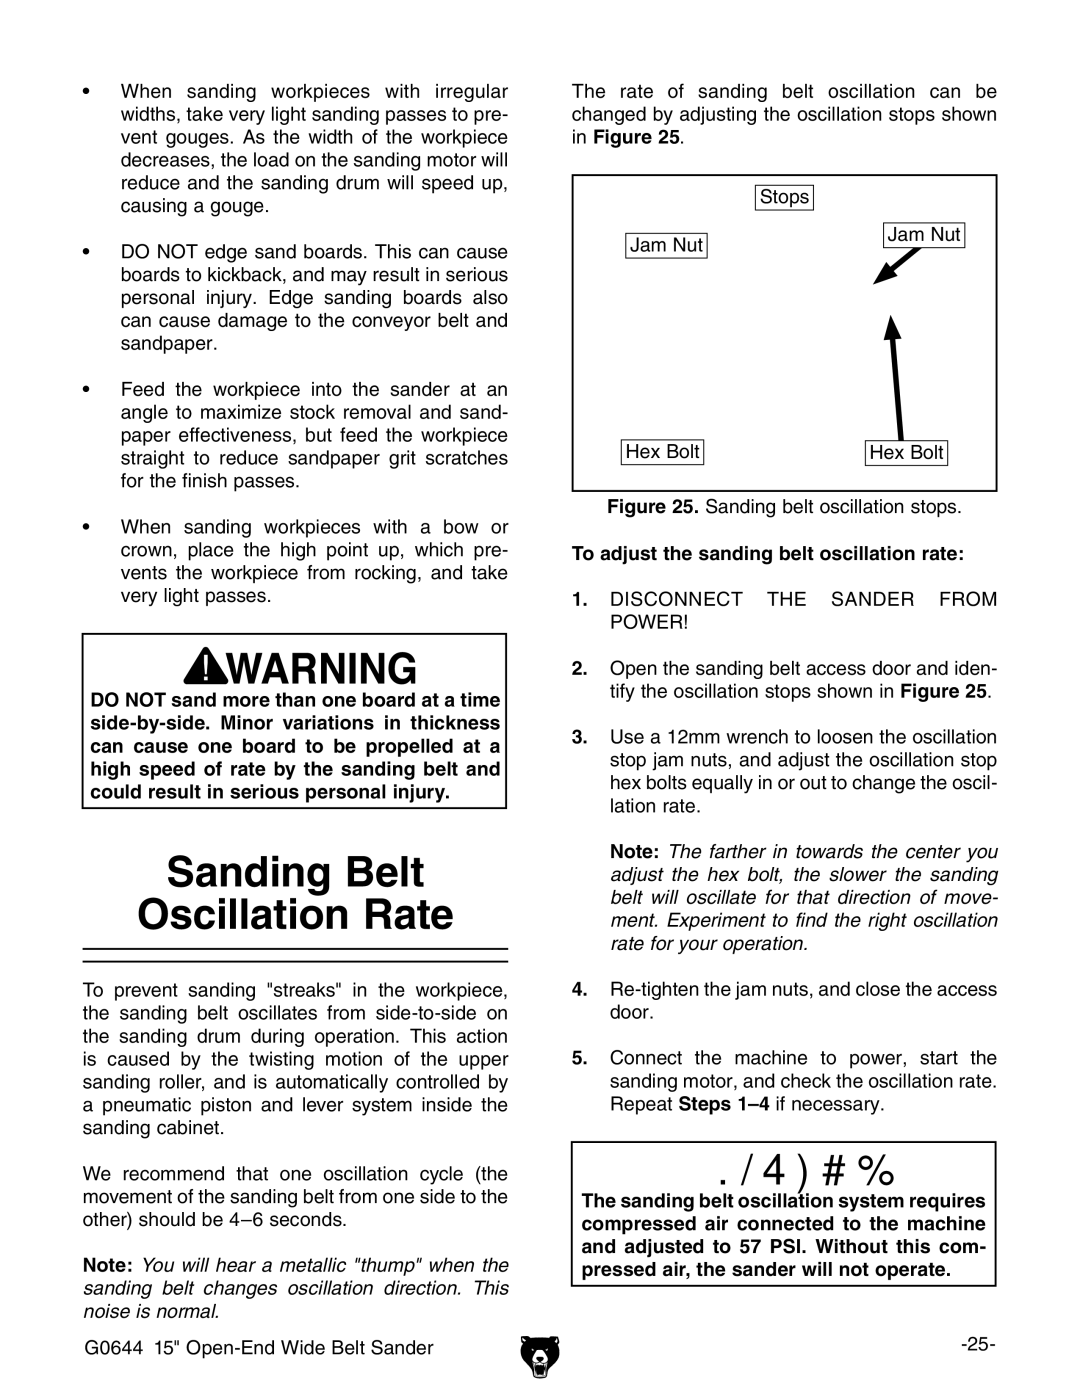
The rate of sanding belt oscillation can be changed by adjusting the oscillation stops shown in Figure 25.
| Stops |
Jam Nut | Jam Nut |
|
Hex Bolt | Hex Bolt |
Figure 25. Sanding belt oscillation stops.
To adjust the sanding belt oscillation rate:
1.DISCONNECT THE SANDER FROM POWER!
2.Open the sanding belt access door and iden- tify the oscillation stops shown in Figure 25.
3.Use a 12mm wrench to loosen the oscillation stop jam nuts, and adjust the oscillation stop hex bolts equally in or out to change the oscil- lation rate.
Note: The farther in towards the center you adjust the hex bolt, the slower the sanding belt will oscillate for that direction of move- ment. Experiment to find the right oscillation rate for your operation.
4.
5.Connect the machine to power, start the sanding motor, and check the oscillation rate. Repeat Steps
NOTICE
The sanding belt oscillation system requires compressed air connected to the machine and adjusted to 57 PSI. Without this com- pressed air, the sander will not operate.