SECTION 5: ADJUSTMENTS
Tables |
| Miter Gage |
|
|
|
|
|
|
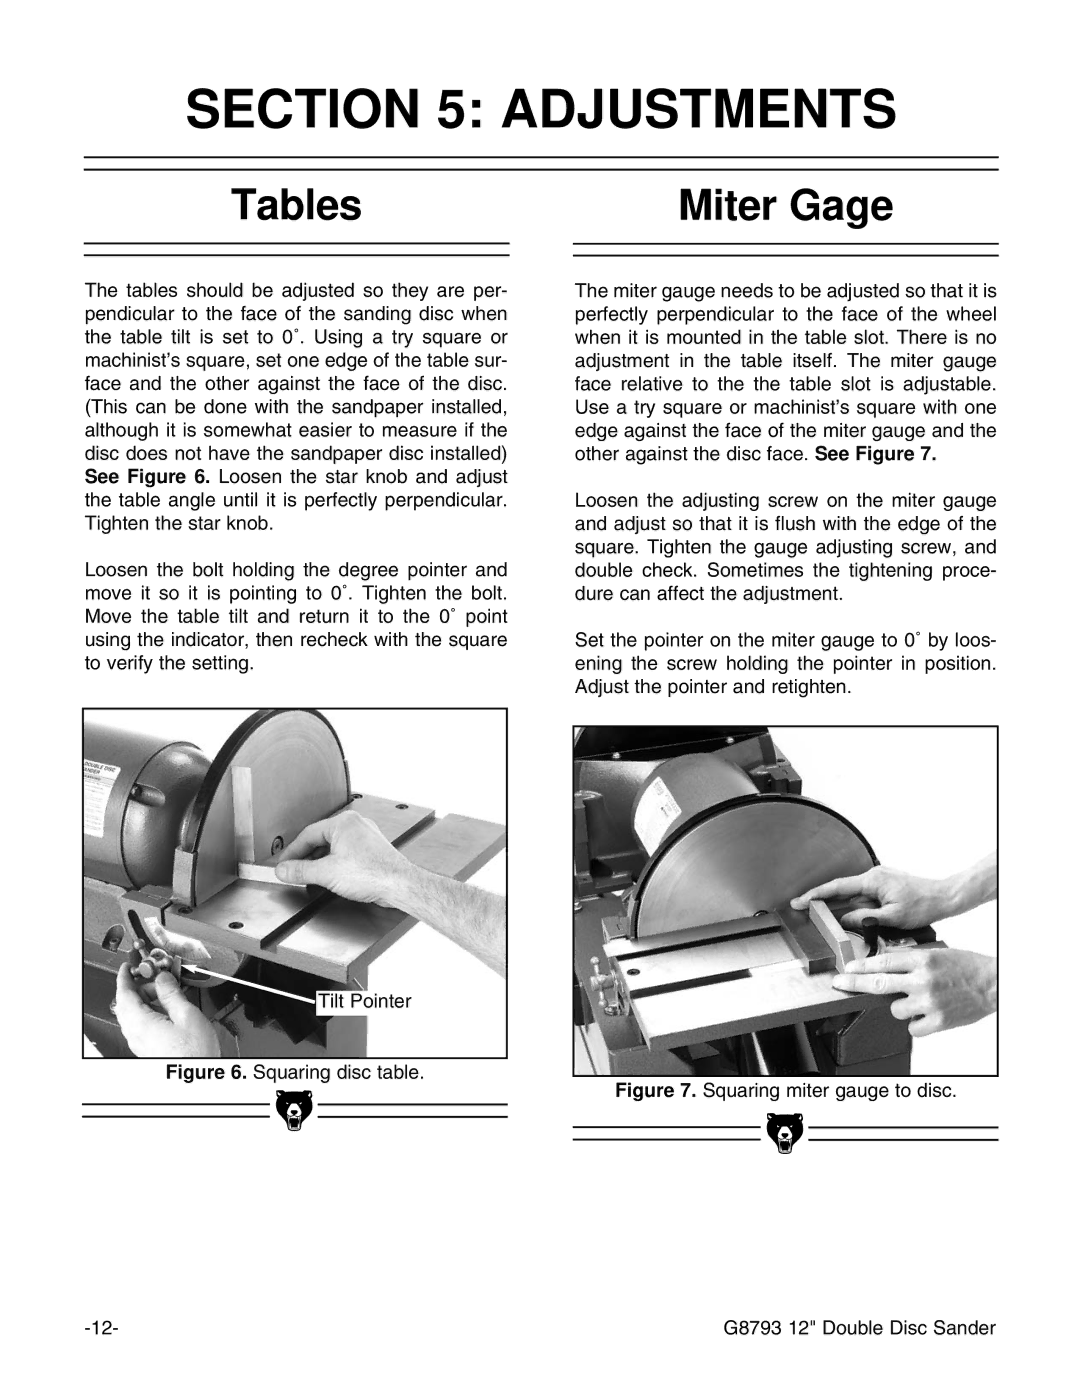
The tables should be adjusted so they are per- pendicular to the face of the sanding disc when the table tilt is set to 0˚. Using a try square or machinist’s square, set one edge of the table sur- face and the other against the face of the disc. (This can be done with the sandpaper installed, although it is somewhat easier to measure if the disc does not have the sandpaper disc installed) See Figure 6. Loosen the star knob and adjust the table angle until it is perfectly perpendicular. Tighten the star knob.
Loosen the bolt holding the degree pointer and move it so it is pointing to 0˚. Tighten the bolt. Move the table tilt and return it to the 0˚ point using the indicator, then recheck with the square to verify the setting.
![]() Tilt Pointer
Tilt Pointer
Figure 6. Squaring disc table.
The miter gauge needs to be adjusted so that it is perfectly perpendicular to the face of the wheel when it is mounted in the table slot. There is no adjustment in the table itself. The miter gauge face relative to the the table slot is adjustable. Use a try square or machinist’s square with one edge against the face of the miter gauge and the other against the disc face. See Figure 7.
Loosen the adjusting screw on the miter gauge and adjust so that it is flush with the edge of the square. Tighten the gauge adjusting screw, and double check. Sometimes the tightening proce- dure can affect the adjustment.
Set the pointer on the miter gauge to 0˚ by loos- ening the screw holding the pointer in position. Adjust the pointer and retighten.
Figure 7. Squaring miter gauge to disc.
|
|
|
|
|
|
|
|
|
|
|
|
|
|
|
|
|
|
|
|
|
|
|
|
|
|
|
|
|
|
| G8793 12" Double Disc Sander | |||