Edge Joining | Beveling | |
|
|
|
|
|
|
The purpose of edge joining is to produce a fin- ished,
1.Make sure the fence is set to 90˚. Double check with a try square or machinist’s square.
2.Inspect stock for soundness and grain direc- tion.
3.If the board is bowed (curved), place the concave edge down on the infeed table.
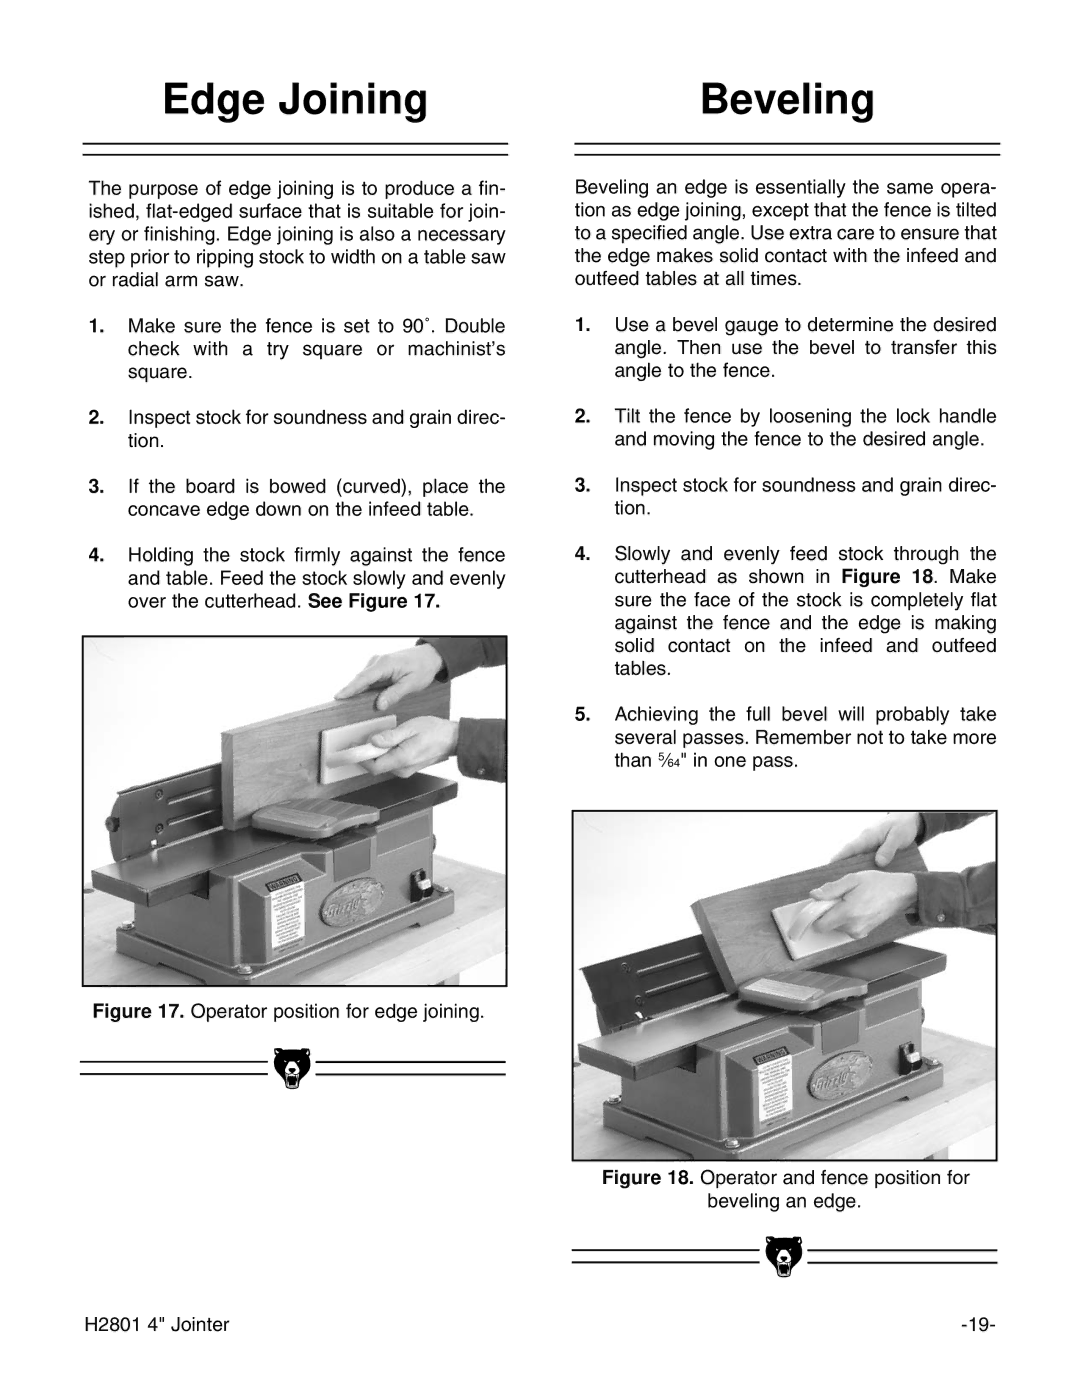
4.Holding the stock firmly against the fence and table. Feed the stock slowly and evenly over the cutterhead. See Figure 17.
Figure 17. Operator position for edge joining.
Beveling an edge is essentially the same opera- tion as edge joining, except that the fence is tilted to a specified angle. Use extra care to ensure that the edge makes solid contact with the infeed and outfeed tables at all times.
1.Use a bevel gauge to determine the desired angle. Then use the bevel to transfer this angle to the fence.
2.Tilt the fence by loosening the lock handle and moving the fence to the desired angle.
3.Inspect stock for soundness and grain direc- tion.
4.Slowly and evenly feed stock through the cutterhead as shown in Figure 18. Make sure the face of the stock is completely flat against the fence and the edge is making solid contact on the infeed and outfeed tables.
5.Achieving the full bevel will probably take several passes. Remember not to take more than 5⁄64" in one pass.
Figure 18. Operator and fence position for
beveling an edge.
|
|
|
|
|
|
|
|
|
|
|
|
H2801 4" Jointer | |||