Fence
The fence on the Model H2801 can be adjusted to cut various angles from
1.Loosen the lock knobs on both sides of the fence.
2.The angle gauge shown in Figure 8 is behind the left end of the fence.
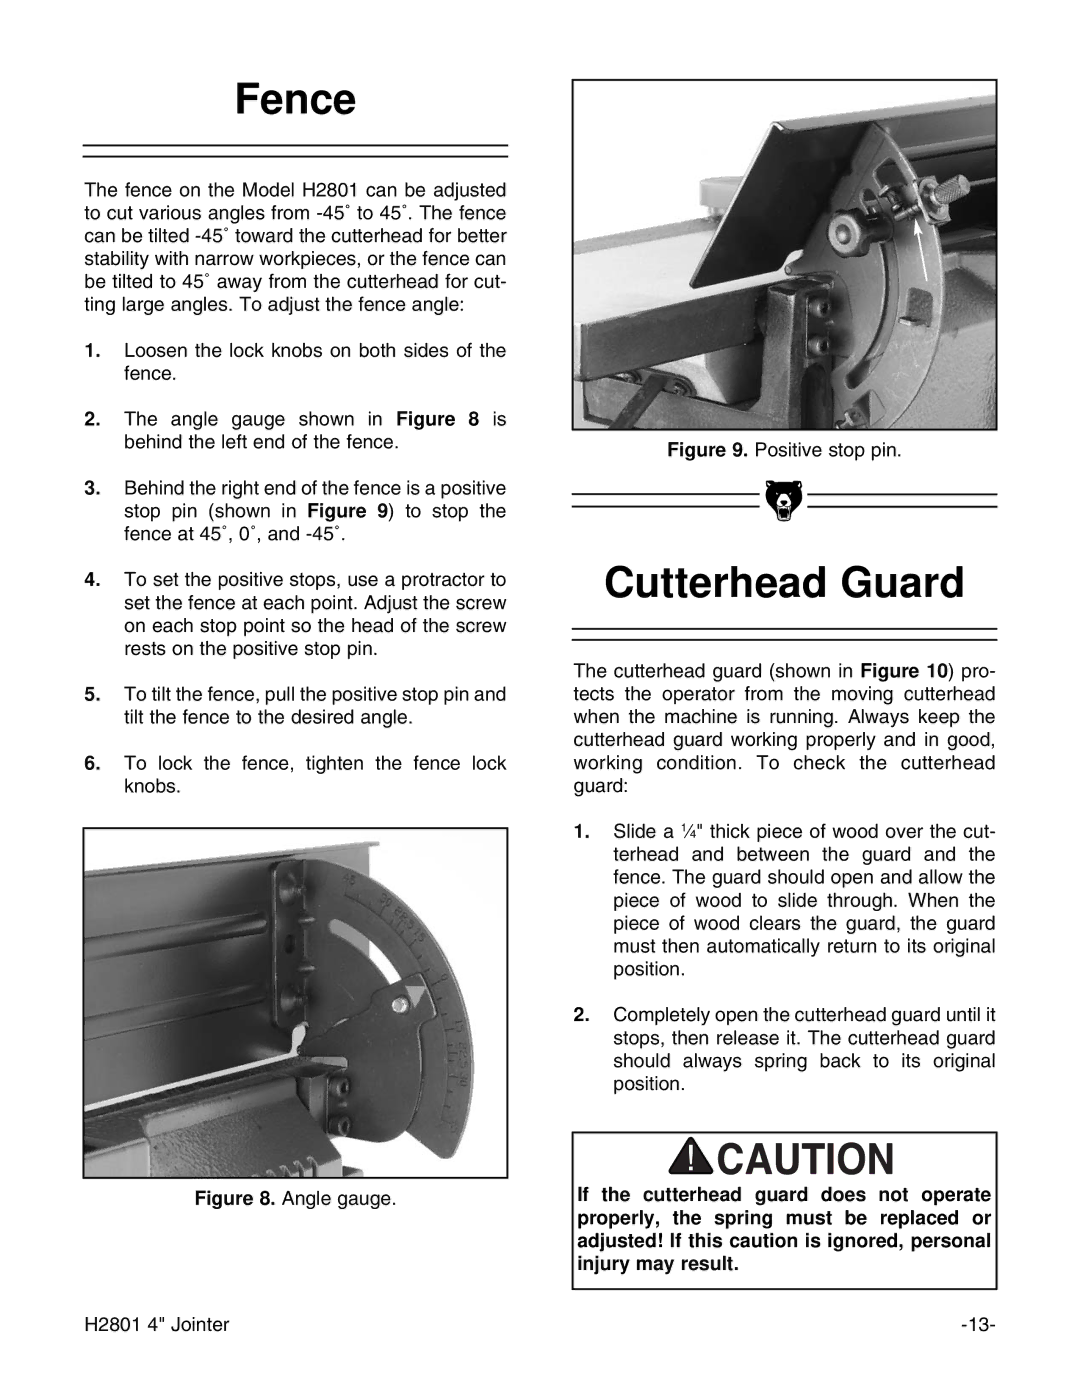
3.Behind the right end of the fence is a positive stop pin (shown in Figure 9) to stop the fence at 45˚, 0˚, and
4.To set the positive stops, use a protractor to set the fence at each point. Adjust the screw on each stop point so the head of the screw rests on the positive stop pin.
5.To tilt the fence, pull the positive stop pin and tilt the fence to the desired angle.
6.To lock the fence, tighten the fence lock knobs.
Figure 8. Angle gauge.
Figure 9. Positive stop pin.
Cutterhead Guard
The cutterhead guard (shown in Figure 10) pro- tects the operator from the moving cutterhead when the machine is running. Always keep the cutterhead guard working properly and in good, working condition. To check the cutterhead guard:
1.Slide a 1⁄4" thick piece of wood over the cut- terhead and between the guard and the fence. The guard should open and allow the piece of wood to slide through. When the piece of wood clears the guard, the guard must then automatically return to its original position.
2.Completely open the cutterhead guard until it stops, then release it. The cutterhead guard should always spring back to its original position.
If the cutterhead guard does not operate properly, the spring must be replaced or adjusted! If this caution is ignored, personal injury may result.
H2801 4" Jointer |
