Positioning Pick
Guard, Control Plate
& Bridge
The following steps require you to mark the guitar body. To avoid damaging the finish, place mask- ing tape on the guitar body and gently mark the tape.
In the following steps the bridge, control plate, and pick guard will be installed temporarily to correctly orient them.
Components and Hardware Needed: | Qty |
Guitar Body and Neck | 1 |
Pick Guard | 1 |
Control Plate | 1 |
Stainless Steel Screws #3 x 3/8" | 10 |
Bridge | 1 |
Stainless Steel Screws #5 x 5/8" | 4 |
To position the pick guard, control plate and bridge:
1.Remove the neck from the guitar body.
2.Thread the pick guard pickup wires through the center cavity into the control plate cavity, then place the pick guard on the body.
3.Secure the neck to the body.
4.Tuck the control plate wires into the control plate cavity.
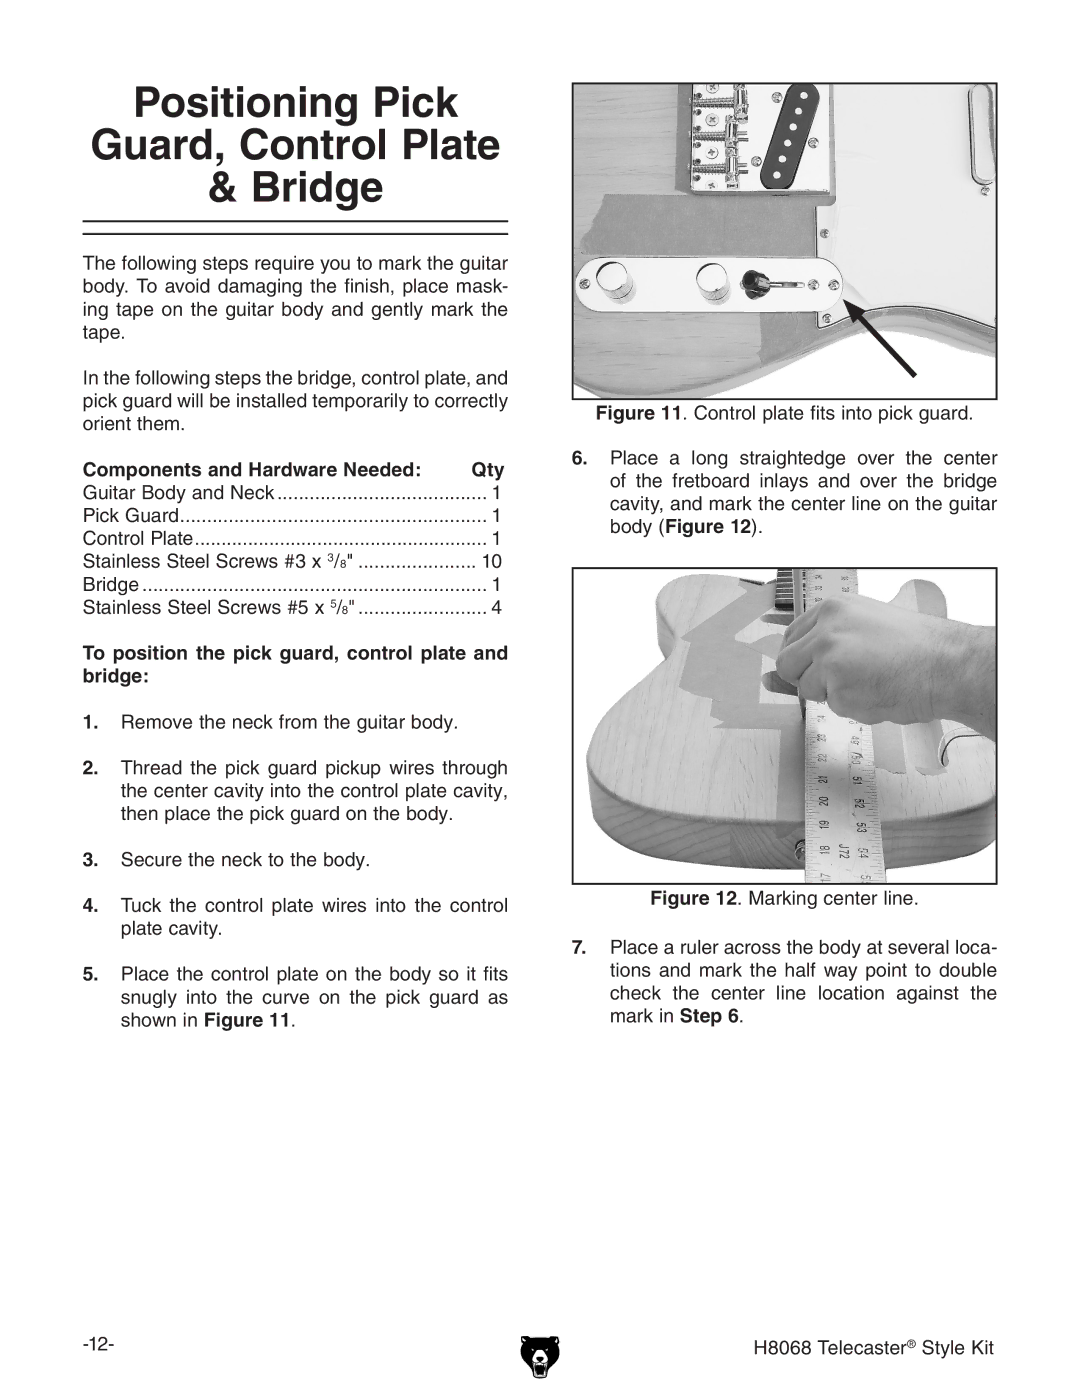
5.Place the control plate on the body so it fits snugly into the curve on the pick guard as shown in Figure 11.