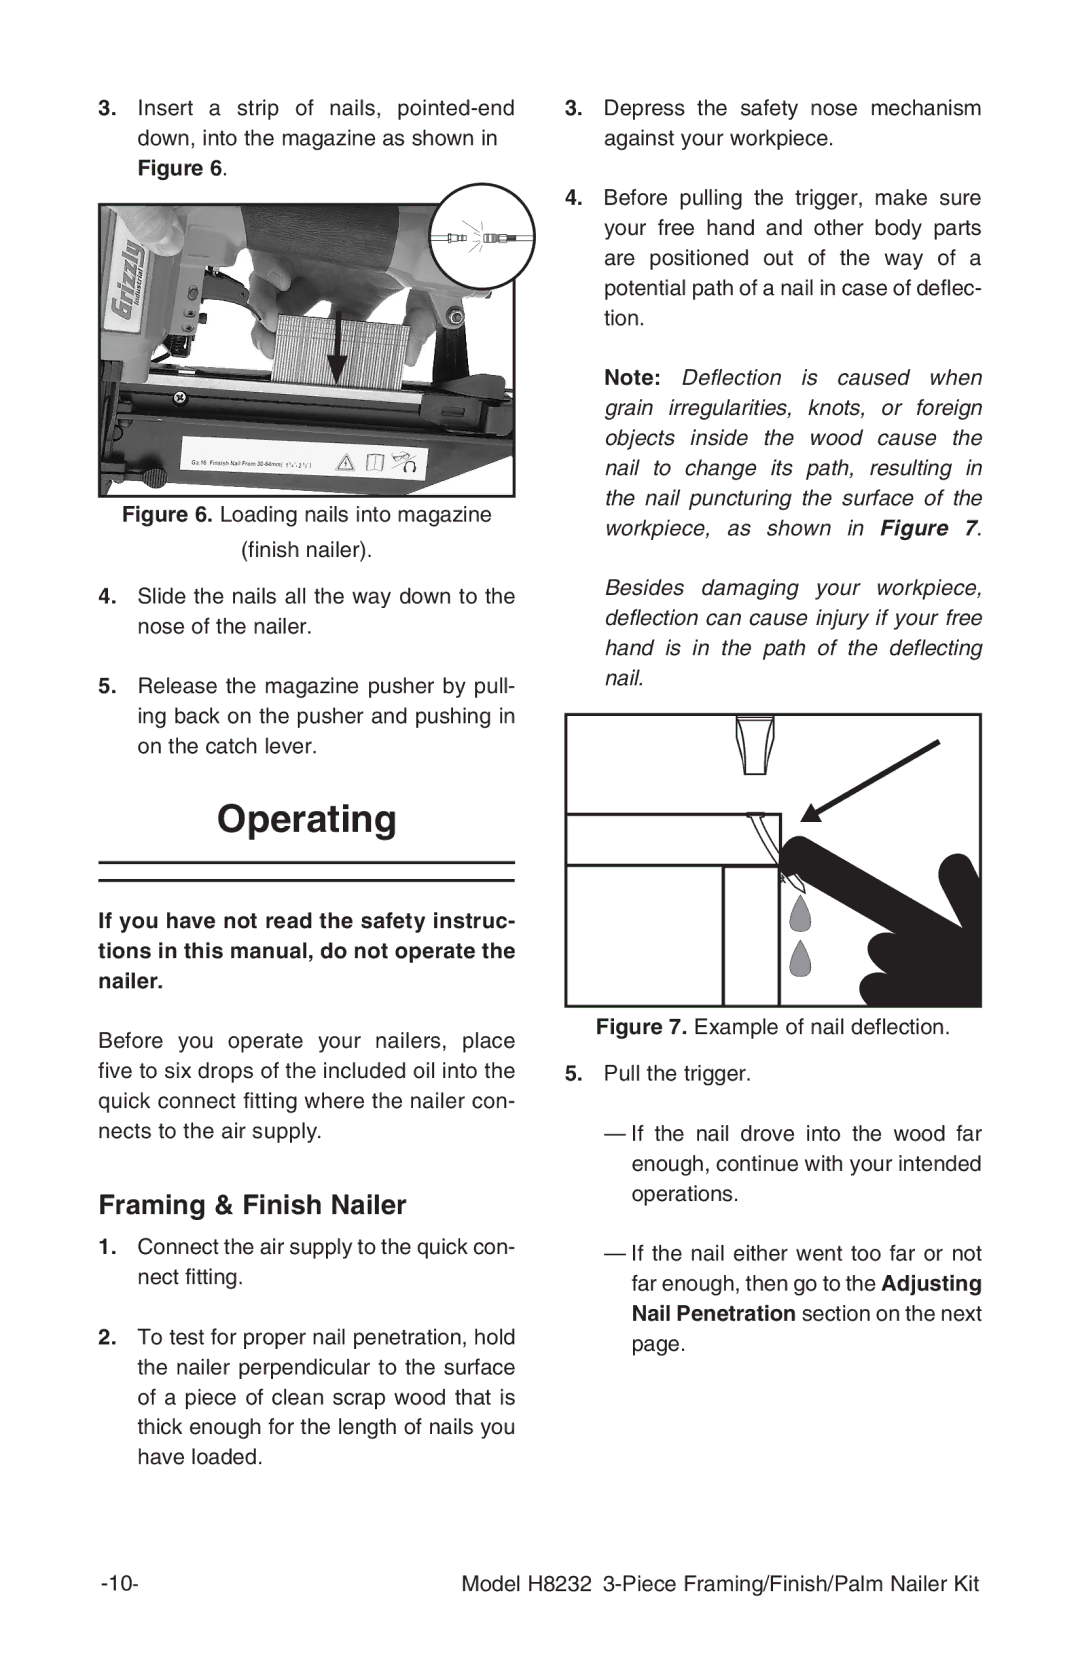
3.Insert a strip of nails,
Figure 6. Loading nails into magazine
(finish nailer).
4.Slide the nails all the way down to the nose of the nailer.
5.Release the magazine pusher by pull- ing back on the pusher and pushing in on the catch lever.
Operating
If you have not read the safety instruc- tions in this manual, do not operate the nailer.
Before you operate your nailers, place five to six drops of the included oil into the quick connect fitting where the nailer con- nects to the air supply.
Framing & Finish Nailer
1.Connect the air supply to the quick con- nect fitting.
2.To test for proper nail penetration, hold the nailer perpendicular to the surface of a piece of clean scrap wood that is thick enough for the length of nails you have loaded.
3.Depress the safety nose mechanism against your workpiece.
4.Before pulling the trigger, make sure your free hand and other body parts are positioned out of the way of a potential path of a nail in case of deflec- tion.
Note: Deflection is caused when grain irregularities, knots, or foreign objects inside the wood cause the nail to change its path, resulting in the nail puncturing the surface of the workpiece, as shown in Figure 7.
Besides damaging your workpiece, deflection can cause injury if your free hand is in the path of the deflecting nail.
Figure 7. Example of nail deflection.
5.Pull the trigger.
—If the nail drove into the wood far enough, continue with your intended operations.
—If the nail either went too far or not far enough, then go to the Adjusting Nail Penetration section on the next page.
Model H8232 |