Assembly
The Model T10222 mounts on most table saws that have 27" deep tables. If your table saw does not have mounting holes for the installation of the router table, you will need to drill and tap these holes. Also, you may have to modify the fence rails to allow access for the router table
To assemble and install your router table attachment:
1.DISCONNECT THE TABLE SAW FROM POWER!
2.Decide which of the following mounting options best suits your needs:
Tip: Use the holes in the router table as a template for marking the mounting hole loca- tions on the saw table so that the router table top will mount flush with the top of the saw table.
Model T10222 (Mfg. Since 12/09)
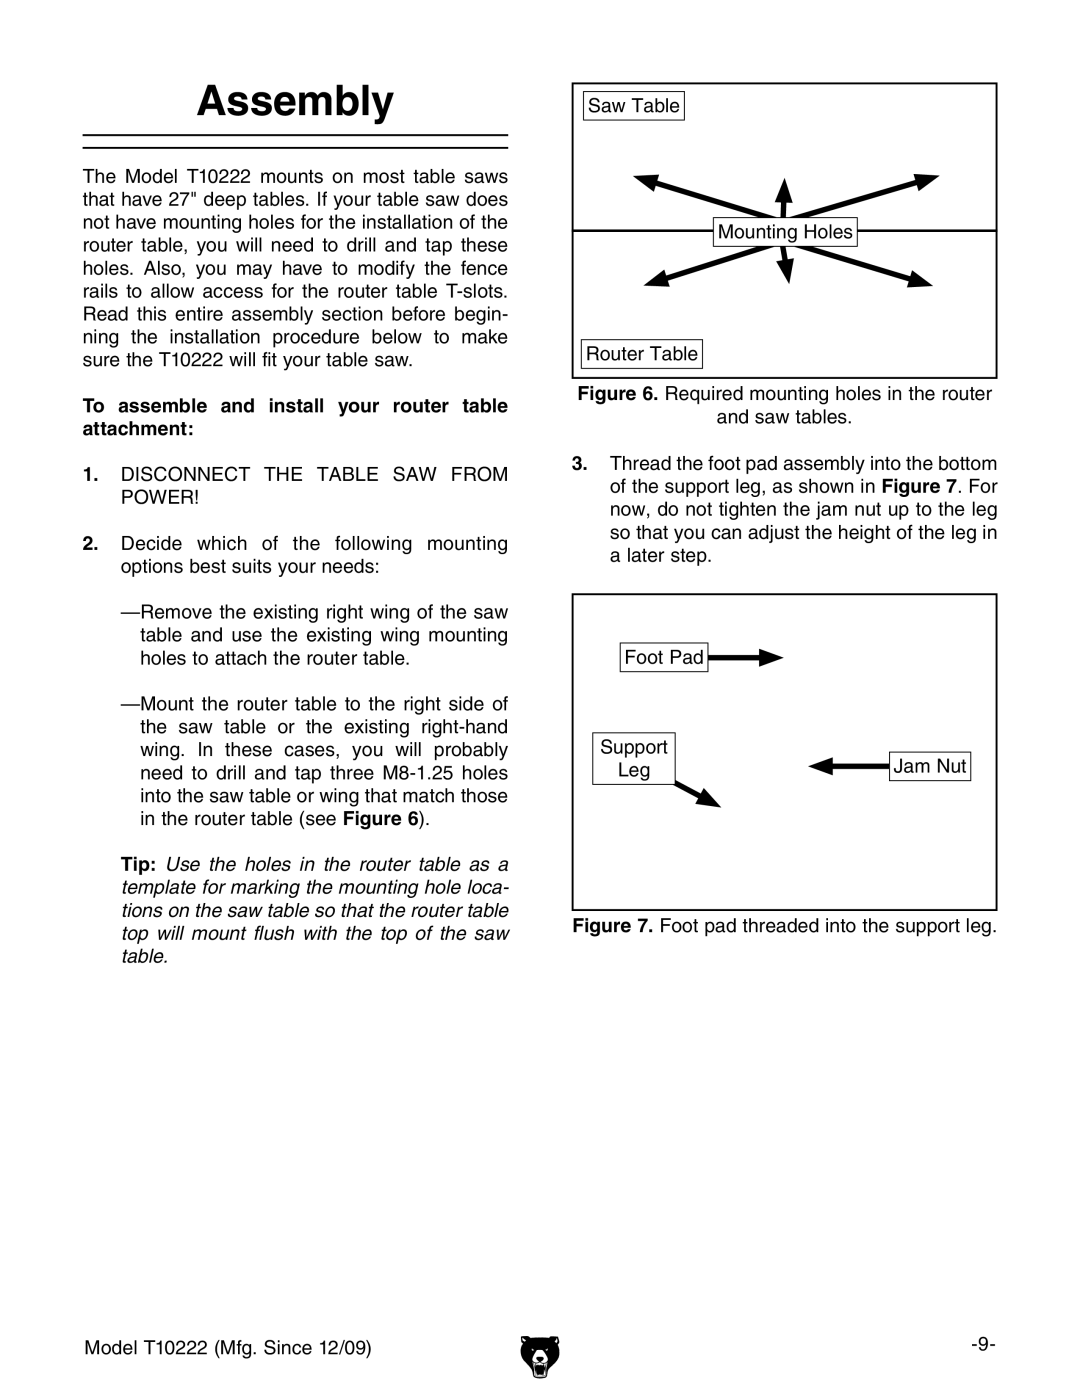
Saw Table |
Mounting Holes |
Router Table |
Figure 6. Required mounting holes in the router
and saw tables.
3.Thread the foot pad assembly into the bottom of the support leg, as shown in Figure 7. For now, do not tighten the jam nut up to the leg so that you can adjust the height of the leg in a later step.
Foot Pad |
|
Support | Jam Nut |
Leg |