
32 VLE 7130 BF, 40 VLE 7130 BF specifications
The Grundig 40 VLE 7130 BF and 32 VLE 7130 BF televisions stand out as excellent options for users seeking quality viewing experiences paired with modern technology. Both models offer an impressive combination of features, making them perfect additions to any home entertainment setup.Starting with the display technology, the Grundig 40 VLE 7130 BF boasts a larger 40-inch screen, while the 32 VLE 7130 BF is more suited for smaller spaces with its 32-inch screen. Both models utilize the latest LED technology, providing vibrant colors, deep blacks, and high contrast ratios. This ensures that viewers enjoy sharp images with excellent detail, whether watching movies, playing video games, or streaming their favorite shows.
In terms of resolution, both models offer Full HD (1920 x 1080) capabilities, giving users access to a wide array of HD content. This level of detail is especially beneficial for sports and action films, where clarity can greatly enhance the viewing experience. Additionally, the televisions come equipped with a wide viewing angle, ensuring that everyone in the room can enjoy an optimal picture, regardless of their seating position.
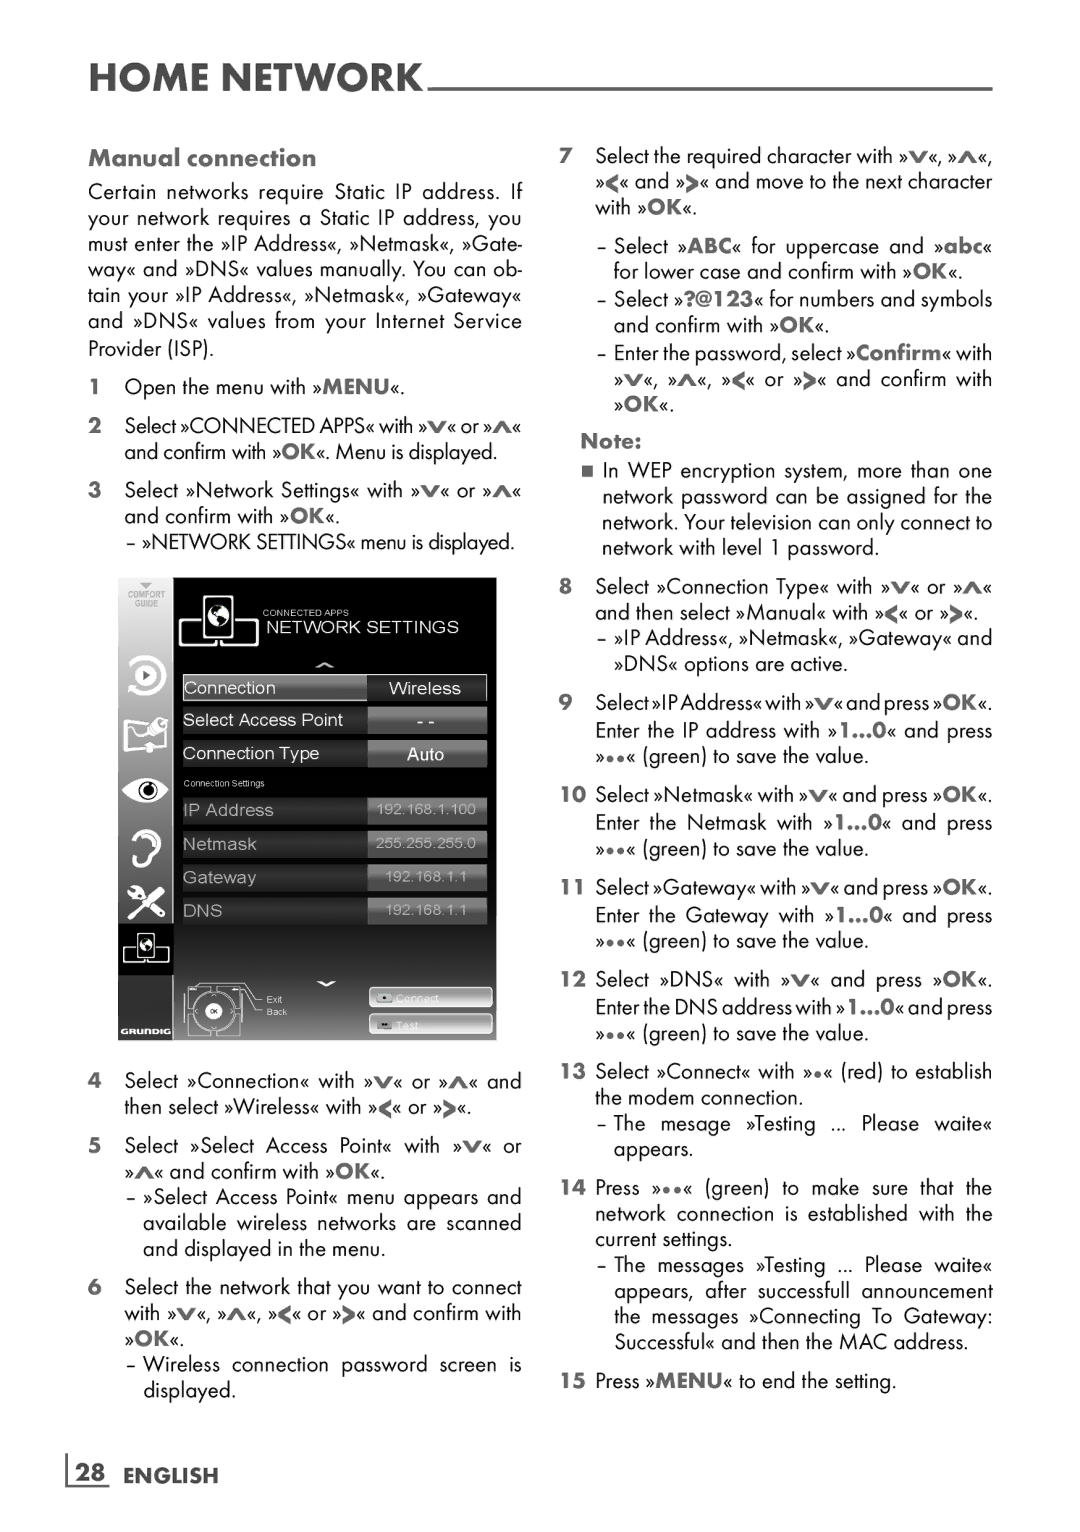
One of the standout features of the Grundig 40 VLE 7130 BF and 32 VLE 7130 BF is their smart TV capabilities. Both models support various streaming services, enabling users to access popular apps like Netflix, YouTube, and many more directly from the TV. This connectivity is further enhanced by built-in Wi-Fi and Ethernet ports, providing users with flexible options for internet access.
The Grundig televisions also include multiple HDMI and USB ports, allowing for easy connection to external devices such as gaming consoles, Blu-ray players, and sound systems. This versatility enables a comprehensive home theater experience without sacrificing accessibility.
Sound quality is another area where the Grundig 40 VLE 7130 BF and 32 VLE 7130 BF excel. Both models incorporate advanced audio technologies that provide clear and immersive sound, eliminating the need for external speakers in many cases. Additionally, features like Dolby Digital support further enhance the audio experience.
Energy efficiency is also notable, with both models designed to consume less power while delivering outstanding performance. This makes them not only an excellent choice for viewing but also for environmentally-conscious consumers.
In summary, the Grundig 40 VLE 7130 BF and 32 VLE 7130 BF televisions feature modern design, Full HD display, smart TV capabilities, and superior sound performance, making them ideal for anyone looking to elevate their home entertainment experience.