
S5 specifications
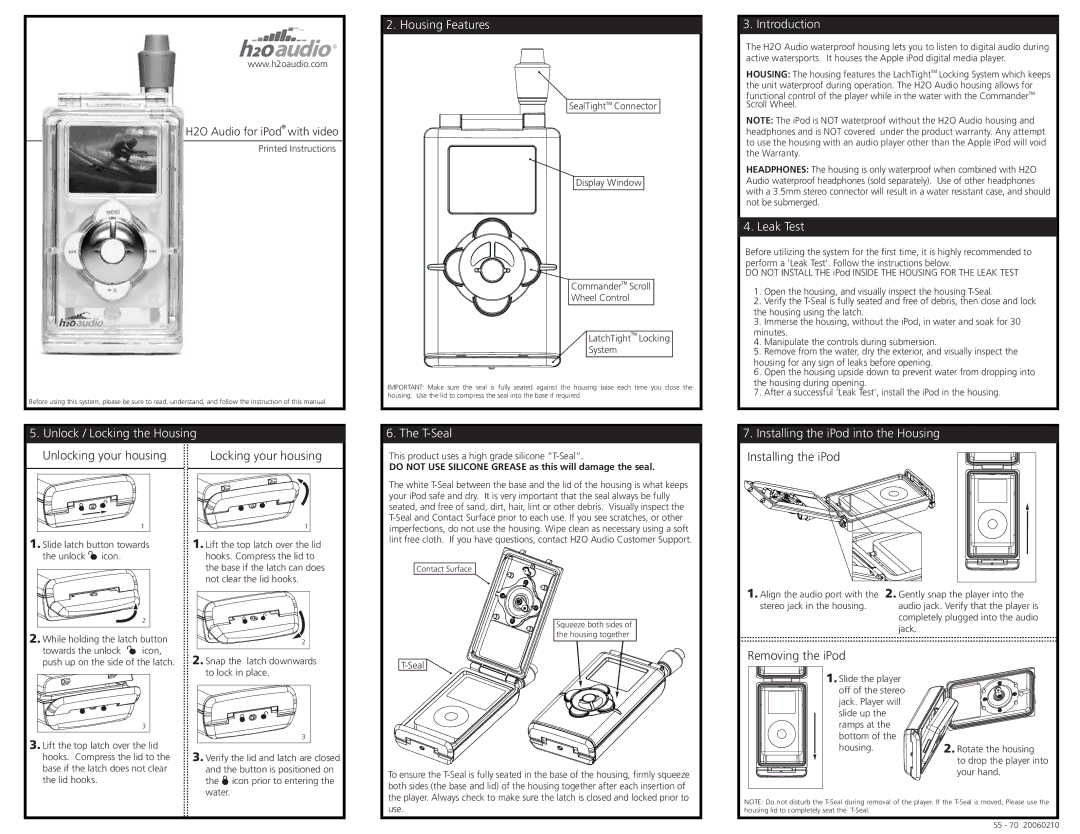
H2O Audio S5 is a revolutionary waterproof sound system designed for those who lead an active lifestyle and enjoy water-based activities. This innovative audio device is particularly ideal for swimmers, surfers, and beach lovers who seek exceptional sound quality while engaging in their favorite sports. With its impressive array of features and modern technologies, the S5 has become a go-to choice for individuals looking to enhance their aquatic experiences.One of the standout features of the H2O Audio S5 is its waterproof design, which allows users to immerse the device in water without fear of damage. Rated IPX8, this audio system can withstand submersion in water up to 10 feet deep for extended periods, making it perfect for swimming laps in the pool or enjoying some time in the ocean.
In terms of audio quality, the S5 doesn’t compromise. It boasts high-fidelity sound engineering that delivers crisp highs and powerful bass, offering an immersive listening experience even in challenging environments. The built-in advanced audio technology ensures that users receive clear sound without distortion, whether they're riding waves or simply relaxing by the poolside.
Another remarkable characteristic of the H2O Audio S5 is its capacity for storage and compatibility. It features internal memory options that allow users to store a significant number of audio tracks, eliminating the need for additional devices. The S5 supports various audio formats, providing flexibility for users with diverse music libraries. Additionally, the device is compatible with popular music apps and services, making it easy to access favorite playlists.
The S5 is equipped with user-friendly controls, allowing quick navigation through tracks and playlists, even while wet. The ergonomic design ensures that the device fits comfortably in hand and remains securely in place during vigorous activities.
Battery life is another crucial aspect of the H2O Audio S5, which offers extended playtime to keep users entertained for hours. The rechargeable lithium battery provides ample usage, making it a practical choice for long outings.
In summary, the H2O Audio S5 is an exceptional waterproof audio device tailored for active individuals. Combining durability with high-quality sound performance, it shines as a versatile companion for aquatic adventures, making every swimming session or beach day even more enjoyable.