Using Your Steam Station™
Fig 3
OFF ON
Fig 4
Fig 5
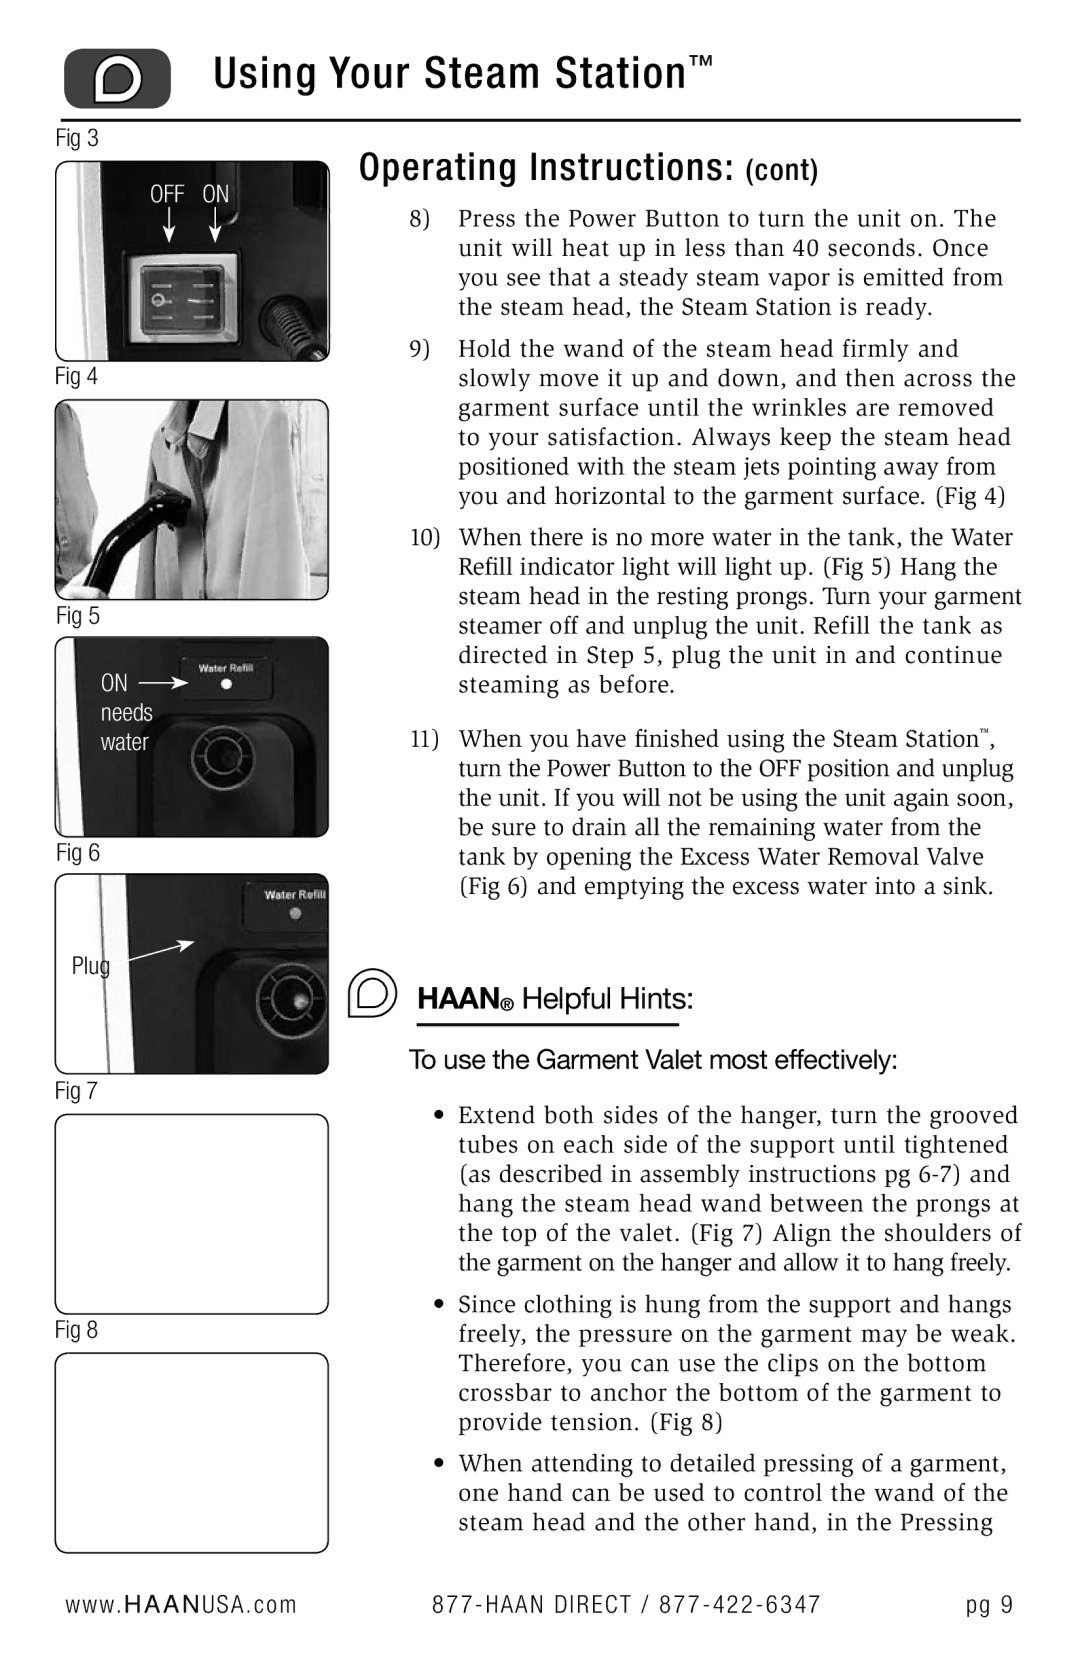
ON ![]() needs water
needs water
Fig 6
Plug 
Fig 7
Fig 8
www. H A A N USA . com
Operating Instructions: (cont)
8)Press the Power Button to turn the unit on. The unit will heat up in less than 40 seconds. Once you see that a steady steam vapor is emitted from the steam head, the Steam Station is ready.
9)Hold the wand of the steam head firmly and slowly move it up and down, and then across the garment surface until the wrinkles are removed to your satisfaction. Always keep the steam head positioned with the steam jets pointing away from you and horizontal to the garment surface. (Fig 4)
10)When there is no more water in the tank, the Water Refill indicator light will light up. (Fig 5) Hang the steam head in the resting prongs. Turn your garment steamer off and unplug the unit. Refill the tank as directed in Step 5, plug the unit in and continue steaming as before.
11)When you have finished using the Steam Station™, turn the Power Button to the OFF position and unplug the unit. If you will not be using the unit again soon, be sure to drain all the remaining water from the tank by opening the Excess Water Removal Valve (Fig 6) and emptying the excess water into a sink.
HAAN® Helpful Hints:
To use the Garment Valet most effectively:
•Extend both sides of the hanger, turn the grooved tubes on each side of the support until tightened (as described in assembly instructions pg
•Since clothing is hung from the support and hangs freely, the pressure on the garment may be weak. Therefore, you can use the clips on the bottom crossbar to anchor the bottom of the garment to provide tension. (Fig 8)
•When attending to detailed pressing of a garment, one hand can be used to control the wand of the steam head and the other hand, in the Pressing
877 - HAAN DIRECT / 877 - 422 - 6347 | pg 9 |