34 of 50 | Calibrations - 3650 Portable O2 Analyzer |
|
|
4.2.3 Calibration In Air
The sensor can be accurately calibrated in air. To perform this type of calibration, the instrument must be set for calibration In air.
In order to calibrate the sensor in air, you will need to extract it from its mounting or flow chamber, and wipe dry the sensor protection grille (if applicable).
Calibration is best achieved using the storage cap that protected the sensor during shipment. Put several drops of tap water in the cap, shake out the excess, and then attach it to the sensor by means of its collar. It is best to leave the cap slightly loose, to avoid compressing the air inside. The cap and sensor should be about the same temperature.
Switch on the instrument, if necessary, and wait a minute or so for the displayed measurement to settle.
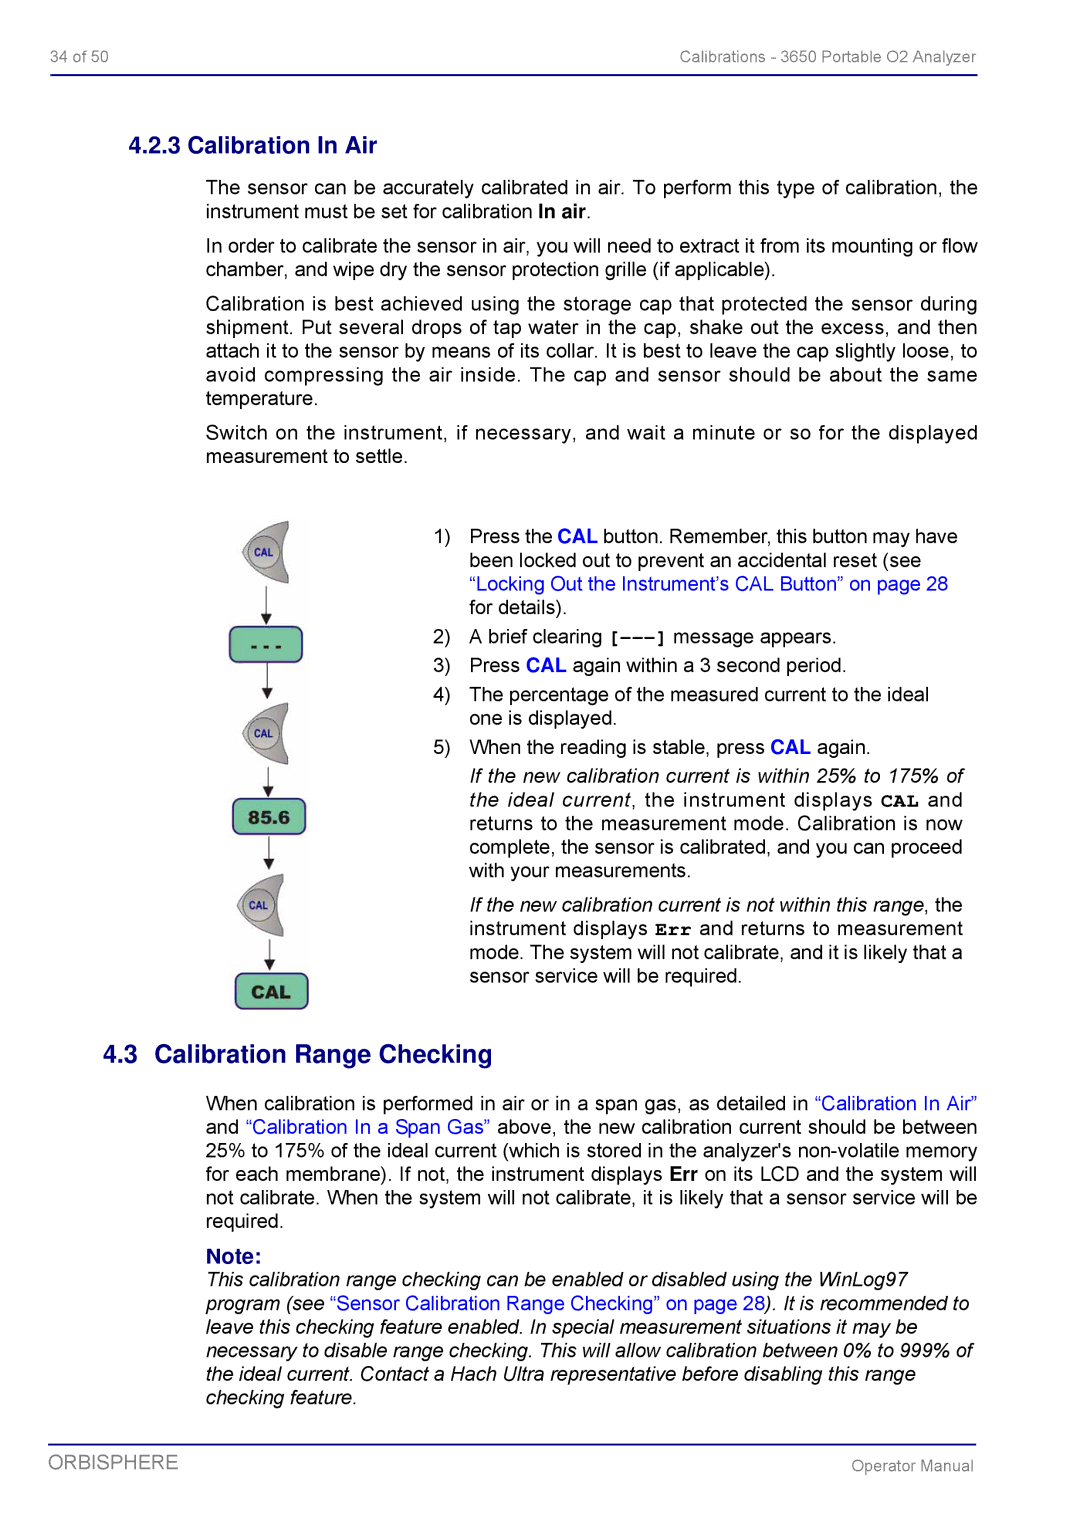
1)Press the CAL button. Remember, this button may have been locked out to prevent an accidental reset (see “Locking Out the Instrument’s CAL Button” on page 28 for details).
2)A brief clearing
3)Press CAL again within a 3 second period.
4)The percentage of the measured current to the ideal one is displayed.
5)When the reading is stable, press CAL again.
If the new calibration current is within 25% to 175% of the ideal current, the instrument displays CAL and returns to the measurement mode. Calibration is now complete, the sensor is calibrated, and you can proceed with your measurements.
If the new calibration current is not within this range, the instrument displays Err and returns to measurement mode. The system will not calibrate, and it is likely that a sensor service will be required.
4.3Calibration Range Checking
When calibration is performed in air or in a span gas, as detailed in “Calibration In Air” and “Calibration In a Span Gas” above, the new calibration current should be between 25% to 175% of the ideal current (which is stored in the analyzer's
Note:
This calibration range checking can be enabled or disabled using the WinLog97 program (see “Sensor Calibration Range Checking” on page 28). It is recommended to leave this checking feature enabled. In special measurement situations it may be necessary to disable range checking. This will allow calibration between 0% to 999% of the ideal current. Contact a Hach Ultra representative before disabling this range checking feature.
ORBISPHERE | Operator Manual |