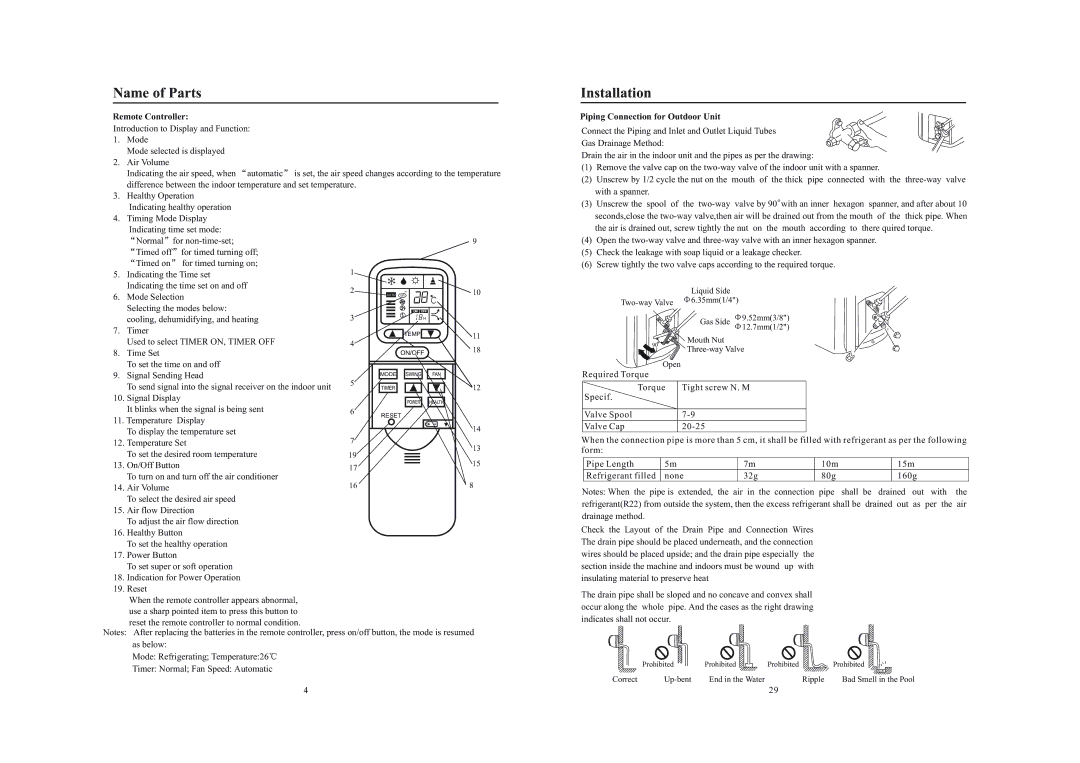
AS102ALARA, AS122AYARA, AU122ACARA, AS122AVARA, AS102AMARA specifications
The Haier AU102ACARA, AS102AMARA, AS122AVARA, AU122ACARA, and AS122AYARA air conditioning units exemplify innovative design and advanced technology aimed at providing optimum comfort in various environments. These models are suited for both residential and commercial applications, showcasing efficiency and quiet operation, essential for any space.One of the key features of these Haier models is their energy efficiency. Each unit is designed with advanced inverter technology that adjusts the compressor speed seamlessly to maintain the desired temperature. This not only provides better cooling performance but also leads to significant energy savings, making it an environmentally friendly choice.
The units are equipped with smart capabilities, enabling users to control their air conditioning systems through mobile apps. This allows for greater flexibility and convenience, as users can adjust their settings from anywhere, ensuring their environment is always comfortable upon arrival.
In addition to smart controls, these models feature a sleek, modern design that blends easily with any decor. The compact form factor is particularly appealing for urban living spaces where every square foot counts. Moreover, these air conditioners are equipped with high-density filters that provide exceptional air purification, capturing dust, allergens, and pollutants to improve indoor air quality.
The Haier AU102ACARA and AS102AMARA are particularly noted for their compact size and efficiency, making them ideal for smaller rooms. The AU122ACARA and AS122AYARA, on the other hand, offer increased cooling capacities, suitable for larger spaces while maintaining the same high efficiency standards.
Noise levels are another consideration with the Haier models, which operate at whisper-quiet levels, ensuring that indoor tranquility is preserved. This feature is crucial for bedrooms or study areas where distractions should be kept to a minimum.
In summary, the Haier AU102ACARA, AS102AMARA, AS122AVARA, AU122ACARA, and AS122AYARA air conditioning units combine energy efficiency, smart technology, modern aesthetics, effective air filtration, and low noise operation, making them excellent choices for anyone looking to enhance their indoor comfort. With their various capacities and features, these models cater to a wide range of needs, ensuring a pleasant environment throughout the year.

