English
Installation Preparation
To install this range hood, you will need the following tools and materials:
Note: This procedure will require 2 people for easier installation.
Tools Needed for Installation
•Drill
•1/8" Drill bit for drilling pilot holes
•
•3/8" Nut Driver or Ratchet with Extension
•Phillips head screwdriver
•
•Pliers
•Pencil, ruler and level for marking range hood location
•Hand saw or jig saw for cutting the wall or cabinet openings
•Duct tape
•Electrical tape
•Connector Clamp
General Preparation
Caution! Please be sure to turn the electrical power switch OFF before beginning the installation.
1.Remove the range hood from the carton.
2.Lay the range hood upside down on a table covered with either cardboard or paper to prevent scratching the hood or table.
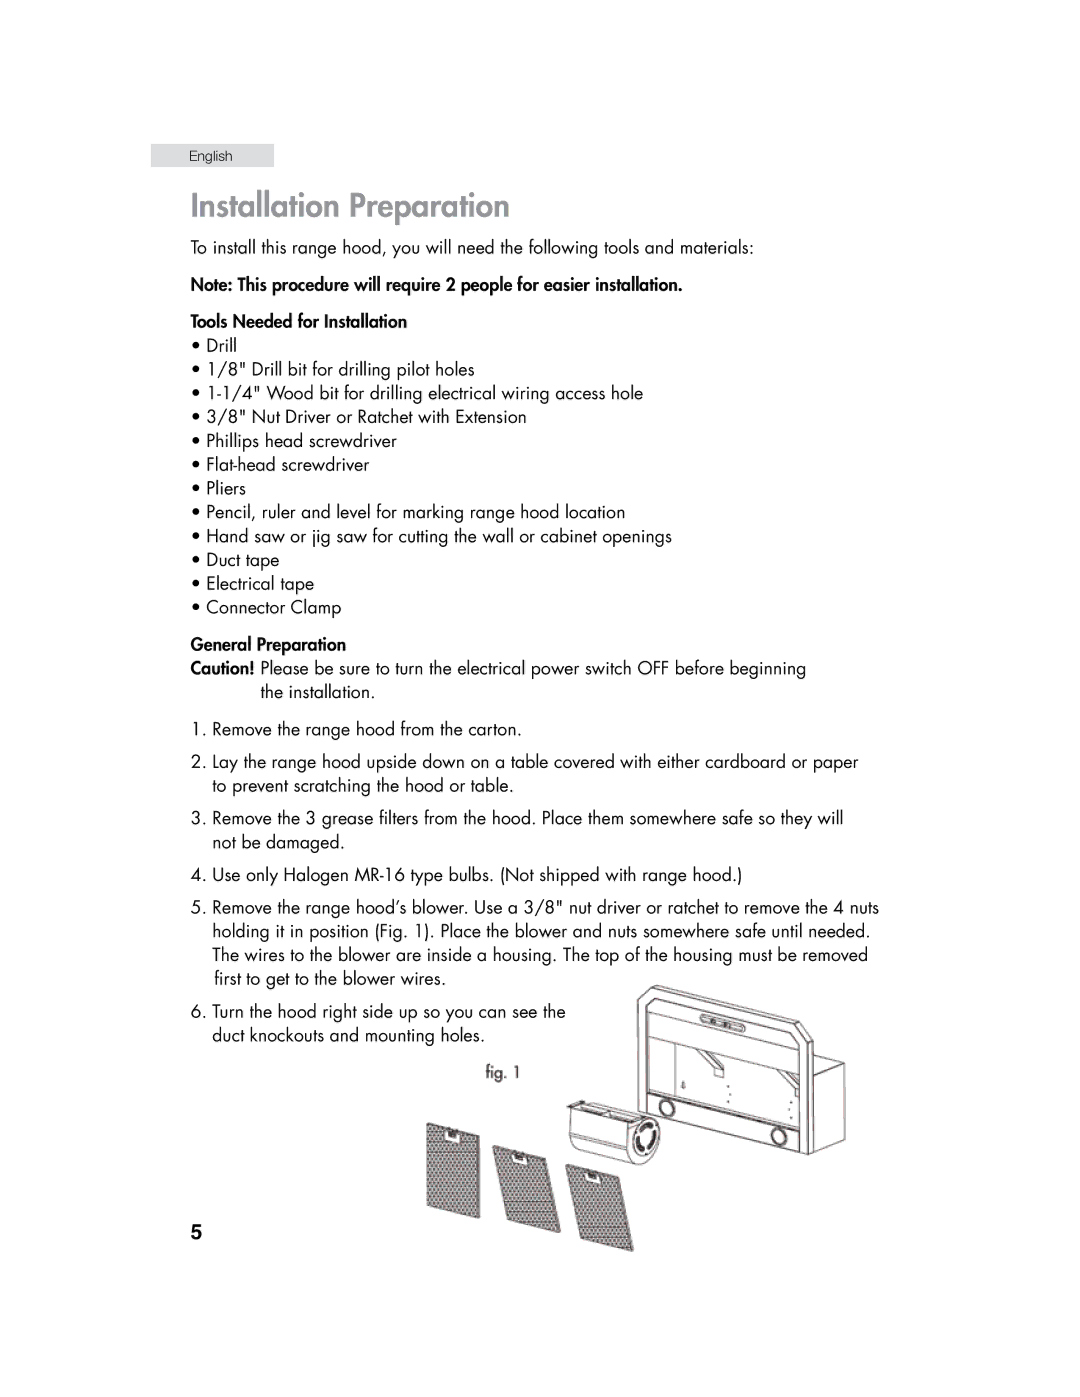
3.Remove the 3 grease filters from the hood. Place them somewhere safe so they will not be damaged.
4.Use only Halogen
5.Remove the range hood’s blower. Use a 3/8" nut driver or ratchet to remove the 4 nuts holding it in position (Fig. 1). Place the blower and nuts somewhere safe until needed. The wires to the blower are inside a housing. The top of the housing must be removed first to get to the blower wires.
6.Turn the hood right side up so you can see the duct knockouts and mounting holes.
5