Temporary stored food or frequently used foods should be kept in the fresh food compartment.
Although the average fresh food temperatures are between 1![]() to 8
to 8![]() food shelf life should be checked periodically.
food shelf life should be checked periodically.
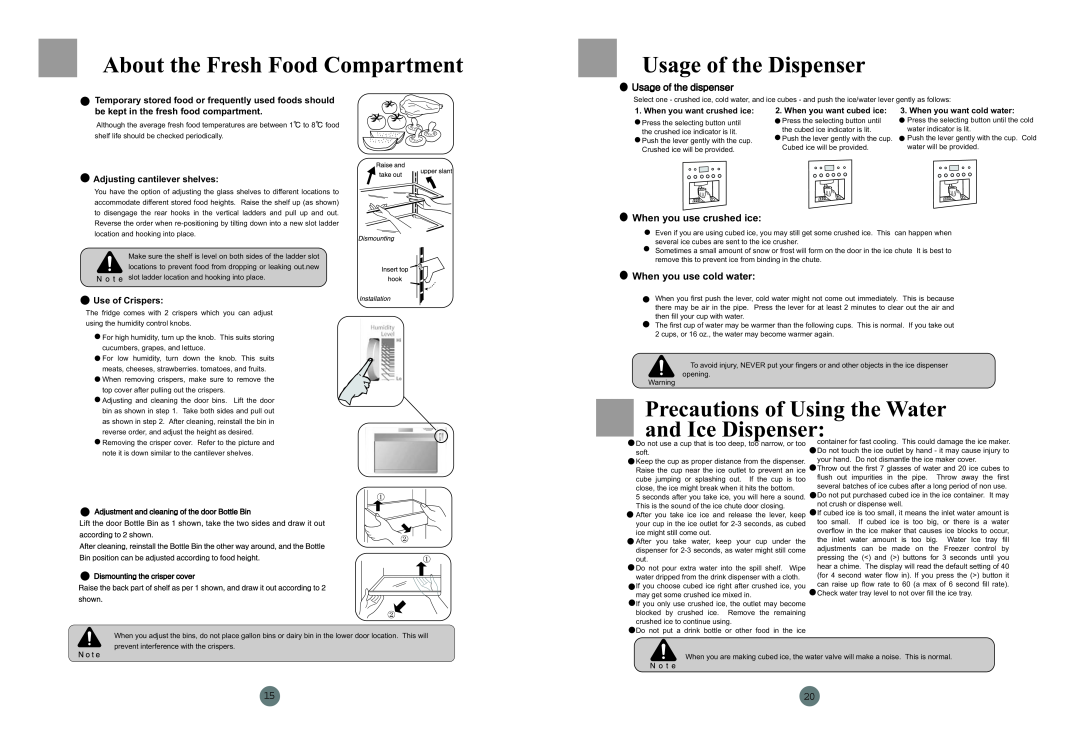
 Adjusting cantilever shelves:
You have the option of adjusting the glass shelves to different locations to accommodate different stored food heights. Raise the shelf up (as shown) to disengage the rear hooks in the vertical ladders and pull up and out. Reverse the order when
Make sure the shelf is level on both sides of the ladder slot locations to prevent food from dropping or leaking out.new slot ladder location and hooking into place.
 Use of Crispers:
The fridge comes with 2 crispers which you can adjust using the humidity control knobs.
![]() For high humidity, turn up the knob. This suits storing cucumbers, grapes, and lettuce.
For high humidity, turn up the knob. This suits storing cucumbers, grapes, and lettuce.
![]() For low humidity, turn down the knob. This suits
For low humidity, turn down the knob. This suits
meats, cheeses, strawberries. tomatoes, and fruits.
![]() When removing crispers, make sure to remove the top cover after pulling out the crispers.
When removing crispers, make sure to remove the top cover after pulling out the crispers.
![]() Adjusting and cleaning the door bins. Lift the door bin as shown in step 1. Take both sides and pull out as shown in step 2. After cleaning, reinstall the bin in reverse order, and adjust the height as desired.
Adjusting and cleaning the door bins. Lift the door bin as shown in step 1. Take both sides and pull out as shown in step 2. After cleaning, reinstall the bin in reverse order, and adjust the height as desired.
Select one - crushed ice, cold water, and ice cubes - and push the ice/water lever gently as follows:
1. When you want crushed ice: | 2. When you want cubed ice: | 3. When you want cold water: | |
Press the selecting button until | Press the selecting button until | Press the selecting button until the cold | |
the cubed ice indicator is lit. | water indicator is lit. | ||
the crushed ice indicator is lit. | |||
Push the lever gently with the cup. | Push the lever gently with the cup. Cold | ||
Push the lever gently with the cup. | |||
Cubed ice will be provided. | water will be provided. | ||
Crushed ice will be provided. | |||
|
|
 When you use crushed ice:
Even if you are using cubed ice, you may still get some crushed ice. This can happen when several ice cubes are sent to the ice crusher.
Sometimes a small amount of snow or frost will form on the door in the ice chute It is best to remove this to prevent ice from binding in the chute.
 When you use cold water:
When you first push the lever, cold water might not come out immediately. This is because there may be air in the pipe. Press the lever for at least 2 minutes to clear out the air and then fill your cup with water.
The first cup of water may be warmer than the following cups. This is normal. If you take out 2 cups, or 16 oz., the water may become warmer again.
To avoid injury, NEVER put your fingers or and other objects in the ice dispenser
opening.
Warning
Precautions of Using the Water and Ice Dispenser:
![]() Removing the crisper cover. Refer to the picture and note it is down similar to the cantilever shelves.
Removing the crisper cover. Refer to the picture and note it is down similar to the cantilever shelves.
When you adjust the bins, do not place gallon bins or dairy bin in the lower door location. This will prevent interference with the crispers.
![]() Do not use a cup that is too deep, too narrow, or too soft.
Do not use a cup that is too deep, too narrow, or too soft.
![]() Keep the cup as proper distance from the dispenser. Raise the cup near the ice outlet to prevent an ice cube jumping or splashing out. If the cup is too close, the ice might break when it hits the bottom.
Keep the cup as proper distance from the dispenser. Raise the cup near the ice outlet to prevent an ice cube jumping or splashing out. If the cup is too close, the ice might break when it hits the bottom.
5 seconds after you take ice, you will here a sound. This is the sound of the ice chute door closing.
![]() After you take ice ice and release the lever, keep your cup in the ice outlet for
After you take ice ice and release the lever, keep your cup in the ice outlet for
![]() After you take water, keep your cup under the dispenser for
After you take water, keep your cup under the dispenser for
![]() Do not pour extra water into the spill shelf. Wipe water dripped from the drink dispenser with a cloth.
Do not pour extra water into the spill shelf. Wipe water dripped from the drink dispenser with a cloth.
![]() If you choose cubed ice right after crushed ice, you may get some crushed ice mixed in.
If you choose cubed ice right after crushed ice, you may get some crushed ice mixed in.
![]() If you only use crushed ice, the outlet may become blocked by crushed ice. Remove the remaining crushed ice to continue using.
If you only use crushed ice, the outlet may become blocked by crushed ice. Remove the remaining crushed ice to continue using.
![]() Do not put a drink bottle or other food in the ice
Do not put a drink bottle or other food in the ice
container for fast cooling. This could damage the ice maker. ![]() Do not touch the ice outlet by hand - it may cause injury to
Do not touch the ice outlet by hand - it may cause injury to
your hand. Do not dismantle the ice maker cover.
![]() Throw out the first 7 glasses of water and 20 ice cubes to flush out impurities in the pipe. Throw away the first several batches of ice cubes after a long period of non use.
Throw out the first 7 glasses of water and 20 ice cubes to flush out impurities in the pipe. Throw away the first several batches of ice cubes after a long period of non use.
![]() Do not put purchased cubed ice in the ice container. It may not crush or dispense well.
Do not put purchased cubed ice in the ice container. It may not crush or dispense well.
![]() If cubed ice is too small, it means the inlet water amount is too small. If cubed ice is too big, or there is a water overflow in the ice maker that causes ice blocks to occur, the inlet water amount is too big. Water Ice tray fill adjustments can be made on the Freezer control by pressing the (<) and (>) buttons for 3 seconds until you hear a chime. The display will read the default setting of 40 (for 4 second water flow in). If you press the (>) button it can raise up flow rate to 60 (a max of 6 second fill rate).
If cubed ice is too small, it means the inlet water amount is too small. If cubed ice is too big, or there is a water overflow in the ice maker that causes ice blocks to occur, the inlet water amount is too big. Water Ice tray fill adjustments can be made on the Freezer control by pressing the (<) and (>) buttons for 3 seconds until you hear a chime. The display will read the default setting of 40 (for 4 second water flow in). If you press the (>) button it can raise up flow rate to 60 (a max of 6 second fill rate). ![]() Check water tray level to not over fill the ice tray.
Check water tray level to not over fill the ice tray.
When you are making cubed ice, the water valve will make a noise. This is normal.