HWM80-0566 specifications
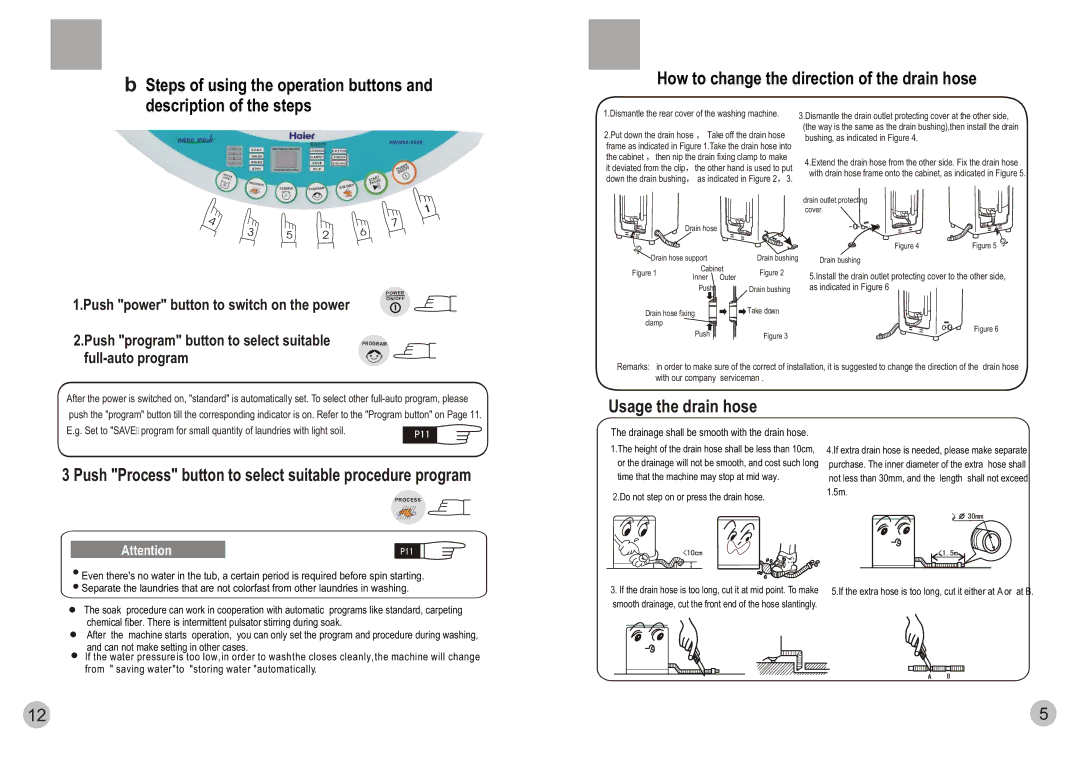
The Haier HWM80-0566 is a top-loading washing machine that epitomizes efficiency and functionality for modern households. With a capacity of up to 8 kg, it caters perfectly to the laundry needs of medium to large families, allowing users to clean a substantial amount of clothes in a single wash cycle. The design of the HWM80-0566 is sleek and user-friendly, offering a modern aesthetic that complements any laundry space.One of the standout features of the Haier HWM80-0566 is its intelligent washing technology, which is designed to optimize the washing process based on the load type and weight. This feature not only enhances the cleaning efficiency but also reduces water and energy consumption, making it an eco-friendly choice. The machine incorporates multiple washing programs tailored for different fabric types and soiling levels, ensuring that every load receives the appropriate care.
The HWM80-0566 is equipped with a powerful motor that delivers a high spin speed, resulting in reduced drying time for washed clothes. This efficiency is especially beneficial for those living in areas with high humidity or limited sunlight, as it ensures that laundry dries in less time. Furthermore, the machine features a robust anti-vibration system, minimizing noise and making it a great choice for apartments or shared living spaces.
Safety is also a major focus with the Haier HWM80-0566, as it is designed with child lock functionality to prevent tampering during operation. This not only protects children but also ensures that the washing process remains uninterrupted. The durable build quality of the unit means it can withstand the rigors of regular use, making it a valuable long-term investment.
The user interface is intuitive, featuring a clear LED display that allows users to easily select programs and monitor the wash cycle. Additionally, the machine's maintenance is simplified with a self-cleaning option, which keeps the drum clean and hygienic without requiring significant effort.
In summary, the Haier HWM80-0566 is a versatile and efficient washing machine that combines advanced technology, user-friendly design, and eco-conscious operation, making it an ideal choice for families looking to streamline their laundry experience.

