840143800 ENv03.qxd 1/6/06 9:05 AM Page 5
How to Assemble
IMPORTANT: Your blender jar and cutting assembly are subject to wear during normal use. Always inspect jar for nicks, chips, or cracks. Always inspect cutting assembly for broken, cracked, or loose blades. If jar or cut- ting assembly is damaged, do not use. Call our
1.Make sure blender is unplugged. Place blender base on clean, dry surface to keep foreign particles from being pulled up into motor during operation.
2.Fit gasket over blades as shown in illustration on page 4. The gasket must lie flat. Set jar on top of gasket and screw on cutting assembly. Make sure the cutting assembly is firmly screwed onto the jar.
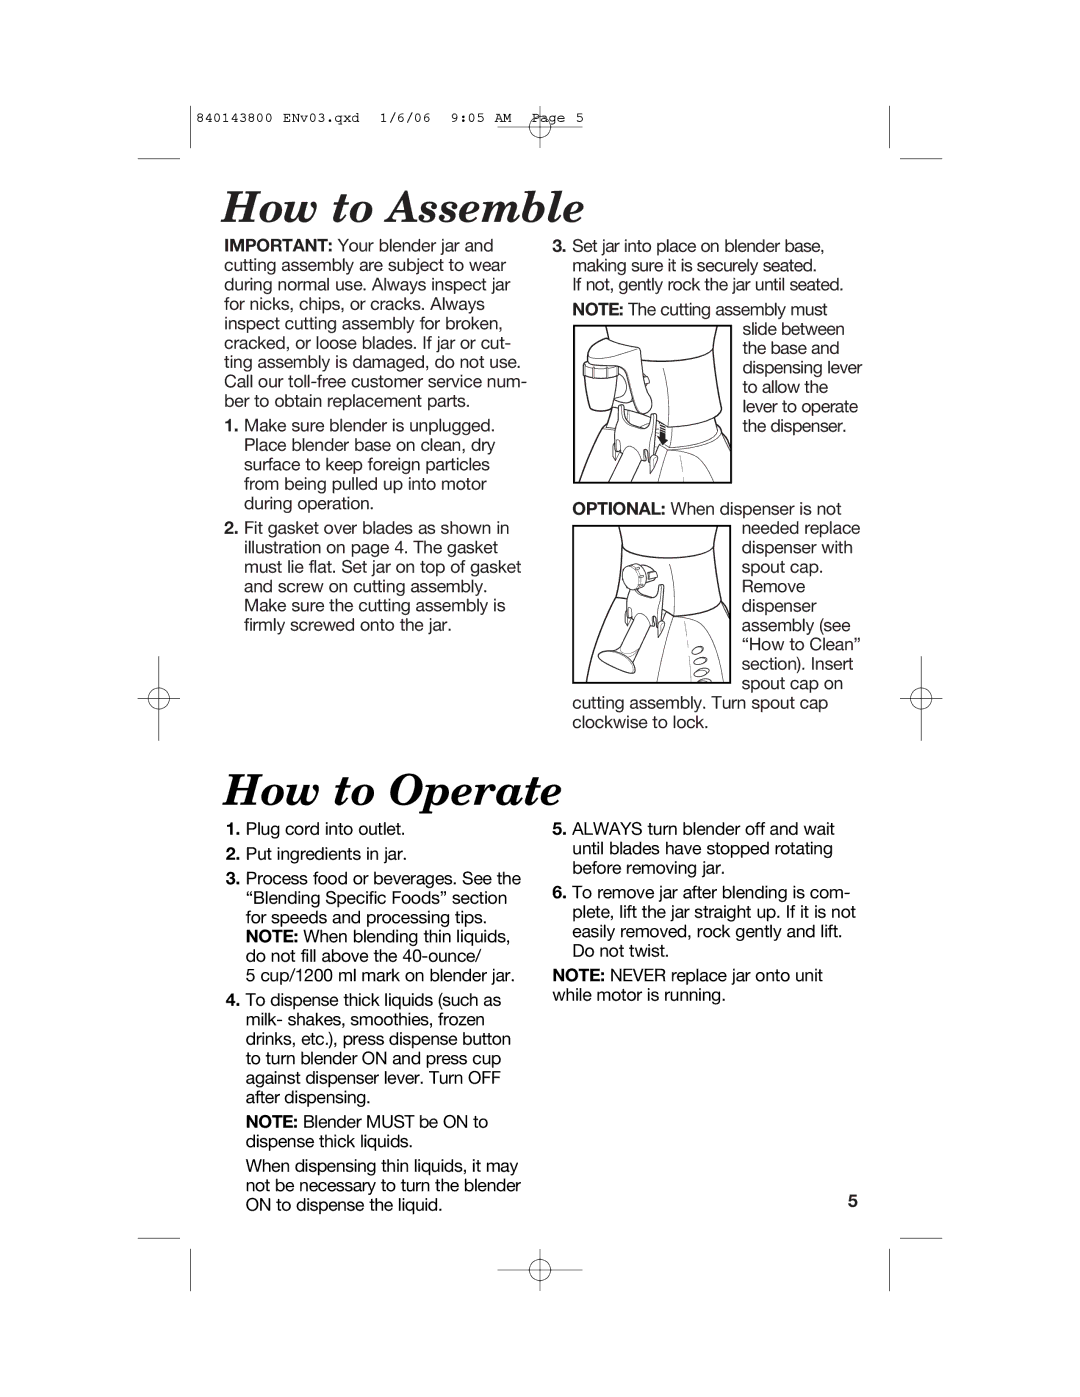
3.Set jar into place on blender base, making sure it is securely seated.
If not, gently rock the jar until seated.
NOTE: The cutting assembly must
slide between
the base and
dispensing lever
to allow the lever to operate the dispenser.
OPTIONAL: When dispenser is not ![]() needed replace
needed replace
dispenser with
spout cap.
Remove dispenser
assembly (see
“How to Clean”
section). Insert spout cap on
cutting assembly. Turn spout cap clockwise to lock.
How to Operate
1.Plug cord into outlet.
2.Put ingredients in jar.
3.Process food or beverages. See the “Blending Specific Foods” section for speeds and processing tips. NOTE: When blending thin liquids, do not fill above the
5 cup/1200 ml mark on blender jar.
4.To dispense thick liquids (such as milk- shakes, smoothies, frozen drinks, etc.), press dispense button to turn blender ON and press cup against dispenser lever. Turn OFF after dispensing.
NOTE: Blender MUST be ON to dispense thick liquids.
When dispensing thin liquids, it may not be necessary to turn the blender ON to dispense the liquid.
5.ALWAYS turn blender off and wait until blades have stopped rotating before removing jar.
6.To remove jar after blending is com- plete, lift the jar straight up. If it is not easily removed, rock gently and lift.
Do not twist.
NOTE: NEVER replace jar onto unit while motor is running.
5