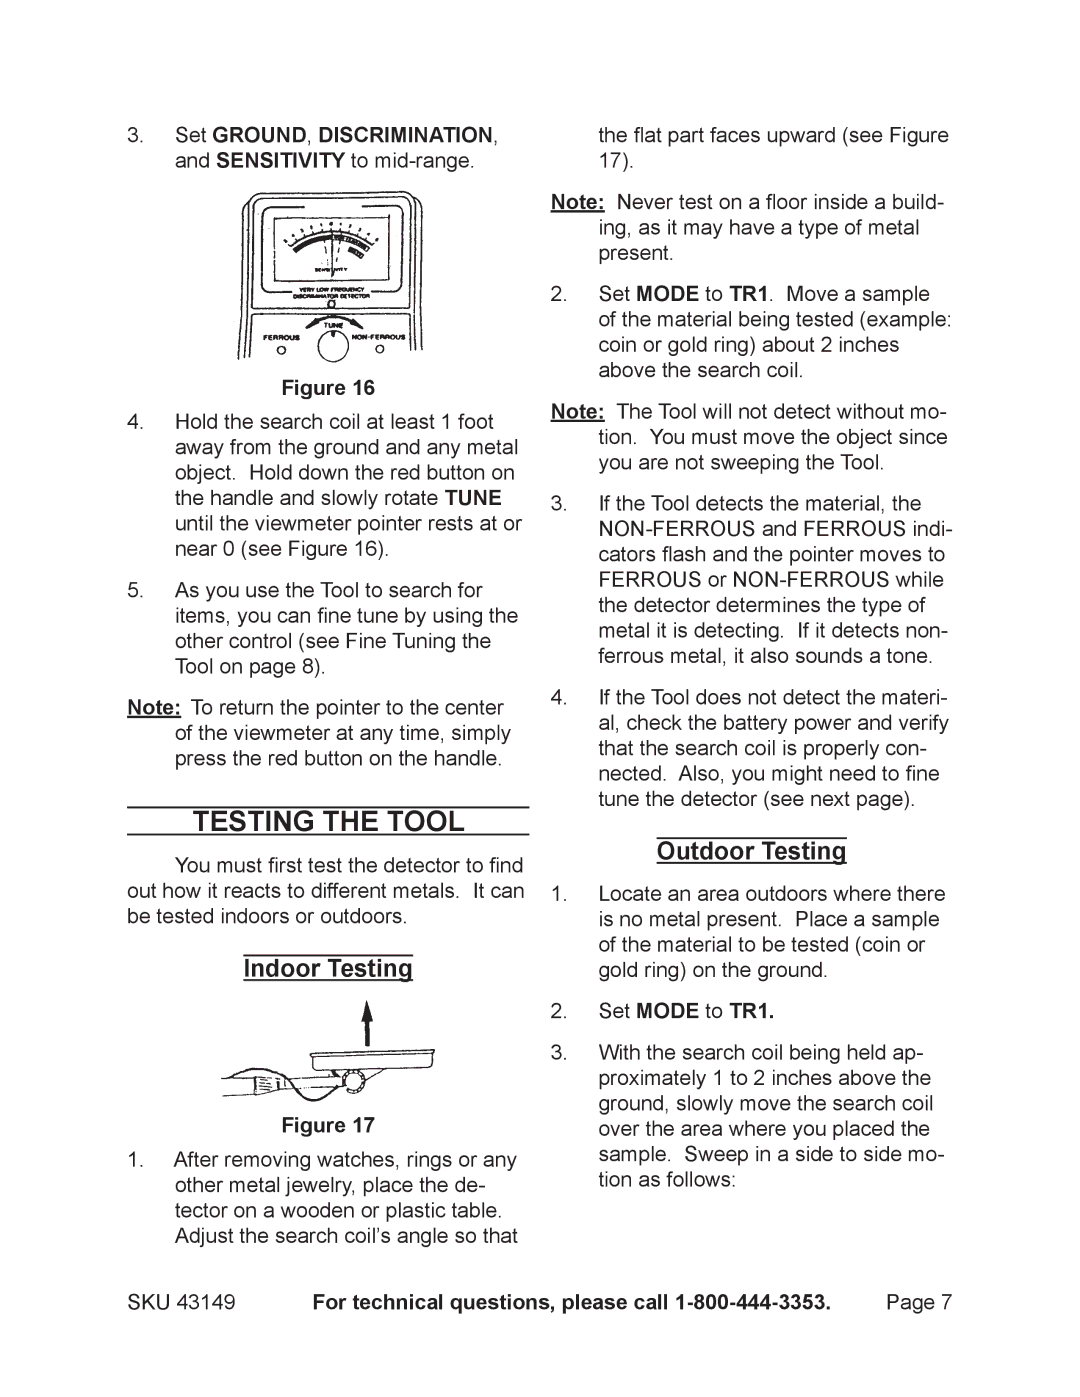
3.Set GROUND, DISCRIMINATION, and SENSITIVITY to mid-range.
Figure 16
4.Hold the search coil at least 1 foot away from the ground and any metal object. Hold down the red button on the handle and slowly rotate TUNE until the viewmeter pointer rests at or near 0 (see Figure 16).
5.As you use the Tool to search for items, you can fine tune by using the other control (see Fine Tuning the Tool on page 8).
Note: To return the pointer to the center of the viewmeter at any time, simply press the red button on the handle.
Testing the Tool
You must first test the detector to find out how it reacts to different metals. It can be tested indoors or outdoors.
Indoor Testing
Figure 17
1.After removing watches, rings or any other metal jewelry, place the de- tector on a wooden or plastic table. Adjust the search coil’s angle so that
the flat part faces upward (see Figure 17).
Note: Never test on a floor inside a build- ing, as it may have a type of metal present.
2.Set MODE to TR1. Move a sample of the material being tested (example: coin or gold ring) about 2 inches above the search coil.
Note: The Tool will not detect without mo- tion. You must move the object since you are not sweeping the Tool.
3.If the Tool detects the material, the
FERROUS or
4.If the Tool does not detect the materi- al, check the battery power and verify that the search coil is properly con- nected. Also, you might need to fine tune the detector (see next page).
Outdoor Testing
1.Locate an area outdoors where there is no metal present. Place a sample of the material to be tested (coin or gold ring) on the ground.
2.Set MODE to TR1.
3.With the search coil being held ap- proximately 1 to 2 inches above the ground, slowly move the search coil over the area where you placed the sample. Sweep in a side to side mo- tion as follows:
SKU 43149 | For technical questions, please call | Page 7 |