5.Install the Table Support (B7), with attached table Arm (B14), over the Column (B1) and slide it down. Engage the gears onto the Rack (B2). Tighten the Table Clamp (B13).

6.Slide the Column Collar (B19) over and down the Column (B1) about 8 inches. Tighten Screw (B11).

7.Place the Extend Arm (B15) into the Arm (B14), and then the Table (B20) into the opening in the Extend Arm.

CAUTION: Avoid injuries. The next step involves lifting the Head Assembly onto the Column. The Head Assembly is heavy. Have someone help you lift this assembly into place.

8.Using two people, lift the Head Assembly and insert the Column Guide (18) over the Column (B1).

Slide it down on the Column Tube as far as it will go. Align it so that it faces straight forward, inline with the Base.

9.Insert one Locking Shoe (15) into place inside the bottom of the Column Guide (18), and the other on the outside of the Column Guide. Tighten the Clamping Lever (30) into the Locking Shoe at the base of the Column Guide.

10.Adjust V-Belt (A1) tension or change speeds.

-Open the Belt Guard (A25) to expose the V-Belt.

-Loosen the Thumb Nut (28) to relieve the V-Belt tension.

-If necessary, move the Belt up or down on the pulleys to change the drill speed.

-Push the Motor backward, tightening the Belt on the pulleys, and hold in place.

-Turn the Thumb Nut (28) clockwise to tighten the V-Belt in place.

-Refer to the chart inside the Guard lid to select speed and belt locations.

Note: To test the proper belt tension, push in on the center of each belt at its center. It should move only 1/2 inch (in or out).

Caution: overtightening the belts can cause the motor to bind, and not start. It can also damage Motor bearings.

11.Locate the Feed Knobs (34) and Feed Rods (35) and screw into the Hub (36).

12.Install the Chuck (A12).

-Thoroughly clean the tapered hole in the Chuck and the Spindle (A15) shaft of all dirt, grease, oil, and protective coatings (paint thinner may be necessary).

-Slide the Chuck onto the Spindle shaft.

-Turn the Chuck sleeve clockwise and open the jaws completely.

-Tap the nose of the Chuck lightly with a piece of wood to securely set the Chuck.

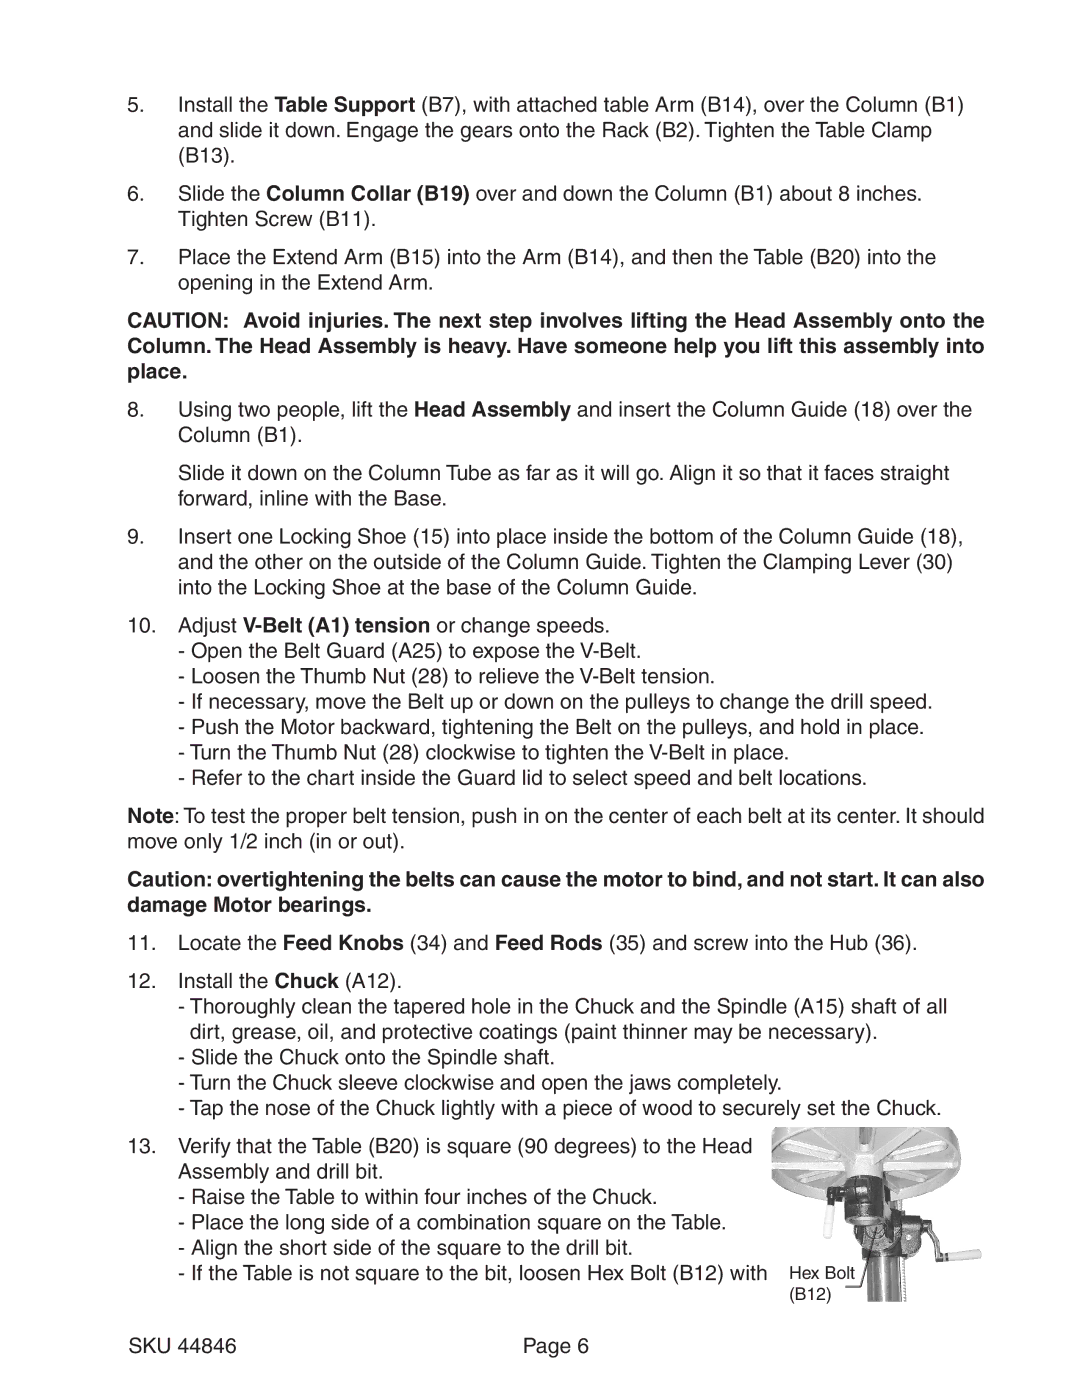
13.Verify that the Table (B20) is square (90 degrees) to the Head Assembly and drill bit.

-Raise the Table to within four inches of the Chuck.

-Place the long side of a combination square on the Table.

-Align the short side of the square to the drill bit.

- If the Table is not square to the bit, loosen Hex Bolt (B12) with Hex Bolt (B12)

SKU 44846

Page 6

Page 6
Image 6
Harbor Freight Tools 44846 operating instructions Sku

44846 specifications

Harbor Freight Tools 44846, also known as the Central Pneumatic 21-Gallon Horizontal Air Compressor, has gained significant attention among both DIY enthusiasts and professionals alike. This reliable and efficient air compressor boasts a variety of features that make it a staple in workshops and job sites.

One of the most notable features of the 44846 is its powerful 1.5 horsepower motor, capable of delivering a maximum pressure of 125 PSI. This ensures a quick recovery time, allowing users to work with pneumatic tools seamlessly. The 21-gallon horizontal tank provides ample storage, enabling longer operating times without frequent refills. Ideal for a range of applications, from powering air tools to inflating tires, this compressor stands out for its versatility.

Another essential characteristic of the Harbor Freight 44846 is its oil-lubricated pump, which promotes efficient performance and longevity. The pump aids in maintaining lower operating temperatures, reducing wear and tear on internal components. This feature is particularly beneficial for users engaged in extended projects or heavy-duty tasks.

Safety and convenience are also paramount in the design of the 44846. Equipped with a pressure regulator, users can adjust the output pressure according to their specific needs, ensuring optimal performance during use. The built-in quick connect coupler provides easy access to tools, while the large, durable wheels make transportation to various work locations hassle-free.

Additionally, the compressor features a low noise level, producing a moderate sound output during operation. This makes it suitable for environments where noise reduction is essential, allowing users to work in residential areas without disturbing neighbors.

Maintenance is simplified with the Harbor Freight 44846, as it includes a removable air filter for easy cleaning and replacement. This design consideration helps maintain efficiency over time and ensures that the compressor operates at peak performance.

Overall, the Harbor Freight Tools 44846 Central Pneumatic 21-Gallon Horizontal Air Compressor is an exceptional choice for those needing a reliable, versatile, and durable compressor. Its combination of power, efficiency, and user-friendly features makes it an excellent addition to any toolkit, whether for home use or professional applications. With proper care and maintenance, this compressor promises to serve users well for many projects to come.