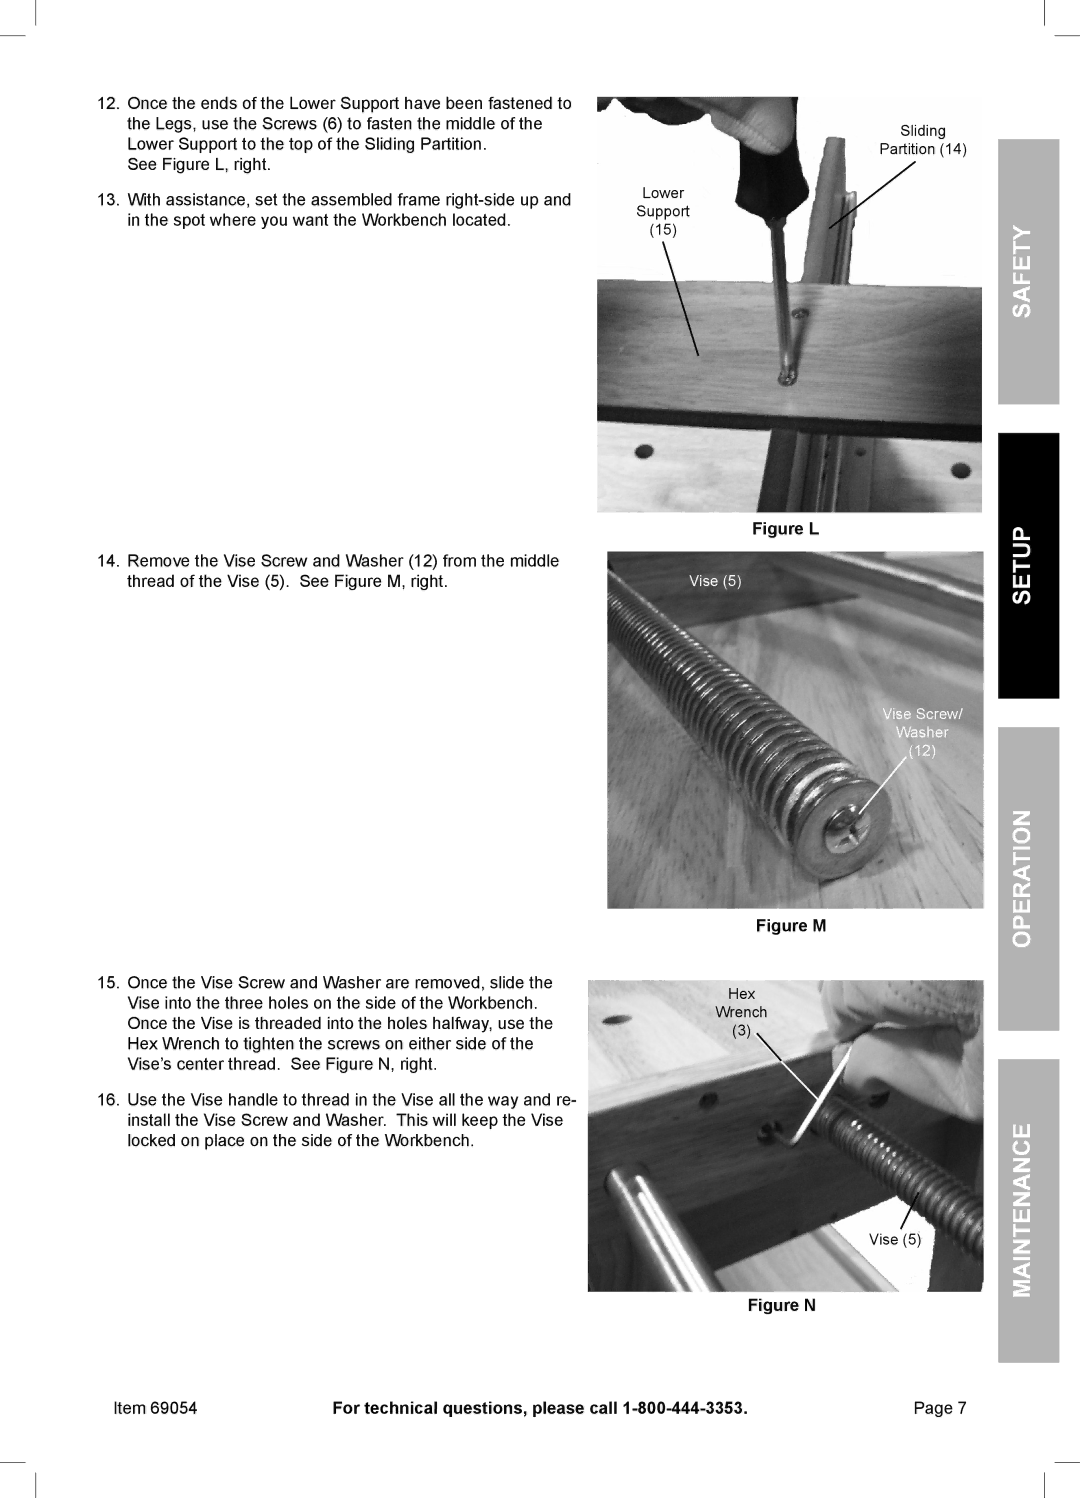
12.Once the ends of the Lower Support have been fastened to the Legs, use the Screws (6) to fasten the middle of the Lower Support to the top of the Sliding Partition.
See Figure L, right.
13.With assistance, set the assembled frame
14.Remove the Vise Screw and Washer (12) from the middle thread of the Vise (5). See Figure M, right.
15.Once the Vise Screw and Washer are removed, slide the Vise into the three holes on the side of the Workbench. Once the Vise is threaded into the holes halfway, use the Hex Wrench to tighten the screws on either side of the Vise’s center thread. See Figure N, right.
16.Use the Vise handle to thread in the Vise all the way and re- install the Vise Screw and Washer. This will keep the Vise locked on place on the side of the Workbench.
Lower
Support
(15)
Figure L
Vise (5)
Figure M
Hex
Wrench
(3)
Sliding
Partition (14)
Safety
Setup
Vise Screw/
Washer
(12)
Operation
Vise (5) | Maintenance |
|
| Figure N |
Item 69054 | For technical questions, please call |
Page 7
