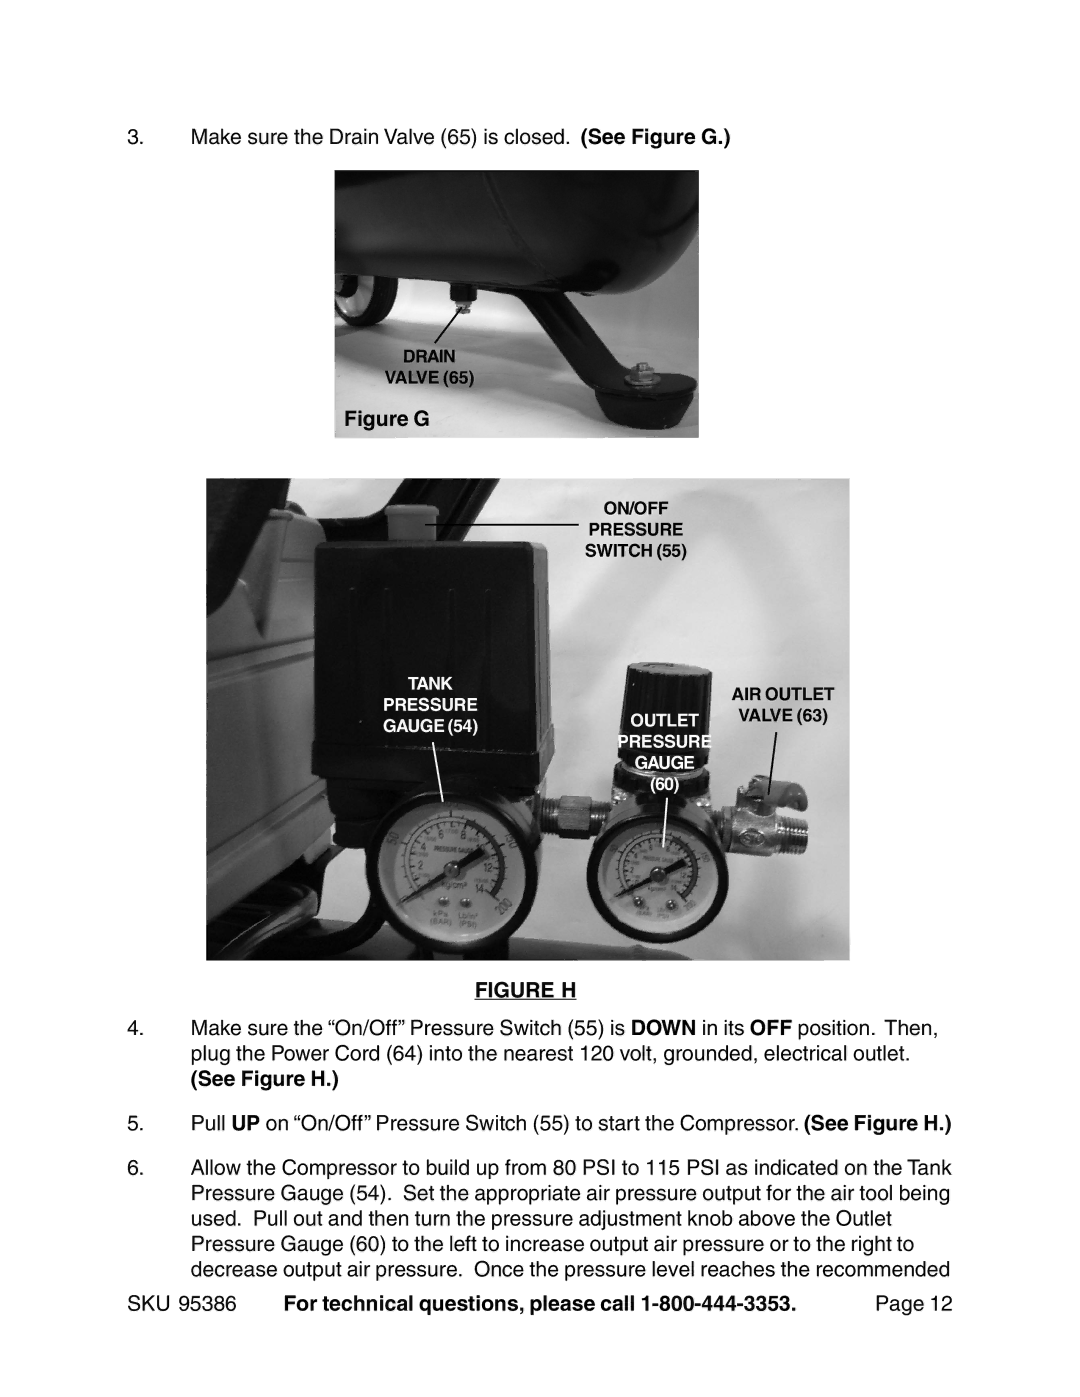
3.Make sure the Drain Valve (65) is closed. (See Figure G.)
DRAIN
VALVE (65)
Figure G
ON/OFF
PRESSURE
SWITCH (55)
TANK
AIR OUTLET
PRESSURE
GAUGE (54)OUTLET VALVE (63) PRESSURE
GAUGE
(60)
FIGURE H
4.Make sure the “On/Off” Pressure Switch (55) is DOWN in its OFF position. Then, plug the Power Cord (64) into the nearest 120 volt, grounded, electrical outlet.
(See Figure H.)
5.Pull UP on “On/Off” Pressure Switch (55) to start the Compressor. (See Figure H.)
6.Allow the Compressor to build up from 80 PSI to 115 PSI as indicated on the Tank Pressure Gauge (54). Set the appropriate air pressure output for the air tool being used. Pull out and then turn the pressure adjustment knob above the Outlet Pressure Gauge (60) to the left to increase output air pressure or to the right to decrease output air pressure. Once the pressure level reaches the recommended
SKU 95386 | For technical questions, please call | Page 12 |
