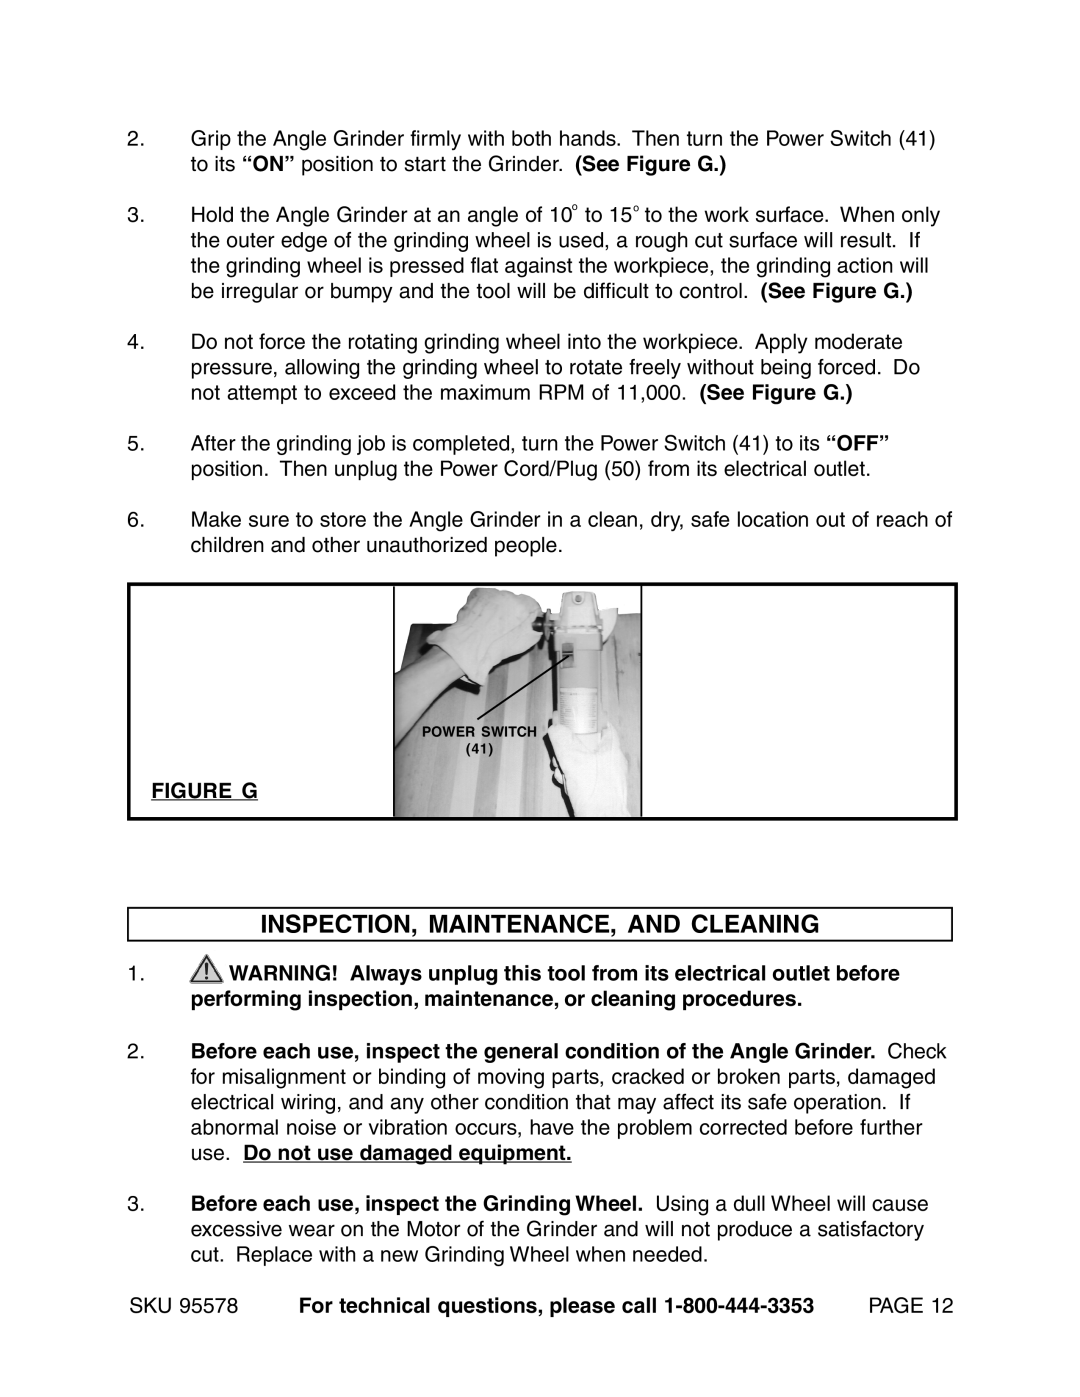
2.Grip the Angle Grinder firmly with both hands. Then turn the Power Switch (41) to its “ON” position to start the Grinder. (See Figure G.)
3.Hold the Angle Grinder at an angle of 10o to 15o to the work surface. When only the outer edge of the grinding wheel is used, a rough cut surface will result. If the grinding wheel is pressed flat against the workpiece, the grinding action will be irregular or bumpy and the tool will be difficult to control. (See Figure G.)
4.Do not force the rotating grinding wheel into the workpiece. Apply moderate pressure, allowing the grinding wheel to rotate freely without being forced. Do not attempt to exceed the maximum RPM of 11,000. (See Figure G.)
5.After the grinding job is completed, turn the Power Switch (41) to its “OFF” position. Then unplug the Power Cord/Plug (50) from its electrical outlet.
6.Make sure to store the Angle Grinder in a clean, dry, safe location out of reach of children and other unauthorized people.
POWER SWITCH
(41)
FIGURE G
INSPECTION, MAINTENANCE, AND CLEANING
1.![]() WARNING! Always unplug this tool from its electrical outlet before performing inspection, maintenance, or cleaning procedures.
WARNING! Always unplug this tool from its electrical outlet before performing inspection, maintenance, or cleaning procedures.
2.Before each use, inspect the general condition of the Angle Grinder. Check for misalignment or binding of moving parts, cracked or broken parts, damaged electrical wiring, and any other condition that may affect its safe operation. If abnormal noise or vibration occurs, have the problem corrected before further use. Do not use damaged equipment.
3.Before each use, inspect the Grinding Wheel. Using a dull Wheel will cause excessive wear on the Motor of the Grinder and will not produce a satisfactory cut. Replace with a new Grinding Wheel when needed.
SKU 95578 For technical questions, please call
