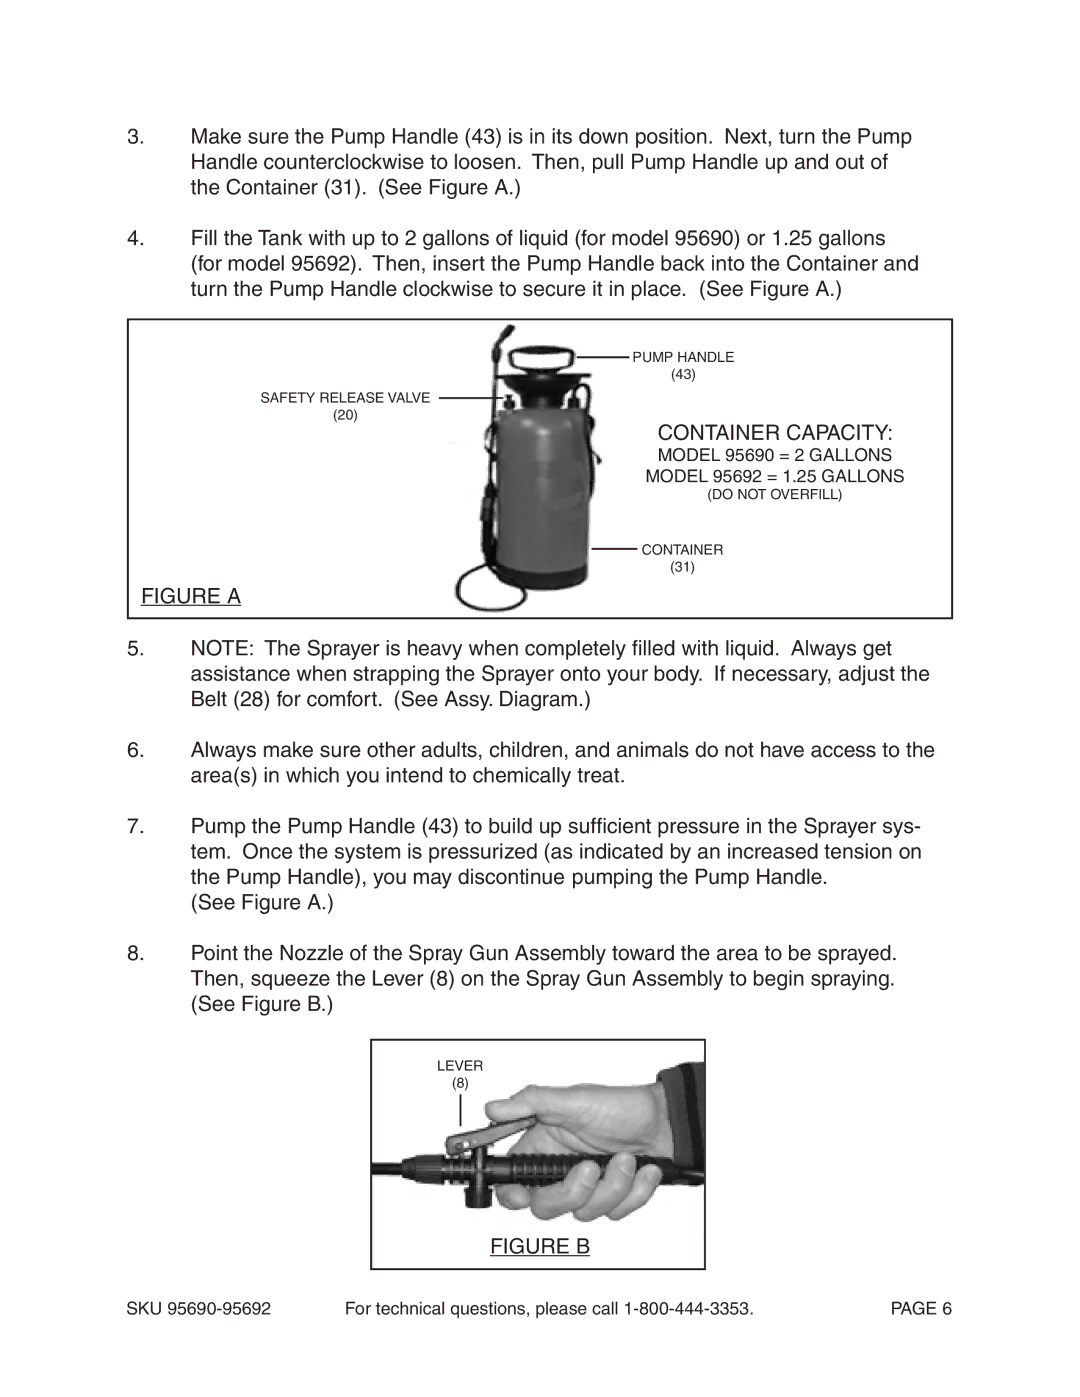
3.Make sure the Pump Handle (43) is in its down position. Next, turn the Pump Handle counterclockwise to loosen. Then, pull Pump Handle up and out of the Container (31). (See Figure A.)
4.Fill the Tank with up to 2 gallons of liquid (for model 95690) or 1.25 gallons (for model 95692). Then, insert the Pump Handle back into the Container and turn the Pump Handle clockwise to secure it in place. (See Figure A.)
PUMP HANDLE
(43)
SAFETY RELEASE VALVE
(20)
CONTAINER CAPACITY:
MODEL 95690 = 2 GALLONS
MODEL 95692 = 1.25 GALLONS
(DO NOT OVERFILL)
CONTAINER
(31)
FIGURE A
5.NOTE: The Sprayer is heavy when completely filled with liquid. Always get assistance when strapping the Sprayer onto your body. If necessary, adjust the Belt (28) for comfort. (See Assy. Diagram.)
6.Always make sure other adults, children, and animals do not have access to the area(s) in which you intend to chemically treat.
7.Pump the Pump Handle (43) to build up sufficient pressure in the Sprayer sys- tem. Once the system is pressurized (as indicated by an increased tension on the Pump Handle), you may discontinue pumping the Pump Handle.
(See Figure A.)
8.Point the Nozzle of the Spray Gun Assembly toward the area to be sprayed. Then, squeeze the Lever (8) on the Spray Gun Assembly to begin spraying. (See Figure B.)
LEVER
(8)
FIGURE B
SKU | For technical questions, please call | PAGE 6 |
