System Configuration
17
System Setup
Once the speakers have been placed in the room and connected, the final step in the setup process is to enter the settings that configure the AVR45’s bass management system for the type of speakers used in your system, the calibration of the output levels and the delay times used by the sur- round sound processor. Before proceeding further, this is a good time to review the installation section of the manual to make certain that all connections are properly made.
You are now ready to power up the AVR45 to begin these final adjustments.
1.Plug the Power Cable Þto an unswitched AC outlet.
2.Press the Main Power Switch 1 in so that it latches in with the “OFF” wording on the top of the switch inside the front panel. Note that the
Power Indicator 3 will turn amber, indicating that the unit is in the Standby mode.
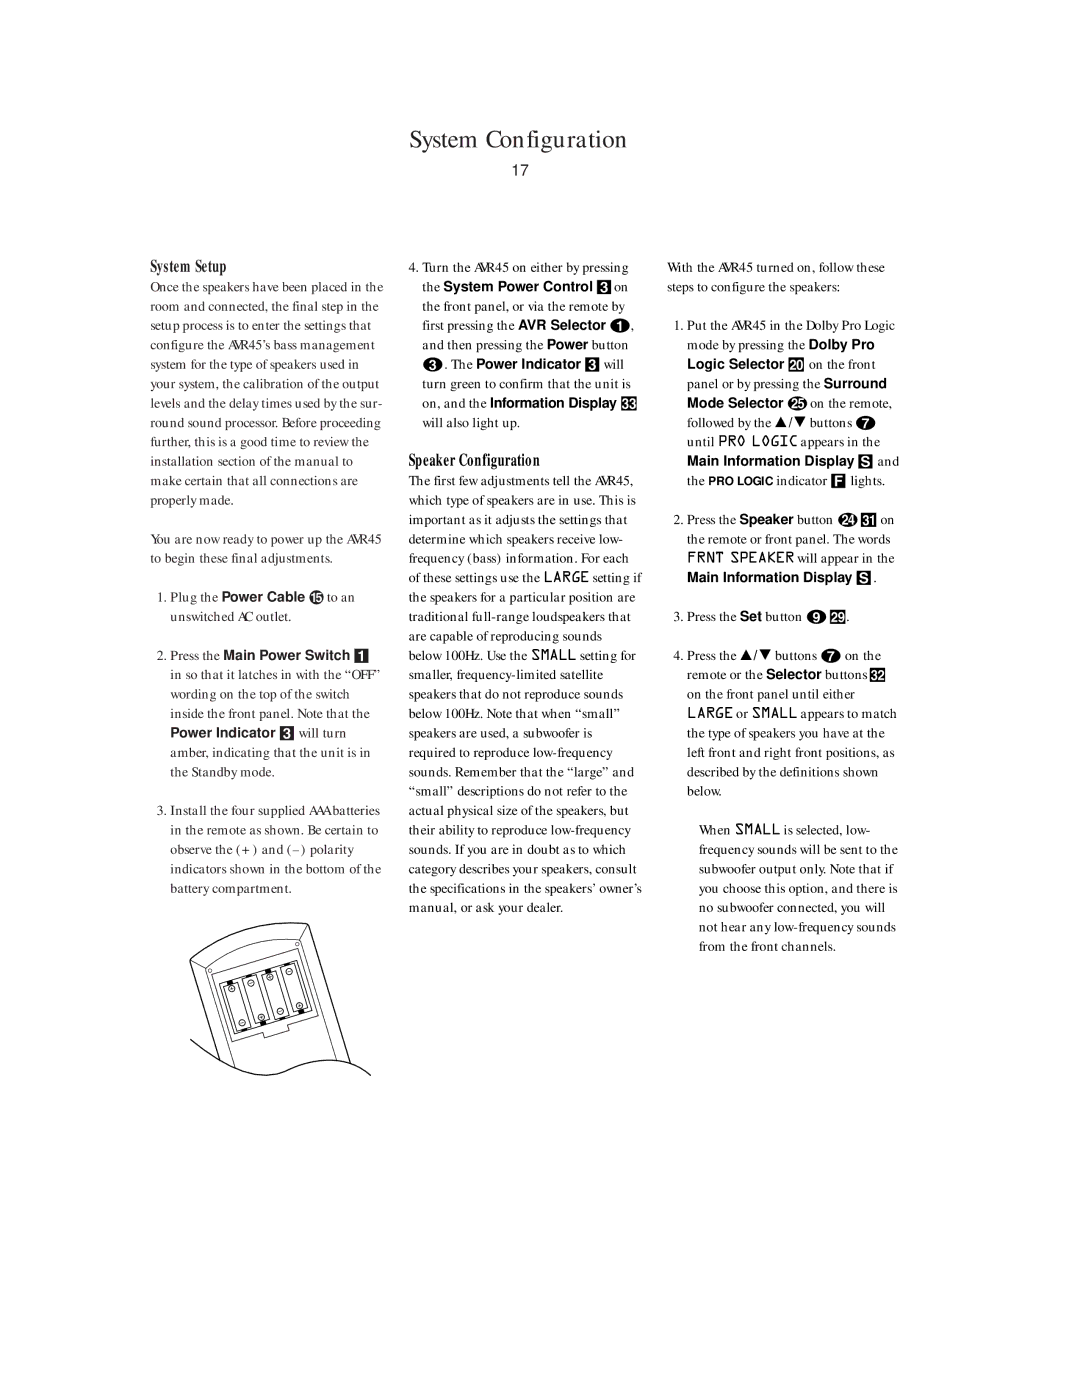
3.Install the four supplied AAA batteries in the remote as shown. Be certain to observe the (+) and
4.Turn the AVR45 on either by pressing the System Power Control 3on the front panel, or via the remote by first pressing the AVR Selector a, and then pressing the Power button
c. The Power Indicator 3will
turn green to confirm that the unit is on, and the Information Display ý will also light up.
Speaker Configuration
The first few adjustments tell the AVR45, which type of speakers are in use. This is important as it adjusts the settings that determine which speakers receive low- frequency (bass) information. For each of these settings use the LARGE setting if the speakers for a particular position are traditional
With the AVR45 turned on, follow these steps to configure the speakers:
1.Put the AVR45 in the Dolby Pro Logic mode by pressing the Dolby Pro
Logic Selector î on the front panel or by pressing the Surround Mode Selector yon the remote, followed by the Ú/ Û buttons g until PRO LOGIC appears in the Main Information Display S and the PRO LOGIC indicator F lights.
2.Press the Speaker button xùon the remote or front panel. The words FRNT SPEAKER will appear in the
Main Information Display S.
3.Press the Set button i÷.
4.Press the Ú/ Û buttons gon the remote or the Selector buttons ü on the front panel until either LARGE or SMALL appears to match the type of speakers you have at the left front and right front positions, as described by the definitions shown below.
When SMALL is selected, low- frequency sounds will be sent to the subwoofer output only. Note that if you choose this option, and there is no subwoofer connected, you will not hear any