AVR 154 specifications
The Harman-Kardon AVR 154 is a high-performance audio-video receiver designed for home theater enthusiasts seeking an immersive audio experience. Launched as part of Harman's esteemed line of receivers, the AVR 154 combines sophisticated technology with user-friendly features to create a versatile home entertainment solution.One of the standout features of the AVR 154 is its multi-channel amplification, delivering a robust output of 50 watts per channel. This power allows for clean and dynamic sound, making it ideal for both movies and music. The AVR 154 supports a 5.1 surround sound configuration, providing an enveloping audio experience that brings films to life. With its ability to decode various surround sound formats, including Dolby TrueHD and DTS-HD Master Audio, it ensures that users enjoy high-quality audio without compromise.
Connectivity is a key aspect of the AVR 154, which offers multiple HDMI inputs, allowing for easy connection to various sources like Blu-ray players, gaming consoles, and streaming devices. With three HDMI inputs and one HDMI output, users have the flexibility to connect multiple devices while enabling audio and video pass-through. The receiver is also equipped with optical and coaxial digital inputs, ensuring compatibility with older audio sources.
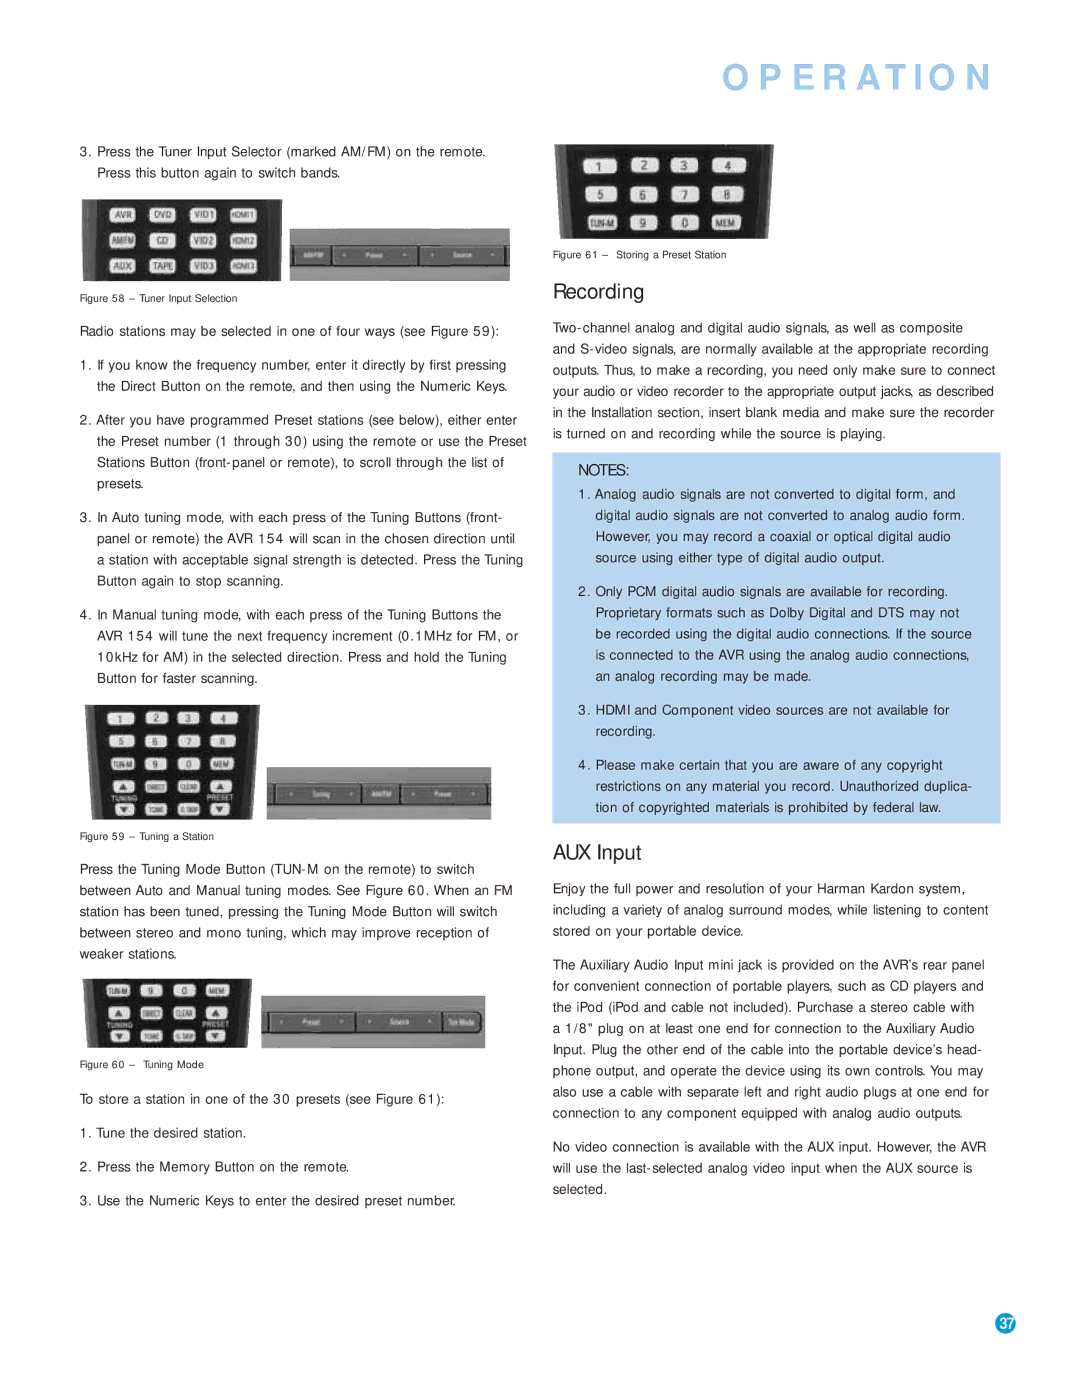
Another important feature is the built-in FM/AM tuner, allowing users to access their favorite radio stations without the need for an external receiver. For those who prioritize convenience, the AVR 154 includes an intuitive on-screen display, guiding users through setup and configuration seamlessly. Additionally, the remote control provides easy access to all functions, making operation straightforward.
In terms of design, the Harman-Kardon AVR 154 boasts a sleek aesthetic with a brushed aluminum front panel. The distinctive look, combined with an easy-to-navigate interface, makes it an attractive addition to any home entertainment setup.
Overall, the Harman-Kardon AVR 154 stands out as a reliable and feature-rich AV receiver. With its impressive audio performance, extensive connectivity options, and user-friendly design, it caters to the needs of home theater enthusiasts who seek impactful sound and ultimate flexibility for their entertainment needs. Whether you’re enjoying a thrilling movie or listening to your favorite music, the AVR 154 promises to deliver an exceptional auditory experience.

