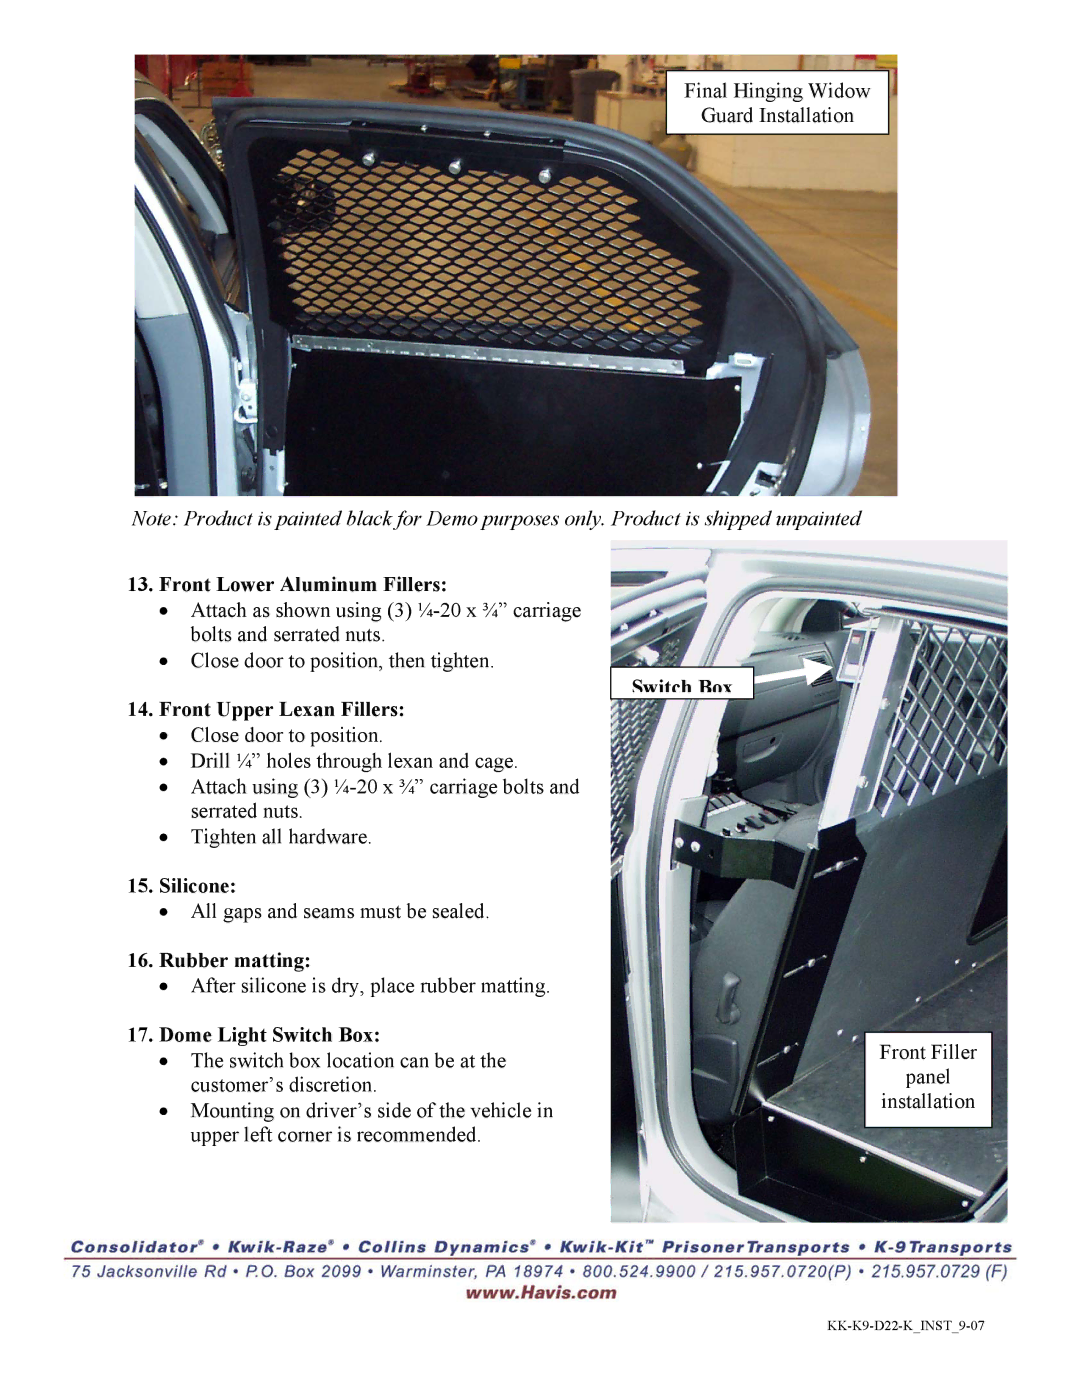
Final Hinging Widow
Guard Installation
Note: Product is painted black for Demo purposes only. Product is shipped unpainted
13.Front Lower Aluminum Fillers:
•Attach as shown using (3)
•Close door to position, then tighten.
14.Front Upper Lexan Fillers:
•Close door to position.
•Drill ¼” holes through lexan and cage.
•Attach using (3)
•Tighten all hardware.
15.Silicone:
•All gaps and seams must be sealed.
16.Rubber matting:
•After silicone is dry, place rubber matting.
17.Dome Light Switch Box:
•The switch box location can be at the customer’s discretion.
•Mounting on driver’s side of the vehicle in upper left corner is recommended.
Switch Box 
Front Filler
panel
installation