
566G, 496G specifications
Hayter Mowers has gained a reputation for delivering innovative and efficient lawn care solutions, and their 496G and 566G models exemplify this dedication to excellence. Designed for professional landscapers and discerning homeowners alike, these mowers offer a combination of power, adaptability, and user-friendly features that set them apart in the market.The Hayter 496G is particularly notable for its robust construction and reliability. It features a strong 60 cm cutting width, allowing users to cover large areas efficiently. The mower is equipped with a powerful Honda engine, renowned for its performance and durability. This ensures that the 496G can tackle various grass types and conditions, making it suitable for both residential lawns and commercial landscapes.
On the other hand, the 566G model takes cutting performance to another level with its advanced features. With an impressive 66 cm cutting width, it caters to larger areas while still providing exceptional maneuverability. The mower is designed with a high-capacity grass collector, which allows for effective grass collection, minimizing the need for additional cleanup after mowing. The robust design ensures that even in tougher conditions, the 566G maintains a consistent and clean cut.
Both models include Hayter’s signature vari-speed drive system, which allows users to adjust the speed to their preferred walking pace. This enhances comfort and control during operation, whether navigating tight spaces or open fields. Additionally, the ergonomic design of the handles provides comfort during extended use, reducing fatigue for the operator.
Hayter has integrated innovative technologies into these mowers, including a unique cut and collect system that helps reduce lawn clippings left on the surface, promoting healthier grass growth. These models are also equipped with durable, high-quality blades that ensure precision cutting and longevity.
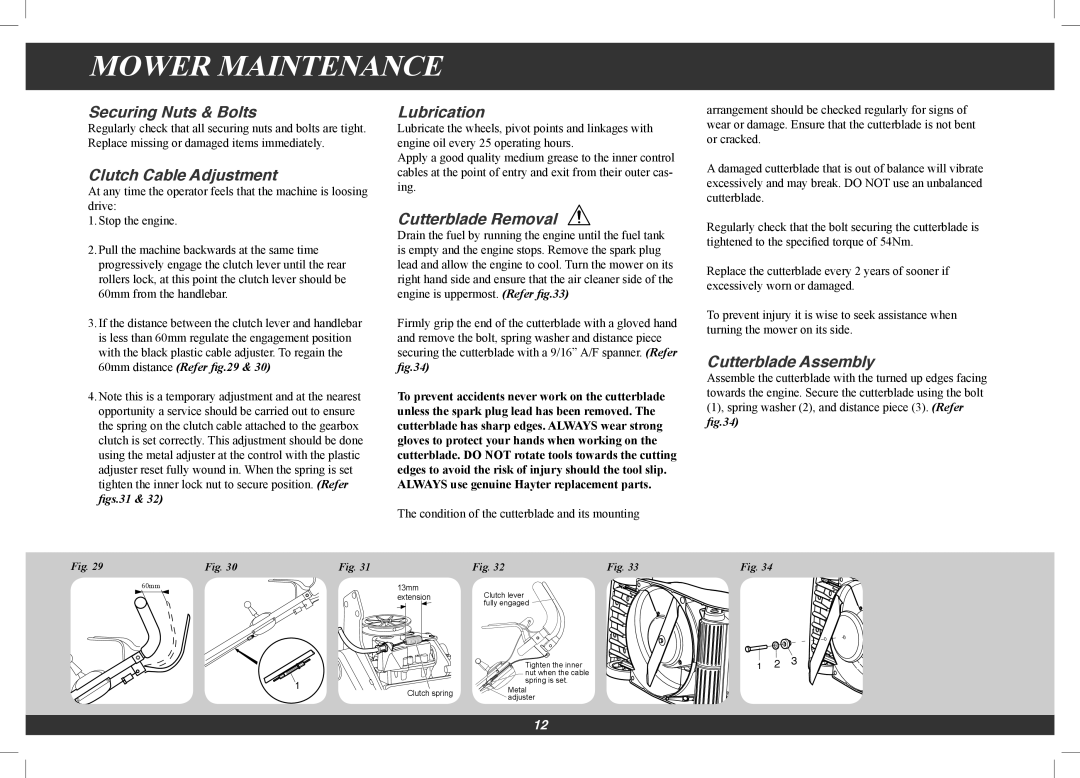
Another key feature of both the 496G and 566G is their easy maintenance design, which is essential for operators who need to keep their equipment in top condition. Access to the engine and other components is straightforward, making routine checks and servicing convenient.
In summary, the Hayter Mowers 496G and 566G represent the pinnacle of engineering and design in the lawn care industry. With their powerful engines, efficient cutting systems, and user-friendly features, these mowers are a perfect choice for anyone looking to achieve a pristine lawn with minimal effort. Whether for residential or professional use, Hayter continues to lead the way in dependable and high-performance lawn care solutions.