ASSEMBLY
Assembly requires two people. | Place the treadmill in a cleared area and remove all packing materials. Do not | |
dispose of the packing materials until the treadmill is assembled. | No tools are required. | |
Note: The underside of the treadmill walking belt is coated with
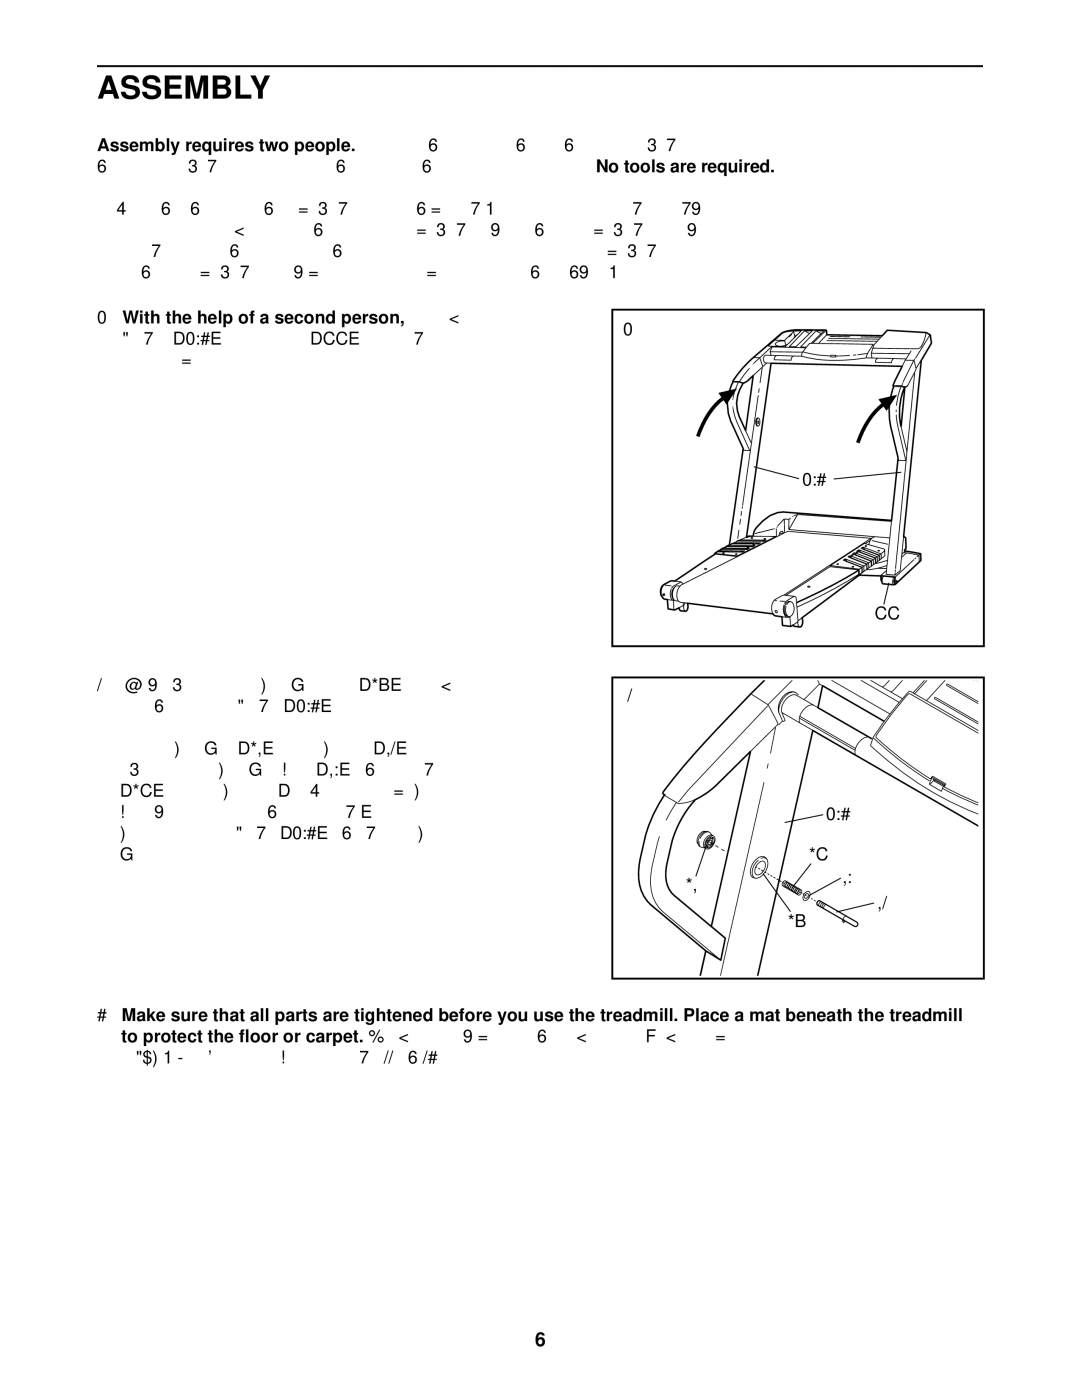
1. With the help of a second person,carefully raise the
Uprights (103) until the Wheels (99) are resting on the floor as shown.
1
103
99
2.Next, make sure that the Latch Knob Sleeve (68) is fully inserted into the left Upright (103).
Remove the Latch Knob (67) from the Latch Pin (72). Make sure that the Latch Knob Collar (70) and the Spring
(69)are on the Latch Pin. (Note: If there are two Latch Pin Collars, place one on each side of the Spring.) Insert the Latch Pin into the left Upright (103) and tighten the Latch Knob onto it.
2
| 103 | |
| 69 | |
67 | 70 | |
72 | ||
| ||
| 68 |
3.Make sure that all parts are tightened before you use the treadmill. Place a mat beneath the treadmill
to protect the floor or carpet.For your benefit, we recommend that you familiarize yourself with the
6