Air Cylinder and Solenoid Valve
Air Cylinder and Solenoid Valve
Use Cylinder Replacement Kit, 287323.
For 120 V sprayer use Solenoid Replacement Kit 287324.
For 230V sprayer use Solenoid Replacement Kit 287351.
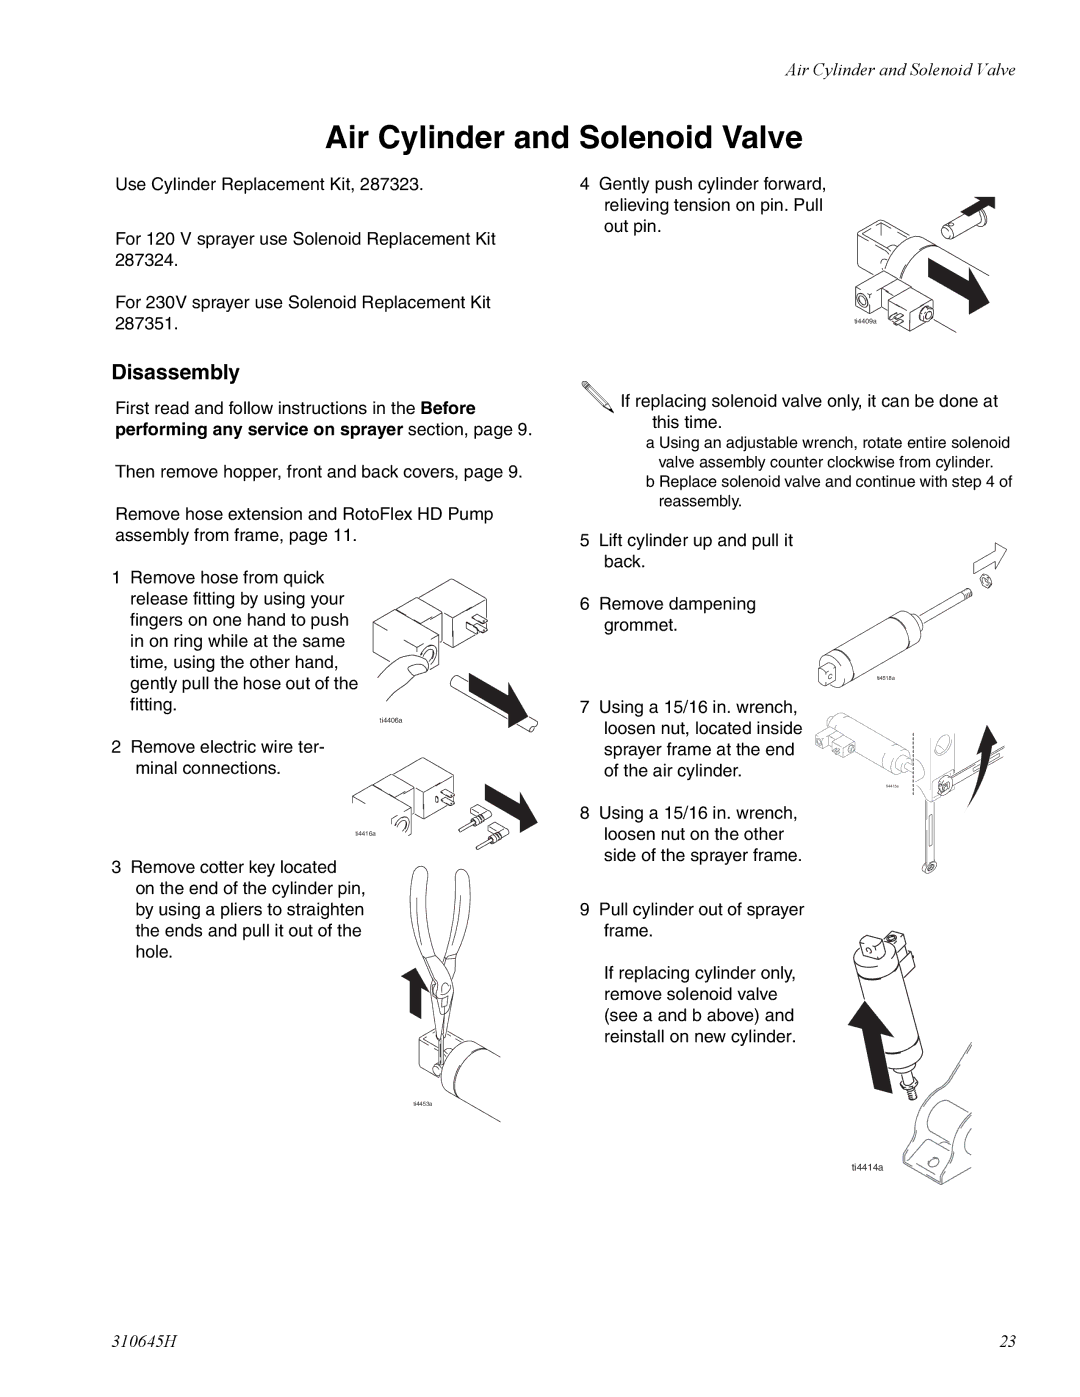
4Gently push cylinder forward, relieving tension on pin. Pull out pin.
ti4409a
Disassembly
First read and follow instructions in the Before performing any service on sprayer section, page 9.
Then remove hopper, front and back covers, page 9.
Remove hose extension and RotoFlex HD Pump assembly from frame, page 11.
1Remove hose from quick release fitting by using your fingers on one hand to push in on ring while at the same time, using the other hand, gently pull the hose out of the fitting.
ti4406a
2Remove electric wire ter- minal connections.
ti4416a
3Remove cotter key located
on the end of the cylinder pin, by using a pliers to straighten the ends and pull it out of the hole.
![]() If replacing solenoid valve only, it can be done at this time.
If replacing solenoid valve only, it can be done at this time.
a Using an adjustable wrench, rotate entire solenoid valve assembly counter clockwise from cylinder.
b Replace solenoid valve and continue with step 4 of reassembly.
5Lift cylinder up and pull it back.
6Remove dampening grommet.
ti4518a
7Using a 15/16 in. wrench, loosen nut, located inside sprayer frame at the end of the air cylinder.
ti4415a
8Using a 15/16 in. wrench, loosen nut on the other side of the sprayer frame.
9Pull cylinder out of sprayer frame.
If replacing cylinder only, remove solenoid valve (see a and b above) and reinstall on new cylinder.
ti4453a
ti4414a
310645H | 23 |