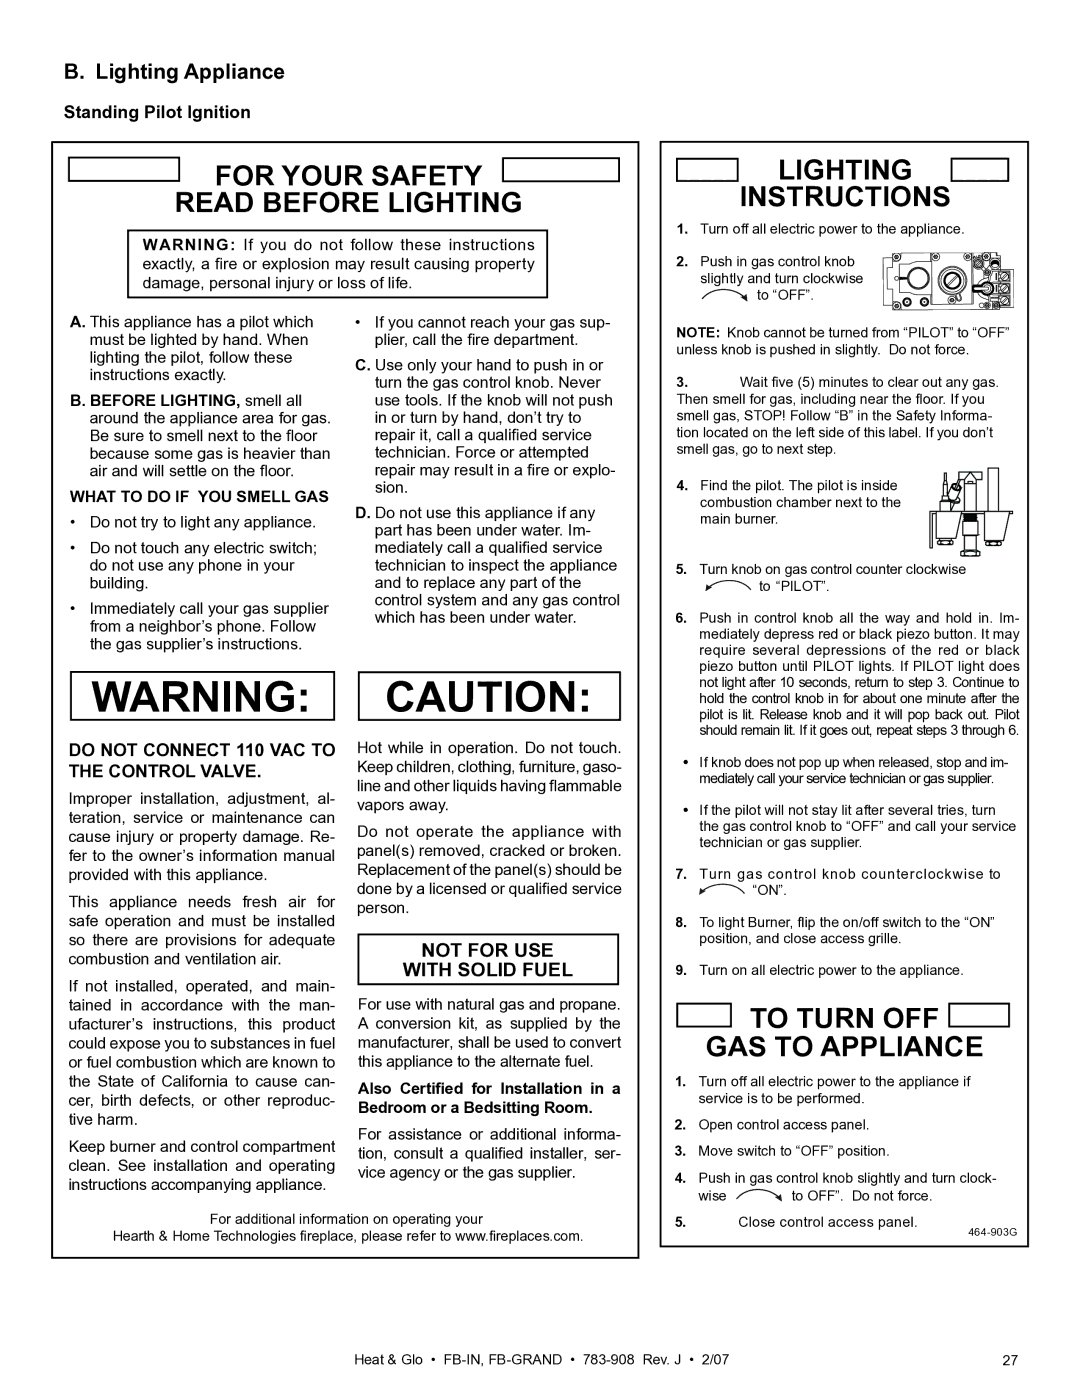
B. Lighting Appliance

Standing Pilot Ignition

FOR YOUR SAFETY

READ BEFORE LIGHTING

WARNING: If you do not follow these instructions exactly, a fire or explosion may result causing property damage, personal injury or loss of life.

LIGHTING

INSTRUCTIONS

1.Turn off all electric power to the appliance.

2.Push in gas control knob slightly and turn clockwise to “OFF”.

A. This appliance has a pilot which must be lighted by hand. When lighting the pilot, follow these instructions exactly.

B. BEFORE LIGHTING, smell all around the appliance area for gas. Be sure to smell next to the floor because some gas is heavier than air and will settle on the floor.

WHAT TO DO IF YOU SMELL GAS

Do not try to light any appliance.

Do not touch any electric switch; do not use any phone in your building.

Immediately call your gas supplier from a neighbor’s phone. Follow the gas supplier’s instructions.

If you cannot reach your gas sup- plier, call the fire department.

C. Use only your hand to push in or turn the gas control knob. Never use tools. If the knob will not push in or turn by hand, don’t try to repair it, call a qualified service technician. Force or attempted repair may result in a fire or explo- sion.

D. Do not use this appliance if any part has been under water. Im- mediately call a qualified service technician to inspect the appliance and to replace any part of the control system and any gas control which has been under water.

NOTE: Knob cannot be turned from “PILOT” to “OFF” unless knob is pushed in slightly. Do not force.

3.Wait five (5) minutes to clear out any gas. Then smell for gas, including near the floor. If you smell gas, STOP! Follow “B” in the Safety Informa- tion located on the left side of this label. If you don’t smell gas, go to next step.

4.Find the pilot. The pilot is inside combustion chamber next to the main burner.

5.Turn knob on gas control counter clockwise

to “PILOT”.

6. Push in control knob all the way and hold in. Im-

mediately depress red or black piezo button. It may

require several depressions of the red or black

piezo button until PILOT lights. If PILOT light does

WARNING: CAUTION:

not light after 10 seconds, return to step 3. Continue to

hold the control knob in for about one minute after the

pilot is lit. Release knob and it will pop back out. Pilot

should remain lit. If it goes out, repeat steps 3 through 6.

DO NOT CONNECT 110 VAC TO THE CONTROL VALVE.

Improper installation, adjustment, al- teration, service or maintenance can cause injury or property damage. Re- fer to the owner’s information manual provided with this appliance.

This appliance needs fresh air for safe operation and must be installed so there are provisions for adequate combustion and ventilation air.

If not installed, operated, and main- tained in accordance with the man- ufacturer’s instructions, this product could expose you to substances in fuel or fuel combustion which are known to the State of California to cause can- cer, birth defects, or other reproduc- tive harm.

Keep burner and control compartment clean. See installation and operating instructions accompanying appliance.

Hot while in operation. Do not touch. Keep children, clothing, furniture, gaso- line and other liquids having flammable vapors away.

Do not operate the appliance with panel(s) removed, cracked or broken. Replacement of the panel(s) should be done by a licensed or qualified service person.

NOT FOR USE

WITH SOLID FUEL

For use with natural gas and propane. A conversion kit, as supplied by the manufacturer, shall be used to convert this appliance to the alternate fuel.

Also Certified for Installation in a Bedroom or a Bedsitting Room.

For assistance or additional informa- tion, consult a qualified installer, ser- vice agency or the gas supplier.

If knob does not pop up when released, stop and im-


mediately call your service technician or gas supplier.

If the pilot will not stay lit after several tries, turn


the gas control knob to “OFF” and call your service


technician or gas supplier.

7.

Turn gas control knob counterclockwise to

“ON”.

8.To light Burner, flip the on/off switch to the “ON” position, and close access grille.

9.Turn on all electric power to the appliance.

TO TURN OFF GAS TO APPLIANCE

1. Turn off all electric power to the appliance if service is to be performed.

2.

Open control access panel.

3.

Move switch to “OFF” position.

4.

Push in gas control knob slightly and turn clock-


wise

to OFF”. Do not force.

For additional information on operating your

Hearth & Home Technologies fireplace, please refer to www.fireplaces.com.

5.

Close control access panel.


464-903G

Heat & Glo • FB-IN, FB-GRAND783-908 Rev. J • 2/07

27

Page 27
Image 27
Heat & Glo LifeStyle FB-Grand owner manual Lighting Appliance, Standing Pilot Ignition, What to do if YOU Smell GAS

FB-Grand specifications

Heat & Glo has long been recognized as a leader in the fireplace industry, offering innovative designs that merge function with luxury. Among their notable offerings are the LifeStyle CFX-Grand-B, CFX-IN-B, FB-IN, and FB-Grand models. Each of these fireplaces is engineered to elevate living spaces while providing efficient heating solutions.

The LifeStyle CFX-Grand-B is a contemporary masterpiece that prioritizes versatility and style. This model features a sleek, linear design that can be customized with various finishes, allowing it to seamlessly fit into any interior decor. A standout feature of the CFX-Grand-B is its innovative multi-sided design, enabling a stunning view from multiple angles. With advanced heat distribution technology, it ensures optimal warmth, demonstrating that elegance can coexist with practicality.

Next in line is the CFX-IN-B, which is perfect for those who want to create a focal point in their home without compromising space. This model boasts an impressive array of customizable options, including media choices like decorative stones and glass. The advanced IntelliFire technology allows for easy operation with a simple remote control or a smart home integration, ensuring comfort at the touch of a button. Additionally, the CFX-IN-B's clean aesthetic and efficient heating capabilities make it an excellent choice for modern living areas.

The FB-IN model caters to traditionalists while incorporating modern efficiencies. It features a classic design with large viewing areas, enabling an unobstructed view of the flames. This fireplace is equipped with a powerful blower system that enhances heat circulation throughout the room, allowing for a cozy atmosphere even during the coldest months. The FB-IN’s robust build quality ensures durability, making it a long-lasting addition to any home.

Lastly, the FB-Grand further exemplifies Heat & Glo’s commitment to luxury and performance. With a wider profile, this fireplace creates an expansive canvas for mesmerizing flames, ensuring it becomes the heart of any room. High-efficiency ratings mean it is not only visually appealing but also economical to operate. The FB-Grand integrates seamlessly with Heat & Glo's customizable framing options, allowing homeowners to design a fireplace that fits their unique style.

In conclusion, each of the Heat & Glo LifeStyle models offers distinct features and technological advancements that enhance home heating and aesthetics. They combine stylish design, efficient heating, and user-friendly technology, making them a top choice for those looking to add warmth and sophistication to their living spaces.