H-IM-82C specifications
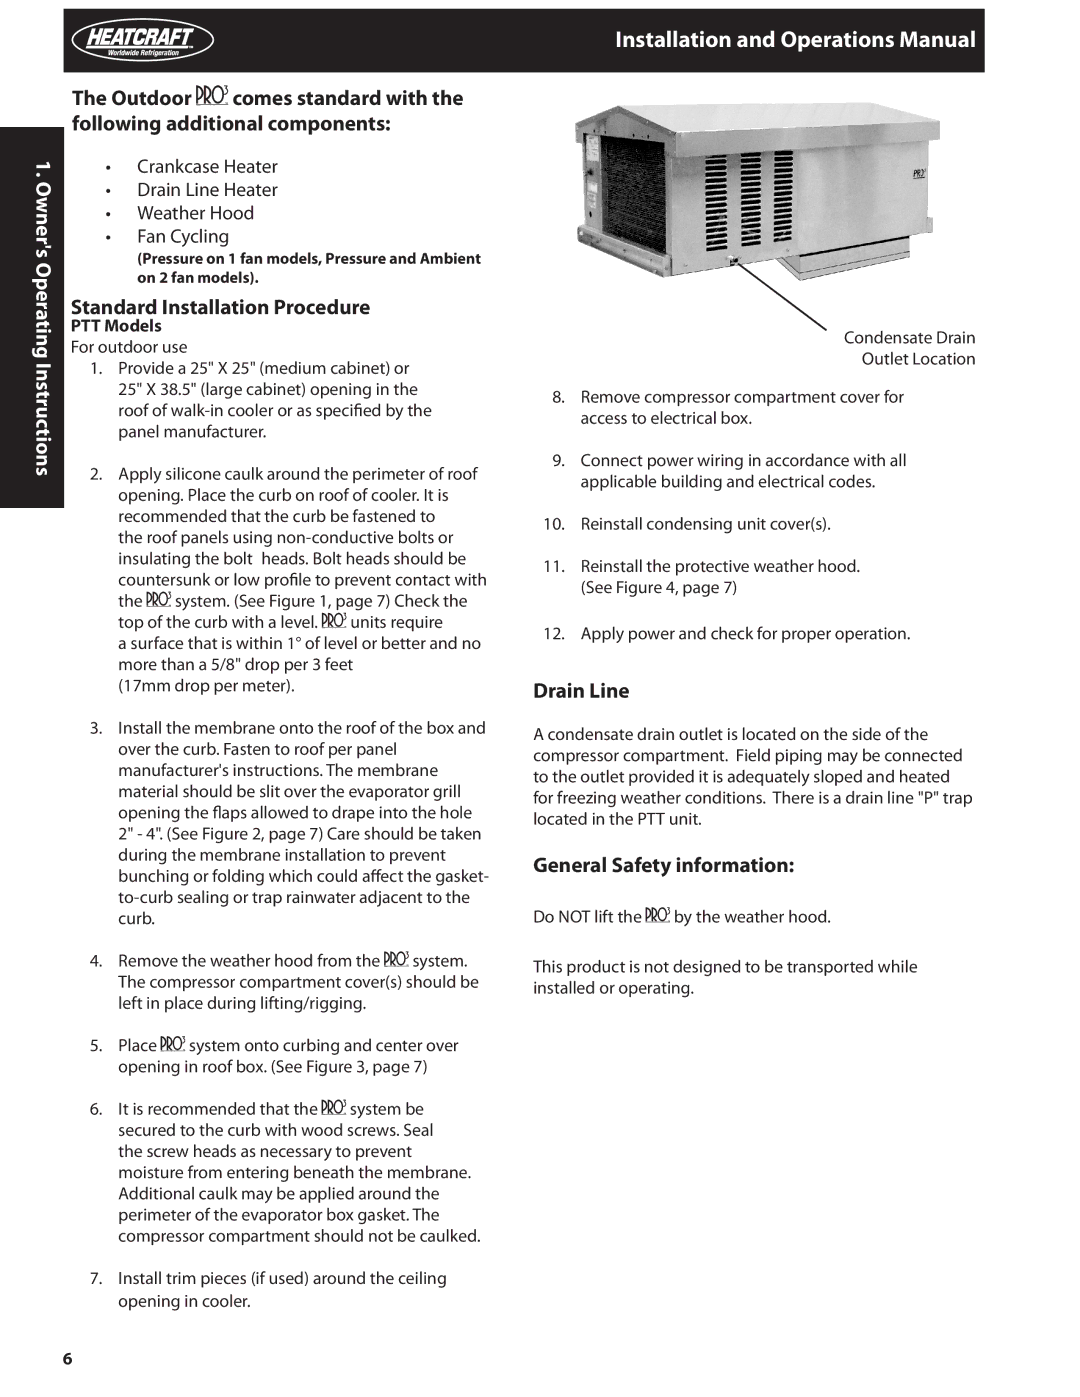
Heatcraft Refrigeration Products has long been a trusted name in the refrigeration industry, dedicated to providing innovative solutions for commercial cooling needs. One of their standout products is the H-IM-82C unit, a remarkable addition to the line that exemplifies reliability, efficiency, and advanced technology.The H-IM-82C is engineered with exceptional features that cater to various commercial applications. It utilizes a reliable hermetic compressor specifically designed for durability and energy efficiency. This compressor ensures optimal performance while minimizing power consumption, which can lead to significant savings on energy bills over time. Additionally, the unit boasts a high-performance evaporator coil that augments cooling efficiency by maximizing heat transfer. This design feature allows for quicker cooling times, making it ideal for environments that require precise temperature control, such as food storage and preparation areas.
Another notable characteristic of the H-IM-82C is its robust insulation. The unit employs high-density foam insulation that not only enhances energy efficiency but also prevents condensation and frost build-up. This insulation method helps maintain consistent internal temperatures, which is crucial for preserving the quality of perishable goods.
Safety and monitoring technologies are also integral to the H-IM-82C's design. The unit is equipped with advanced electronic controls that facilitate easy temperature adjustments and greater operational oversight. Users can benefit from real-time monitoring and alerts, helping to ensure compliance with food safety regulations.
Moreover, the H-IM-82C is designed with versatility in mind. It can be installed in a variety of configurations, whether horizontally or vertically, allowing for seamless integration into existing systems. Its compact design is another advantage, saving space while still delivering exceptional cooling performance.
Overall, the Heatcraft H-IM-82C is a commendable option for businesses seeking a reliable refrigeration solution. With its energy-efficient compressor, advanced insulation, and user-friendly controls, it effectively balances performance and cost-effectiveness, making it a preferred choice in the competitive landscape of commercial refrigeration. Whether for a restaurant, supermarket, or food processing facility, the H-IM-82C delivers the quality and reliability that Heatcraft is known for, ensuring peace of mind for operators and optimal conditions for stored products.

