1.Drain the shortening.
2.Remove the high limit bulb holder from the heating element.
3.Remove the Control Panel.
4.Disconnect the heating element wires from the contactors.
5.Loosen the screws on the element spreaders.
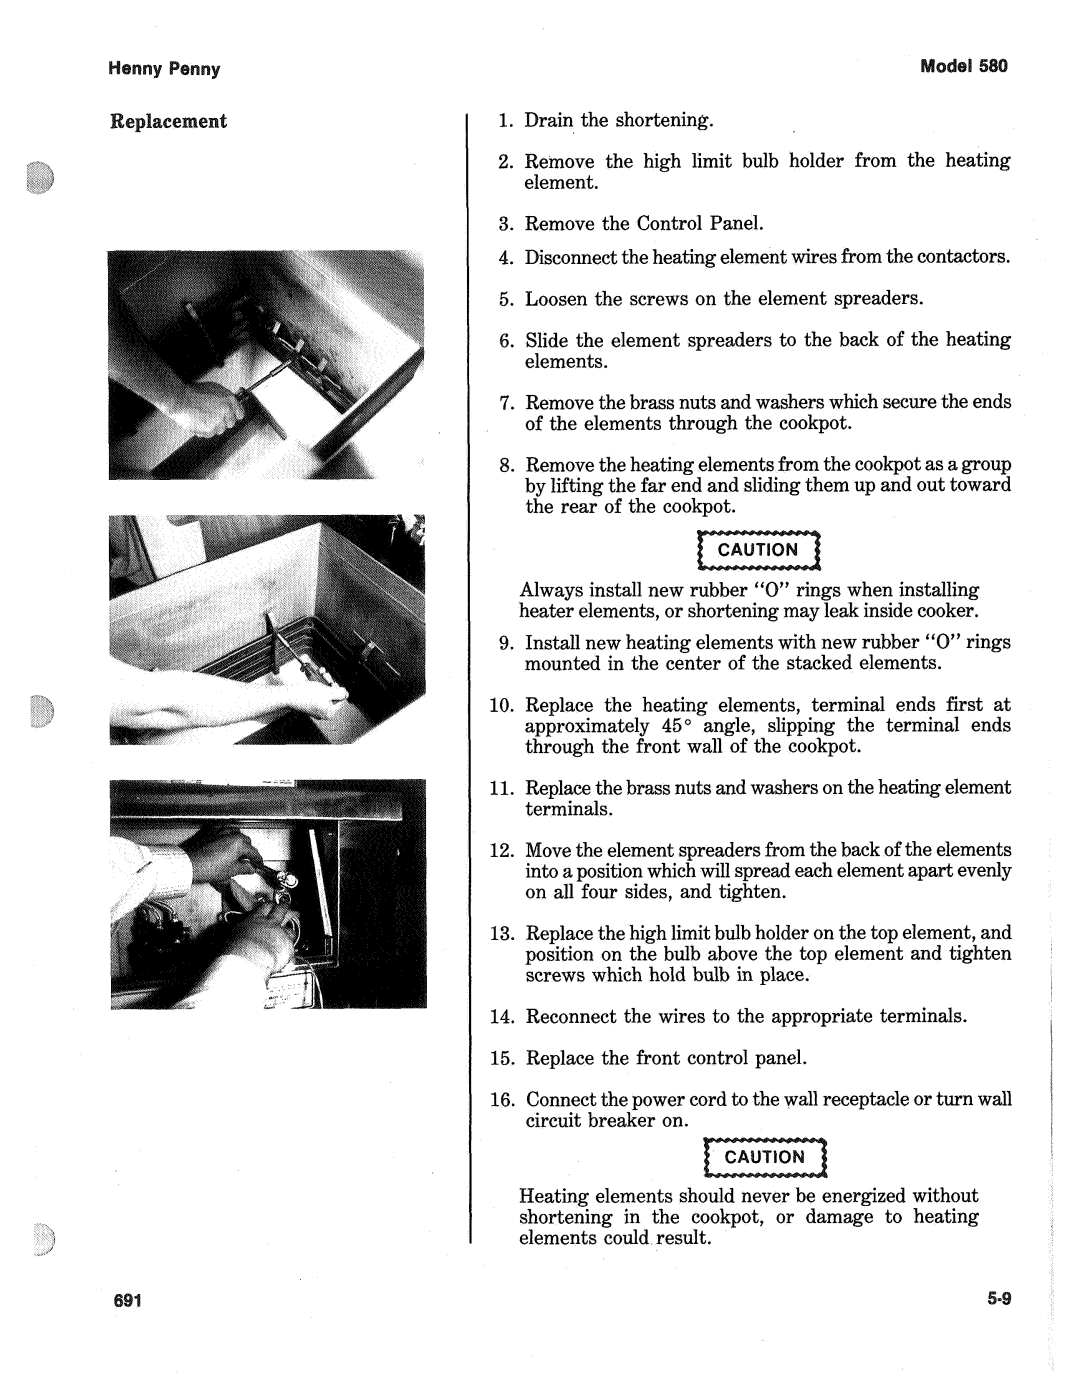
6.Slide the element spreaders to the back of the heating elements.
7.Remove the brass nuts and washers which secure the ends of the elements through the cookpot.
8.Remove the heating elements from the cookpot as a group by lifting the far end and sliding them up and out toward the rear of the cookpot.
Always install new | rings when installing |
heater elements, or | shortening may leak inside cooker. |
9.Install new heating elements with new rubber “0” rings mounted in the center of the stacked elements.
10.Replace the heating elements, terminal ends first at approximately 45” angle, slipping the terminal ends through the front wall of the cookpot.
11.Replace the brass nuts and washers on the heating element terminals.
12.ove the element spreaders from the back of the elements to a position which will spread each element apart evenly
on all four sides, and tighten.
13.Replace the high limit bulb holder on the top element, and position on the bulb above the top element and tighten screws which hold bulb in place.
14.Reconnect the wires to the appropriate terminals.
15.Replace the front control panel.
16.Connect the power cord to the wall receptacle or turn wall circuit breaker on.
Heating elements shounergized without shortening in the cookpot, or damage to heating elements could result.
