ACCESSORIES
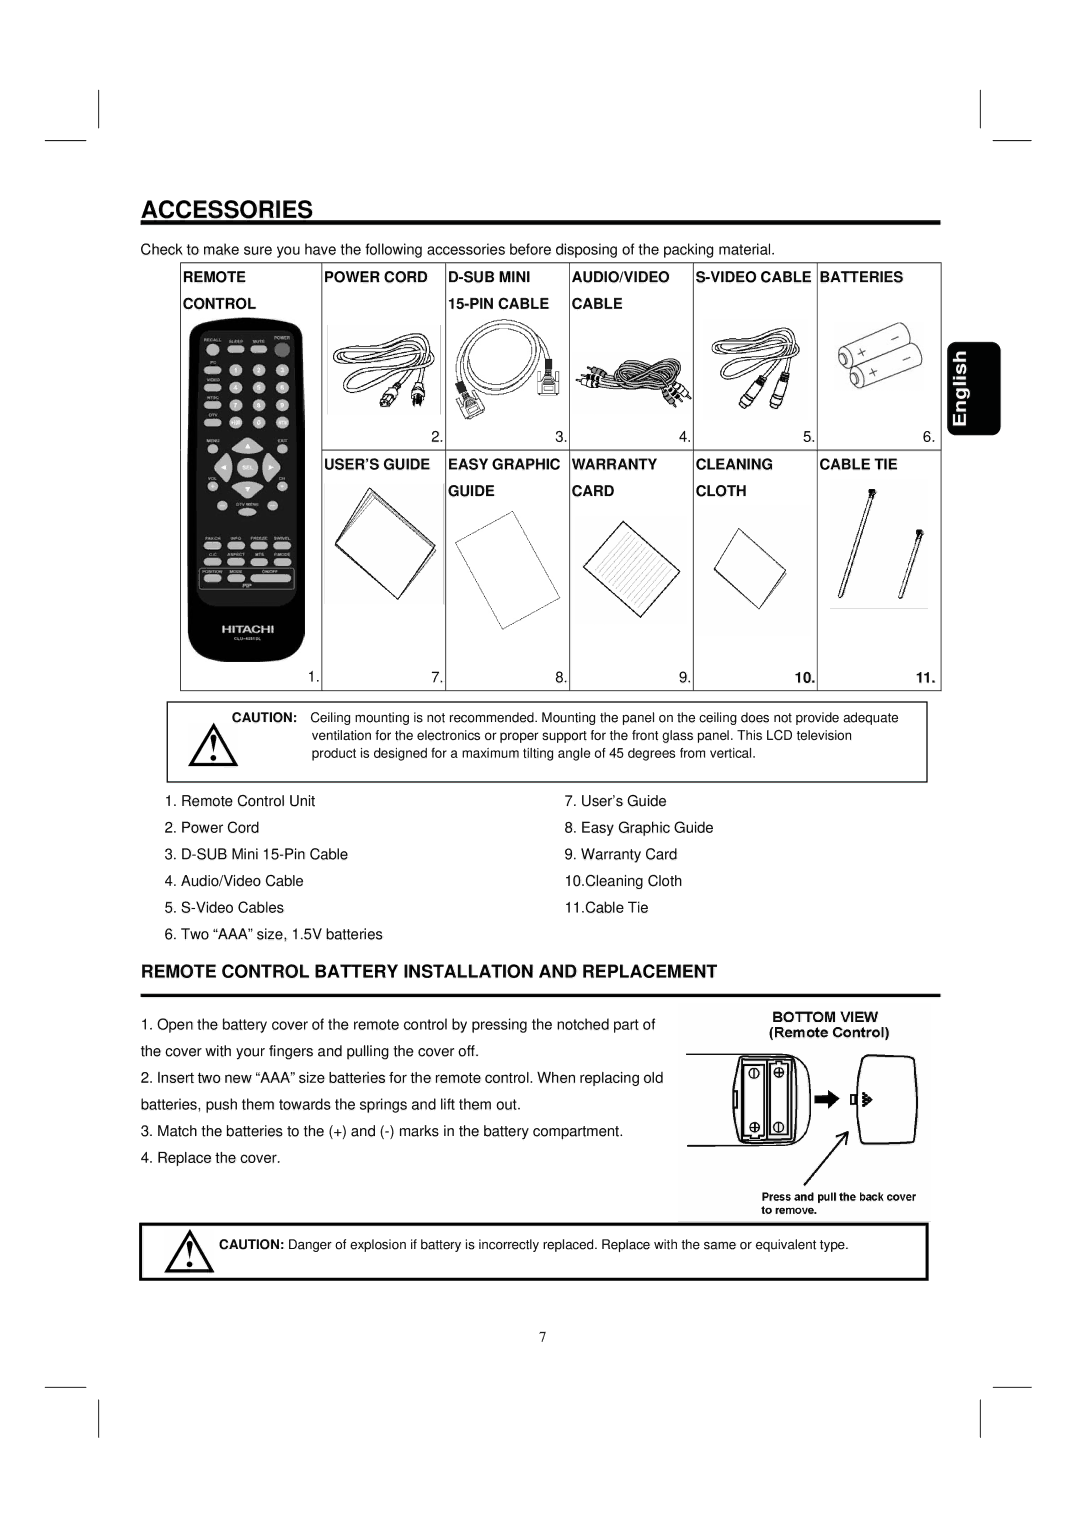
Check to make sure you have the following accessories before disposing of the packing material.
REMOTE | POWER CORD | AUDIO/VIDEO |
CONTROL | CABLE |
|
|
|
|
|
|
|
|
|
|
|
| 6. | English | ||
|
|
|
|
| 2. | 3. | 4. | 5. | |||||||
|
|
|
|
|
| ||||||||||
|
|
|
|
|
|
|
|
|
|
|
| ||||
|
|
| USER’S GUIDE |
|
| EASY GRAPHIC | WARRANTY | CLEANING | CABLE TIE | ||||||
|
| 1. |
|
|
|
| GUIDE | CARD | CLOTH |
|
|
|
| ||
|
|
|
|
|
|
|
|
|
| ||||||
|
|
|
|
|
| 9. |
|
|
|
|
|
| |||
|
|
|
|
|
|
|
|
|
|
|
|
|
| ||
|
|
|
| 7. | 8. |
|
|
|
|
|
| ||||
|
|
|
| 10. | 11. |
| |||||||||
|
|
|
|
| |||||||||||
|
|
|
| ||||||||||||
|
| CAUTION: Ceiling mounting is not recommended. Mounting the panel on the ceiling does not provide adequate |
| ||||||||||||
|
| ventilation for the electronics or proper support for the front glass panel. This LCD television |
| ||||||||||||
|
| product is designed for a maximum tilting angle of 45 degrees from vertical. |
|
|
|
| |||||||||
|
|
|
|
|
|
|
|
|
|
|
|
|
| ||
1. | Remote Control Unit |
|
|
| 7. | User’s Guide |
|
|
|
|
|
| |||
2. | Power Cord |
|
|
| 8. | Easy Graphic Guide |
|
|
|
| |||||
3. |
|
|
| 9. | Warranty Card |
|
|
|
|
|
| ||||
4. | Audio/Video Cable |
|
|
| 10.Cleaning Cloth |
|
|
|
|
|
| ||||
5. |
|
|
| 11.Cable Tie |
|
|
|
|
|
| |||||
6. | Two “AAA” size, 1.5V batteries |
|
|
|
|
|
|
|
|
|
|
| |||
REMOTE CONTROL BATTERY INSTALLATION AND REPLACEMENT
1.Open the battery cover of the remote control by pressing the notched part of the cover with your fingers and pulling the cover off.
2.Insert two new “AAA” size batteries for the remote control. When replacing old batteries, push them towards the springs and lift them out.
3.Match the batteries to the (+) and
4.Replace the cover.
CAUTION: Danger of explosion if battery is incorrectly replaced. Replace with the same or equivalent type.
7