ASSEMBLING STACKED OVENS
Unpack the ovens and the stack kit. Position the oven to be used as the bottom oven on its left side for access to the oven bottom, taking care not to scratch or damage it.
Attach the four leg assemblies with the 24 bolts and lockwashers (six per leg).
Place the lower oven (with legs) on the floor and remove two 7/16" (11 mm) diameter knockouts on each side of the top cover.
Install two locating studs to the bottom of the top oven per stacking kit instructions.
Move the oven with legs to the installed position. Place the upper oven on top of the lower oven using the locating studs.
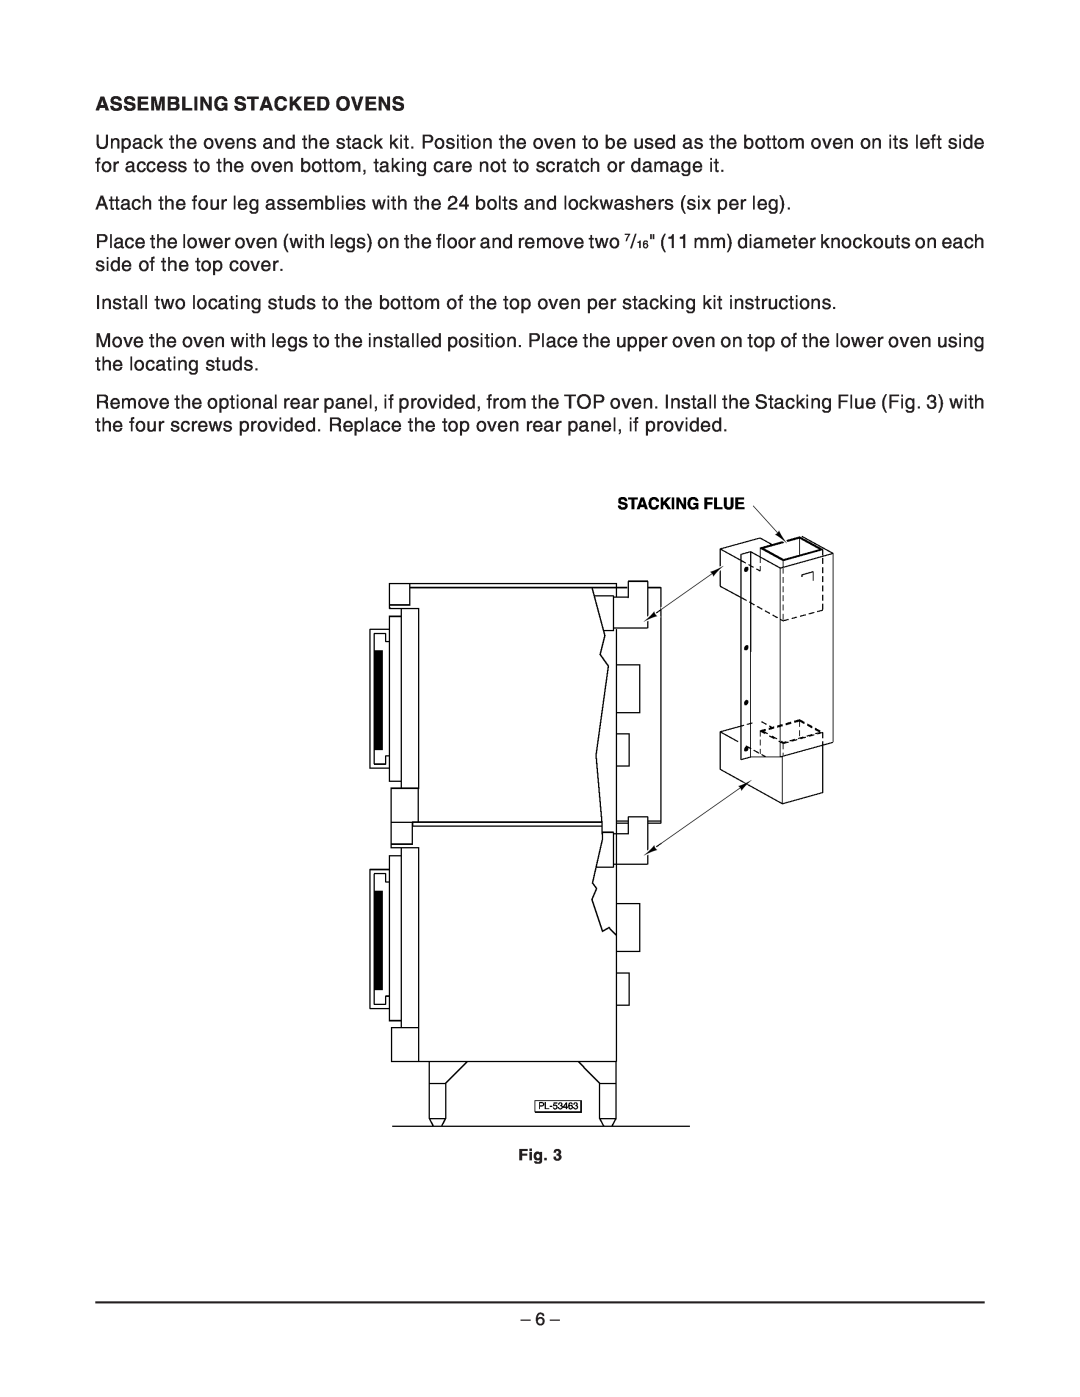
Remove the optional rear panel, if provided, from the TOP oven. Install the Stacking Flue (Fig. 3) with the four screws provided. Replace the top oven rear panel, if provided.
STACKING FLUE
Fig. 3
– 6 –
